Creamy Homemade Chocolate Milk
- A Chocoholic's Dream: My Homemade Chocolate Milk Journey
- A Little Bit of Chocolate History
- What's in It for You? The Benefits of Homemade Chocolate Milk
- Ready for a Taste?
- Your Ultimate Guide to Essential Ingredients
- Whip Up Some Magic: The Professional Cooking Method
- Pro Tips & Secrets
- Perfect Presentation
- Storage & Make-Ahead
- Creative Variations
- Complete Nutrition Guide
- Frequently Asked Questions
- 📝 Recipe Card
A Chocoholic's Dream: My Homemade Chocolate Milk Journey
Oh my gosh, i can still remember the first time i made homemade chocolate milk . it was a chilly saturday morning, and i was craving the sweet, velvety goodness that i used to guzzle down as a kid.
I mean, who doesn't love a rich chocolate drink that takes you right back to your childhood? so, i decided it was time to whip up my very own creamy chocolate beverage .
Spoiler alert: i happily slurped every last drop!
Isn't there something magical about diy chocolate milk ? it's like taking a little spoonful of nostalgia and mixing it into a glass.
Once you know how to make it, it becomes not just a drink, but a comforting ritual.
A Little Bit of Chocolate History
Chocolate milk has been around since the 17th century, though back then, it was a fancy drink served in high society.
Fast forward to today, and it’s one of the most loved beverages across america especially among kiddos! i mean, who doesn’t remember the good ol’ chocolate milk cartons in elementary school?
Nowadays, it’s not just a hit with kids; adults are getting creative, too, with gourmet twists and non-dairy chocolate milk options.
This easy chocolate milk recipe takes barely 5 minutes to prepare and is accessible even if your kitchen skills are more microwave than michelin star.
An estimated cost of just a few bucks can yield two generous servings. so if you find yourself needing a quick treat or a snack, you’re in luck!
What's in It for You? The Benefits of Homemade Chocolate Milk
Now, let’s talk about key benefits. first off, homemade chocolate milk is loaded with nutritious goodness. milk provides protein and calcium, while cocoa powder adds essential antioxidants.
And hey, if you’re looking for something sweet without a ton of added sugars, this recipe lets you control that!
It's perfect for special occasions, too. whether it's a birthday brunch, a cozy movie night, or just a spontaneous weeknight treat, you’ve got your bases covered.
Plus, it’s great for kids who wouldn’t smile at a smooth chocolate beverage in their glass?
And here’s the kicker: you can customize it! want a minty vibe or a dash of cayenne for some warmth? go for it! this recipe can easily become a canvas for your creative flavors, meaning you can whip up your own gourmet chocolate milk ideas.
Ready for a Taste?
It's time to dive into the ingredients so you can start your own chocolate milk adventure. grab your measuring cups and get ready to make this decadent chocolate beverage that just screams comfort!
You’re about to create something that warms the heart and fills the belly you’ll wonder why you didn’t try making your own sooner.
This recipe is truly an invitation. So, whether you're sipping it solo or serving it to loved ones, you’ll feel the love in every creamy sip. Let’s get started!
Your Ultimate Guide to Essential Ingredients
Hey there, fellow food lovers! let’s dive into the delicious world of cooking, focusing on the essential ingredients that can make or break your meals just like that perfect cup of homemade chocolate milk we all adore.
It’s about time we got cozy with these basics.
Premium Core Components
First off, let’s lay down the law on premium core components . Every great dish starts with quality ingredients. Here’s the lowdown:
Measurements : for the perfect balance, know that 2 tablespoons of unsweetened cocoa powder is around 15 grams . if you’re working in the metric system, that’s a solid 15g for our chocolate endeavors.
Quality indicators : the best cocoa should smell chocolatey not burnt. when picking milk, go for whole if you want that creamy mouthfeel, or opt for anything else you enjoy for non-dairy chocolate milk vibes.
Storage guidelines : cocoa powder and sugar can chill in your pantry it’s all about keeping them away from moisture. whole milk? it holds strong in the fridge but don’t push it past a week after opening .
Freshness Tips : Always select ingredients that are within their expiration dates. Fresh herbs? Sniff 'em! They should smell fragrant and vibrant, not wilted.
Signature Seasoning Blend
Next up, let’s craft that signature seasoning blend . You might go thinking that chocolate milk is just cocoa and sugar, but oh honey, there’s more!
Essential Spice Combinations : Adding a pinch of salt enhances cocoa’s richness and makes your rich cocoa milk taste even better.
Herb Selections : Want to jazz it up further? Consider vanilla. Adding 1/2 teaspoon of vanilla extract can elevate your drink from ordinary to gourmet.
Flavor Enhancers : Try a dash of cinnamon or even cayenne for a spicy chocolate milk experience totally a game changer!
Regional Variations : Different states have different chocolate milk styles; some love it thick, while others enjoy it lighter. Adapt according to your taste buds, friends!
Smart Substitutions
Now let’s chat about those smart substitutions . They come in handy, especially when you're in a pinch.
Common Alternatives : If you’re out of cocoa, try some chocolate syrup instead! Just make sure to reduce or skip the sugar since syrup is already sweet.
Dietary Modifications : For a healthy chocolate milk option , go unsweetened with a sugar substitute. Stevia or monk fruit could save you some calories.
Emergency Replacements : No milk? No problem! Blend some almond milk, oat milk, or even coconut milk as substitutes.
Seasonal Options : During winter, how about trying my velvet chocolate milk recipe by heating up the cocoa and milk for a comforting treat?
Kitchen Equipment Essentials
Let’s not forget about the kitchen equipment essentials because what’s a chef without their tools?
Must Have Tools : Grab a small mixing bowl and a whisk trust me, you’ll want a lump free drink!
Alternative Equipment Options : No whisk? A spoon will work too, but don’t tell anyone I said that!
Preparation Tips : Always mix your dry ingredients before adding milk; it helps avoid those pesky lumps.
Storage solutions : want to make a big batch of that creamy chocolate beverage ? store extra chocolate milk in a well sealed container in the fridge.
It should last for about two days .
That’s it for the ingredient highlights! You’re now well equipped to whip up an amazing homemade chocolate drink .
With all these basic components in your back pocket, you're ready to jump into the step-by-step instructions for crafting that perfect, easy chocolate milk recipe . Let's get mixing!
Whip Up Some Magic: The Professional Cooking Method
Cooking is like magic. you start with simple ingredients, toss in some techniques, and voilà! you've created something delicious. but if you want to elevate your cooking game and impress everyone at your next brunch, mastering professional cooking methods is key.
Buckle up, folks; it's time to dive in!
Essential Preparation Steps
Mise en place is the fancy culinary term for having everything in its place. before you even crack open your cocoa powder , get your ingredients measured out.
For our easy chocolate milk recipe , that means whipped cocoa, sugar, and your milk, all ready to go. this saves time and keeps you from scrambling mid-cook.
Speaking of time, let’s chat about time management . set a timer on your phone for different steps. it’s like having a mini sous chef in your pocket! and here's a pro tip: keep your kitchen organized .
Put utensils and ingredients within arm's reach. it makes the whole process smoother and way less chaotic.
Now, let’s not forget safety considerations . always use heatproof gloves if you're handling anything hot. plus, make sure your kids stay clear of the hot stove or pesky knives.
A safe kitchen is a happy one!
Step-by-step Process
So, let’s get to the good stuff your homemade chocolate milk! Here’s how to do it in a super simple way:
- Combine Dry Ingredients : In a small bowl, mix 2 tablespoons unsweetened cocoa powder and 2 tablespoons granulated sugar .
- Blend with Milk : Gradually add 1/4 cup of milk while whisking until you don’t see any lumps. Yay, lump free!
- Heat Milk : If you love a warm drink, heat the remaining 3/4 cup of milk over medium heat until it’s warm but not boiling . This step gives you that cozy, homemade hot chocolate feel.
- Mix Together : Pour your chocolate paste into the warm milk while whisking continuously. This is where the magic really happens.
- Add Flavor : Toss in a 1/2 teaspoon of vanilla extract for that gourmet touch. Seriously, it makes all the difference.
- Serve : Pour and enjoy! Consider topping with whipped cream or a sprinkle of cocoa for a classic touch.
Expert Techniques
Okay, let’s talk expert techniques . did you know using dark cocoa can elevate your chocolate milk to a whole new level? it’s like going from a regular movie to a blockbuster.
So, give it a shot!
Keep an eye on temperature control ; your milk should be cozy and warm but not scalding. You want that creamy chocolate beverage vibe, not a cold cup or burnt edges.
Timing is also crucial. if you heat the milk for too long, you might end up with a funny tasting drink.
Just remember you want to catch it at warmth, around 170° f to 180° f .
Success Strategies
Now, let’s avoid the common pit stops. one mistake i’ve made in the past? adding the cocoa and sugar directly into cold milk.
Trust me; it ends up clumpy and sad. always mix dry ingredients first.
Need quality assurance ? Taste as you go! Adjust sugar to your liking. Everyone has their own sweetness level, after all.
Ever thought ahead? you can even prep this ahead of time, store it in the fridge, and have a smooth chocolate beverage ready to go! just give it a good stir before serving.
Don't forget about storage tips ! homemade chocolate milk lasts about two days in the fridge. just be sure to store it in an airtight container so it doesn’t pick up unwanted odors.
Transition to More Fun Recipes
So there you have it! a delicious homemade chocolate drink that’ll whisk you right back to childhood except now you can whip it up like a pro! with these strategies, you'll go from a kitchen novice to a homemade cocoa milkshake master in no time.
But wait... there’s more! If you’re looking for ideas to further elevate your chocolate game or maybe want to explore some alternative chocolate drink recipes , keep reading for more delicious detours!
Pro Tips & Secrets
Alright, food lovers! let’s dive into some pro tips for making that creamy homemade chocolate milk you’ve been dreaming about.
First off, don’t skimp on the ingredients! use high-quality cocoa powder . let me tell ya, it makes a world of difference.
I once made the rookie mistake of using some random stuff from the back of the pantry, and honestly? yikes.
Time saving? oh here’s a little hack: try mixing your dry ingredients first, then add the milk bit by bit. this way, you avoid those pesky lumps.
If you want to really punch up the flavor, throw in a pinch of salt. seriously, it brings everything to life! and if you want to impress, consider serving it in a fancy glass with whipped cream on top.
Presentation matters, folks!
Perfect Presentation
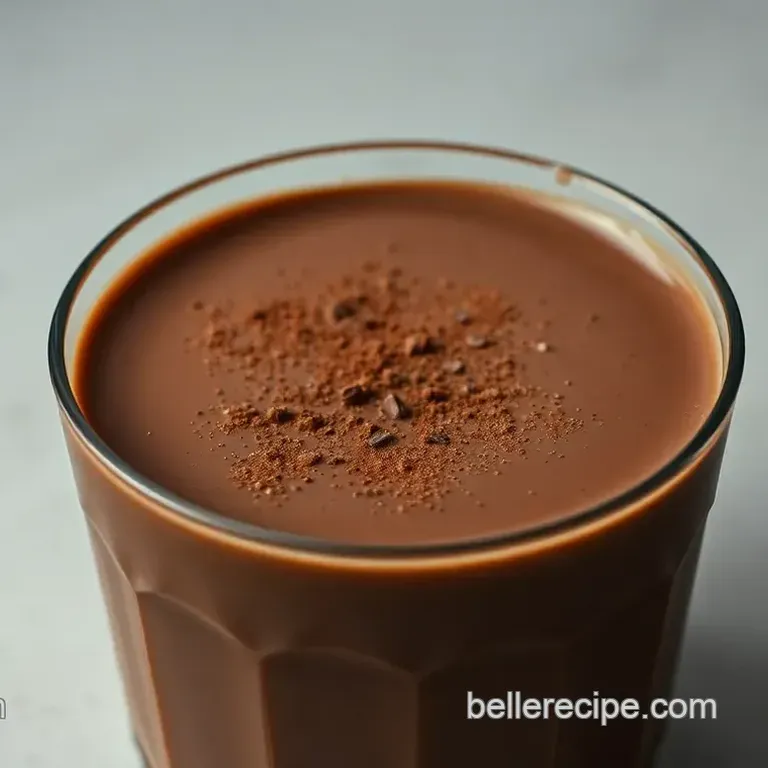
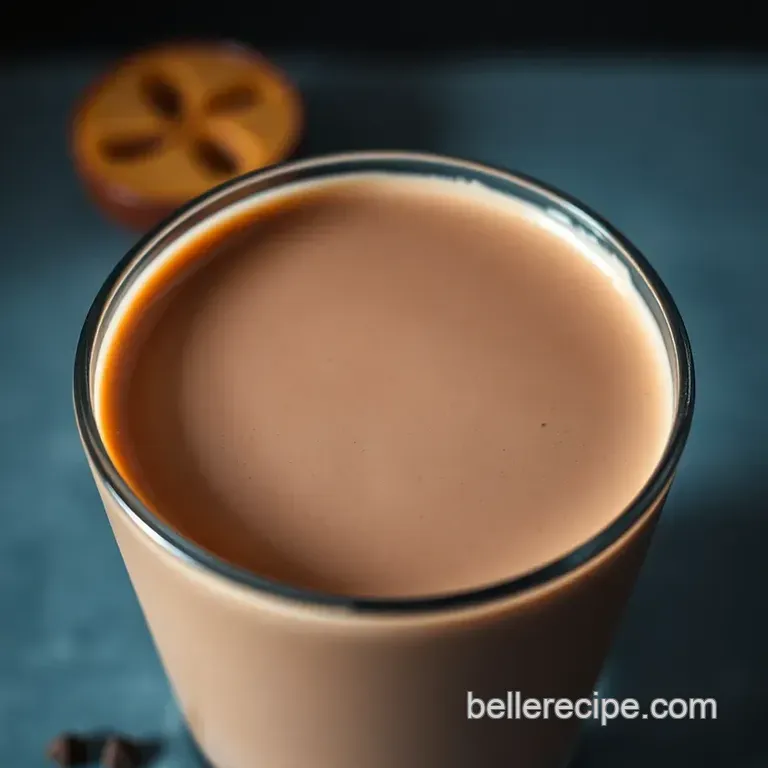
You got your homemade chocolate drink ready now it’s time to make it instagram worthy! start with the glasses. clear ones let all that gorgeous cocoa color shine through.
Honestly, pouring that smooth chocolate beverage into a tall glass feels fancy, even if you just did it in your kitchen! garnish? how about some mini marshmallows? or a sprig of mint if you’re feeling extra fancy?
Color plays a big role too. think deep browns from the chocolate paired with bright white whipped cream a total showstopper.
If you're feeling sassy, dust some cocoa powder on top or drizzle chocolate syrup down the sides of the glass for that drip effect.
Your friends will think you’re a gourmet chef!
Storage & make-ahead
Let’s be real sometimes we make too much. if you find yourself with leftovers (oops!), just pop it in the fridge.
Chocolate milk storage tips ? use an airtight container and it’ll keep fresh for about 48 hours . give it a good stir before serving again because the cocoa might settle at the bottom.
If you want to get ahead of the game, mix together your dry ingredients in advance. All you have to do is add milk when you’re ready! Super easy, right? And if you’re craving that decadent chocolate beverage later? Just warm it up slowly on the stove or in the microwave voila!
Creative Variations
Let’s talk chocolate milk variations . feeling adventurous? you could whip up a mint chocolate milk by adding a few drops of mint extract.
It’ll give you that refreshing twist you know, like a chocolate after dinner mint but in drink form! prefer something with a bit of heat? add a pinch of cayenne pepper for a spicy kick.
Sounds bizarre, but trust me it’s a game changer!
For my nutty friends, think about blending in some almond or hazelnut butter. it’s like a gluten-free chocolate milkshake and super filling! the cool part? there are endless custom chocolate milk flavors to explore.
Complete Nutrition Guide
Here’s the scoop on the chocolate milk nutrition facts : if you’re counting calories, this homemade version is way better than store-bought.
You can control the sugar and, if you go non-dairy, use almond or oat milk for a healthier option. it's packed with protein and calcium great for the kids or anyone who needs a little energy boost.
Just keep an eye on your portions, especially with all those creative toppings!
While you’re sipping that smooth chocolate beverage, think about how these little tweaks can make your treat not only delicious but also healthier.
You can play around with the ingredients to make this a fun and kid-friendly chocolate drink any time of the day.
Now that you know all the ins and outs of crafting the perfect homemade chocolate milk , go out there and give it a shot! it’s not just a recipe; it’s an experience.
Whether for brunch or after school treat, this creamy delight is bound to score big points with anyone lucky enough to taste it.
Happy sipping!
Frequently Asked Questions
What ingredients do I need for homemade chocolate milk?
To make homemade chocolate milk, you'll need unsweetened cocoa powder, granulated sugar, milk (whole or any preferred alternative), vanilla extract (optional), and a pinch of salt (optional). These simple ingredients combine to create a rich and creamy beverage.
How can I make my homemade chocolate milk sweeter?
You can easily adjust the sweetness of your homemade chocolate milk by adding more sugar or a sweetener of your choice. Start with small increments and taste after each addition to find the perfect balance for your palate.
Can I make homemade chocolate milk with non-dairy alternatives?
Absolutely! You can use any non-dairy milk such as almond milk, oat milk, or soy milk in place of whole milk. Just keep in mind that the flavor and creaminess may vary slightly based on the type of milk you choose.
How do I store leftover homemade chocolate milk?
Store any leftover homemade chocolate milk in an airtight container in the refrigerator for up to 2 days. Be sure to stir well before serving, as the ingredients may separate while stored.
What are some variations I can try with my homemade chocolate milk?
You can easily customize your homemade chocolate milk by adding flavors like mint extract for a refreshing twist, or a pinch of cinnamon for a spiced version. For a creamy texture, consider blending in nut butter like almond or hazelnut.
Is homemade chocolate milk a healthy option?
Homemade chocolate milk can be a healthier option than store-bought versions, as you control the ingredients and sugar content. Opting for low-fat milk and reducing the sugar can make it a nutritious treat while still indulging your sweet tooth.
Creamy Homemade Chocolate Milk