Make Sour Cream at Home - Deliciously Fresh!
Make Sour Cream at Home - Deliciously Fresh!
Oh my gosh, remember the first time you made a recipe from scratch? i do! it was a saturday morning, the sun was shining, and my kitchen smelled like heaven.
I whipped up a batch of homemade sour cream . it was so creamy and delicious that it completely changed my view on cooking with sour cream.
Seriously, if you’ve ever wondered how to make sour cream at home, you’re in for a treat!
Homemade sour cream recipe sounds fancier than it is. it's actually a super easy process that involves just two main ingredients and a bit of patience.
Why buy a tub when you can have deliciously fresh sour cream right from your kitchen? and it’s way better than any store-bought option.
The flavor is richer and that tang? perfection!
The Journey of Sour Cream
Sour cream has been around for centuries back when people were figuring out how to turn fresh cream into something yummy without fancy fridges.
This process involves the magic of fermented dairy products . fast forward to today, and it’s a staple in american households, adding a tangy twist to everything from baked potatoes to dressings.
It’s popular in so many dishes just think of tacos or creamy sauces needs i say more?
And hey, making sour cream doesn't take ages! you only need about ten minutes of hands-on time. then, you let it chill out and ferment for about 24 hours (with zero work).
So, it’s truly a low-effort, high reward situation! just keep in mind that you need quality ingredients like the best heavy cream you can find and the right tools.
Why You’ll Love Making It
First off, let’s talk about health. sour cream benefits include being loaded with calcium and vitamins there are loads of nutrition highlights that come with it.
Plus, there's something special about knowing how your food is made. think of it as a home project that you can actually eat!
Whether you’re hosting a gathering or just whipping up something special during the week, this sour cream will elevate any occasion.
It's perfect for serving with tacos, drizzling over chili, or mixing into dip recipes. honestly, it’s a must have in your fridge.
If you’re worried about dietary restrictions, you can easily make dairy-free cream options or swap in buttermilk recipes to cater to different palates.
This versatility makes it stand out compared to other sour cream substitutes out there. plus, it plays well in other classic recipes like baked goods or as a tangy base for creamy dressings .
Easy Tips for Success
Okay, so preparing this sour cream is a breeze, but here are some handy tips I’ve picked up along the way:
- Quality Counts: Use the best heavy cream you can find. I personally love organic for that rich flavor.
- Temperature Check: Make sure your fermentation space is warm (like around 70- 75° F). This helps in cultivating those good bacteria!
- Taste Your Creation: After about 12 hours, sneak a taste. Want it a little tangier? Let it sit longer easy peasy.
And storage? keep it in the fridge and enjoy it for up to two weeks . i usually find myself reaching for it every day whether it’s a dollop on my breakfast burrito or mixed into a dip for game night.
It's seriously an essential!
So, ready to spice up your meals with some fresh sour cream ? Let’s dive into the ingredients and get your homemade adventure started!
Essential Ingredients Guide

Cooking is just like hanging out with friends you want everything fresh, fun, and packed with flavor! when it comes to crafting homemade sour cream , knowing the essential ingredients and equipment will take your culinary game to the next level.
Let's dive into the nitty gritty of what you'll need to whip up this creamy delight.
Premium Core Components
First things first, let’s get specific. To make the best sour cream , you need the right ingredients. Measurements matter! Here’s what you'll need:
- 1 cup (240 ml) heavy cream: Look for pasteurized cream for the best results.
- 1-2 tablespoons (15-30 ml) buttermilk or plain yogurt: This is your starter culture that helps with fermentation.
Quality indicators: Always choose high-quality cream, as it makes all the difference in flavor. Avoid ultra pasteurized if you can; those don’t quite cut it.
Storage guidelines and shelf life: Keep your cream in the fridge. It should last about 10 days or until the date on the container.
Freshness tips: Check the cream’s smell and color. If it’s off, toss it. You want that fresh, milky aroma!
Signature Seasoning Blend
Now, let’s get to the fun part flavors! Essential spice combinations can elevate your sour cream. Instead of settling for plain, think about herbs like dill or chives for that extra something.
Herbs are your go-to friends. they pair perfectly with sour cream and enhance its tangy flavor. need to spice it up even more? toss in some garlic powder or a pinch of sea salt.
Those are game changers for creamy sauces .
Regional variations ? Oh boy, talk about pasta in the Midwest with creamy sauces or tacos in the Southwest all can benefit from a dollop of that fresh goodness.
Smart Substitutions
What if you don’t have heavy cream handy or are aiming for a lighter option? No worries! Here are some common alternatives for your sour cream situation.
Try out coconut cream if you're looking for a dairy-free solution. or, if you’ve got yogurt , it can work as an amazing sour cream substitute .
Just remember, the consistency will be slightly different, but the flavor is still delicious!
For dietary modifications , go for low-fat sour cream options. This version is still tangy and creamy, just with fewer calories. Got to love those healthy alternatives!
Kitchen Equipment Essentials
A few must have tools will make your sour cream journey way smoother:
- Mixing bowl: For whisking everything together.
- Whisk or spatula: Because we all love a good whip to combine the flavors.
- Clean glass jar: For that fermentation magic! An airtight container works too.
- Cheesecloth or paper towel: To let your mixture breathe without letting any uninvited guests in.
Looking for alternative equipment ? A food processor can be a fun way to whip things up if you have one handy.
Time to look into In!
Now that we've covered the essentials, you're all set to begin your sour cream adventure! With just a bit of patience and care, you'll be stoked at how easy it is to make sour cream at home - deliciously fresh!
So grab your ingredients, channel your inner chef, and let's go from here to some mouth watering recipes using sour cream.
Whether it's for a savory dip at game night or to bring life to your baked potatoes, this creamy delight is going to be a hit! time to whisk away!
Unleashing the Art of Professional Cooking: Crafting Gourmet Dishes Like a Pro
Getting into serious cooking can feel like stepping into another world. it’s not just about heating things up; it’s about doing it right.
Whether you’re a budding chef or just someone who wants to impress friends, mastering the professional cooking methods can take your game to the next level.
Let’s dive in!
Essential Preparation Steps
Before you even think about turning on the stove, you need to prep like a boss. this is where mise en place comes into play.
It's french for "everything in its place," and it basically means that you should have all your ingredients measured, chopped, and ready before you start cooking.
It saves time and keeps your kitchen from looking like a tornado hit it halfway through your recipe.
Now, let’s talk time management . when you’re making that fancy dish, being conscious of timing can make or break your meal.
For instance, boiling pasta at the same time you’re sautéing shrimp can get tricky. use a timer! seriously, set a timer on your phone if you need to don’t rely on your memory when you're in the thick of it.
Staying organized is also key. Arrange your workspace so everything is within arm’s reach. This will help you focus on what you’re cooking, not scrambling around looking for that forgotten spice.
Oh! and let's chat about safety . always, always be cautious with knives and hot surfaces. take your time, and don’t rush.
The only burns you want are the good scents of caramelizing butter, not from trying to grab something too quick!
Step-by-step Process
Here’s the real grind. When you're following a recipe, think of it as your roadmap. Here’s a breakdown:
- Prepare Ingredients : Always start by prepping everything.
- Temperature Control : Keep that heat manageable most proteins cook best around 165° F . But don’t be afraid to sear a steak at higher temperatures for a crispy crust!
- Timing Precision : Know that that chicken breast needs about 6- 8 minutes on each side if it’s boneless. It’s all about getting that perfect cook!
- Visual Cues : Use your eyes; color can tell you everything. Whether it’s the golden brown of baked goods or the vibrant color of fresh veggies, it’s all part of the cooking dance.
Expert Techniques
To make your cooking stand out, let’s unpack some expert techniques .
Basting is a game changer. take that spoon and drizzle those juices over your meats while they cook. this keeps it moist and adds flavor.
Or how about learning the art of emulsification ? perfect for making creamy sauces, like a good old-fashioned hollandaise.
Don't forget those quality checkpoints taste as you go! it’s your dish; make sure it sings to your palate. if something feels off, add a pinch of salt or a squeeze of lemon juice.
If things go south, don’t freak out. Have a plan! If your sauce breaks, just blend it back up or use thickening agents like cornstarch combined with cold water.
Success Strategies
Ah, common mistakes. We’ve all been there. One of the biggest? Overcrowding the pan. It traps steam and ruins that crispy finish you’re going for. Keep it simple, dawg.
When it comes to quality assurance , trust your senses. If your dish doesn’t smell amazing, something's probably wrong.
Follow my mantra: "slow is smooth, and smooth is fast." Rushing can lead to burnt food or raw centers.
Also, think ahead. Batch meals that can last through the week. Cook once, eat twice? Count me in!
And if you’re looking for ways to upgrade those creamy sauces with a little sour cream , then let’s chat about how to make sour cream at home deliciously fresh! you’ll soon discover that whipping it up yourself not only amps up flavor but takes your traditional recipes to gourmet heights.
Think tacos or baked potatoes dressed in your homemade sour cream recipe and you just leveled up your side dish game.
So, are you ready to unleash your inner chef and dive into the world of professional cooking? happy cooking, my friend! stick around for more additional information that'll keep your culinary journey on the right track.
Unlocking the Secrets of Homemade Sour Cream
So, you want to make sour cream at home - deliciously fresh! ? trust me; you’re in for a treat! making your own sour cream isn’t just a fun kitchen project; it’s a total game changer.
Picture this: a rich, tangy flavor that takes your tacos and baked potatoes to a whole new level. ready to dive into the nitty gritty? let’s chat about pro tips, perfect presentation, good storage practices, and some creative variations.
Pro Tips & Secrets
First things first, let’s talk pro tips . starting with your heavy cream , it’s best to go for a high-quality cream .
Avoid ultra pasteurized if you can. you want that creamy goodness! and don’t forget about the temperature for fermentation. ideally, keep it in a warm, dark spot around 70- 75° f is great.
Trust me, it makes a big difference!
And here’s a little secret: if you’re looking to boost that bold flavor, try adding a pinch of salt or even better, some herbs like dill.
It’s a game changer for your dips or creamy sauces.
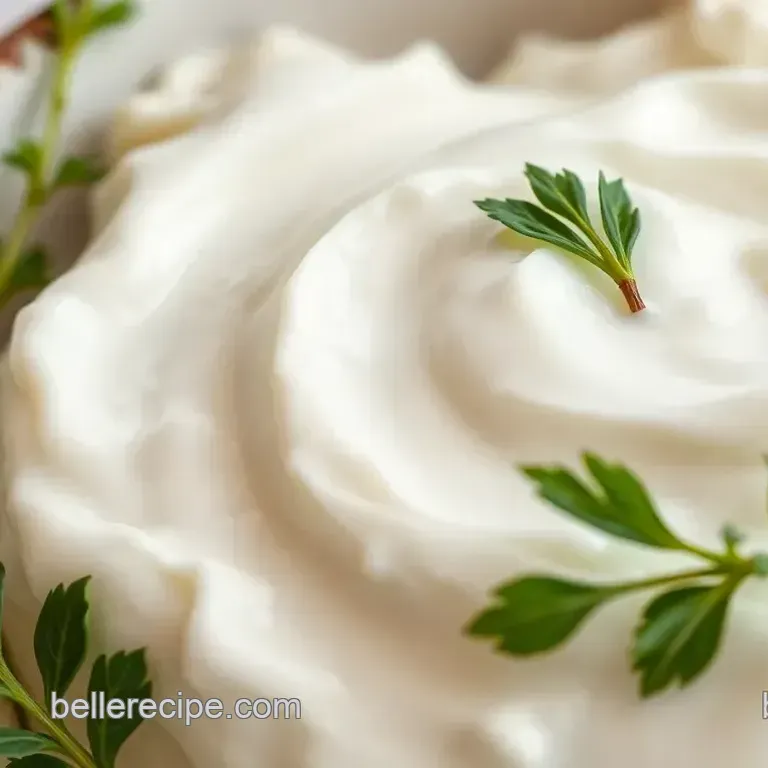
Perfect Presentation
Alright, let’s nail that presentation. you know, the first impression counts. when you serve your sour cream, consider a little plating magic .
Transfer it into a nice bowl or a fancy jar. and hey, don’t forget the garnish! a sprinkle of fresh chives or a drizzle of olive oil can elevate your sour cream from simple to gourmet in seconds.
Oh, and color matters, too! think about how you can use contrasting colors. bright green herbs next to the creamy white will make your dish pop visually.
Trust me, it’s all about that visual appeal!
Storage & make-ahead
Now, let’s chat about storage. you want to keep that fresh sour cream for as long as possible. it’s best to store it in a clean glass jar, tightly sealed, in the fridge.
And if you’re wondering about how long it’ll last, you’re good for about two weeks. just remember, always give it a quick whisk before serving to keep it smooth!
If you’re a planner and want to make this ahead, you totally can! Just remember that it takes at least 12 hours to ferment, so plan accordingly.
Creative Variations
Feeling adventurous? there are so many creative variations you can try! want to switch it up? use yogurt as a starter instead of buttermilk for a slightly different flavor.
Or if you’re in a dairy-free mood, go for coconut cream. you’ll get a creamy, dreamy substitute that’s just as tasty!
So, how about seasonal inspirations? during the summer, add some zesty lime and cilantro for a tangy twist perfect for bbqs.
Or in fall, stir in some pumpkin spice for a fun take on a creamy dip. the options are endless.
Complete Nutrition Guide
Let’s not forget the nutrition part. homemade sour cream can actually be a great addition to your diet, as it’s packed with healthy fats.
Just be mindful of serving sizes stick with about 2 tablespoons if you're watching calories. the health benefits of cultured dairy products are a bonus!
Also, if you’re looking for healthier options, there are low-fat versions or even dairy-free cream options out there. Just know they won’t be as thick, but still delicious!
Expert FAQ Solutions
Now, i get it. you have questions, and i’ve got answers! a common one is: "what if it doesn’t thicken?" no worries! just give it a bit more time.
Check on it after 12 hours. if it’s still runny, let it hang out longer.
And if you’re wondering how to substitute sour cream in recipes, just try using Greek yogurt or even blended silken tofu for those rich and creamy sauces without compromising flavor.
Final Thoughts
In the end, making your own sour cream is an unforgettable experience. you’ll feel proud pulling out that fresh jar at your next gathering, serving up dishes made even better with a dollop of your homemade magic.
Plus, it’s just so satisfying to know exactly what’s in it no weird additives or preservatives!
Whether you’re slapping it on tacos, whipping up dips, or dolloping on baked potatoes, you’ll find that cooking with sour cream really just amps up everything.
So why not grab those ingredients and get started? you've got this!
Make Sour Cream At Home Deliciously Fresh