Mixing Soothing Aloe Vera Skin Remedy
- Mixing Soothing Aloe Vera Skin Remedy: A Personal Journey to Natural Skincare
- Essential Ingredients Guide for DIY Skincare
- Mastering the Art of Professional Cooking
- Pro Tips & Secrets for Your Soothing Aloe Vera Skin Remedy
- Perfect Presentation for Your Aloe Vera Mixture
- Storage & Make-Ahead Magic
- Creative Variations
- Complete Nutrition Guide
- Expert FAQ Solutions
- Wrapping It Up
- 📝 Recipe Card
Mixing Soothing Aloe Vera Skin Remedy: A Personal Journey to Natural Skincare
Have you ever had one of those days where your skin feels like it's been in a wrestling match? yeah, i’ve been there! one summer, i slathered on sunscreen like it was going out of style, only to end up with the worst sunburn imaginable.
That’s when i discovered my love for mixing soothing aloe vera skin remedy . trust me, if you’re seeking a natural skin remedy that really works, you’ll want to stick around!
The Aloe Vera Story: A Refreshing Tradition
Aloe vera has been the unsung hero of skincare for centuries, dating back to ancient egypt when it was called the “plant of immortality.
” fast forward to today, and this green powerhouse is still riding high on beauty blogs everywhere! whether you're dealing with a bad burn or just need a little extra hydration, it's no wonder aloe vera is as popular as it is.
The best part? you can whip it up at home in about 10 minutes with ingredients you probably already have.
It’s an easy recipe, and let me tell you, it’s worth every second.
Recipe Overview: Simple, Smart, and Savvy
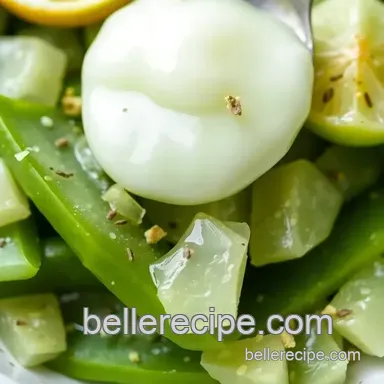
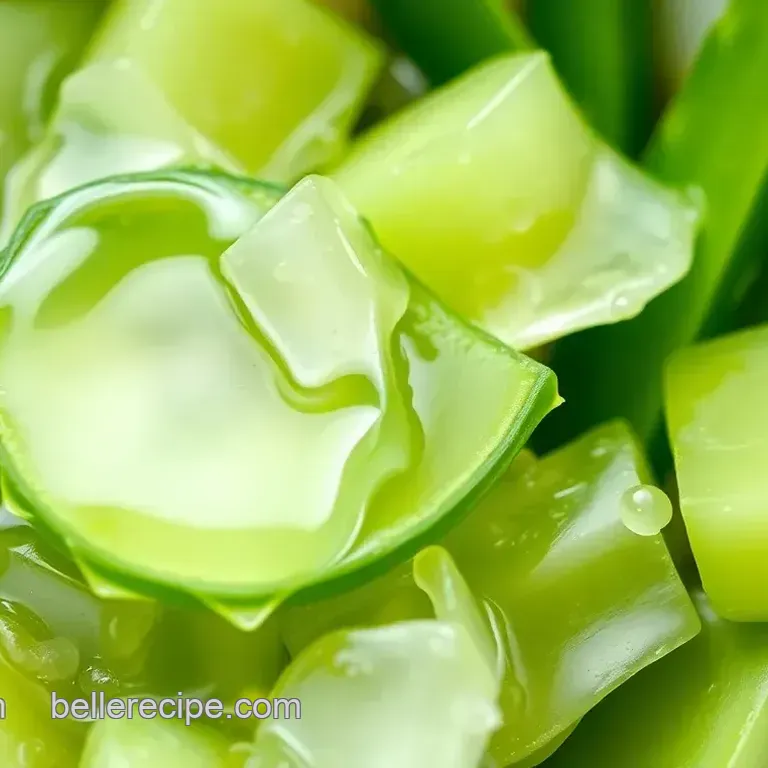
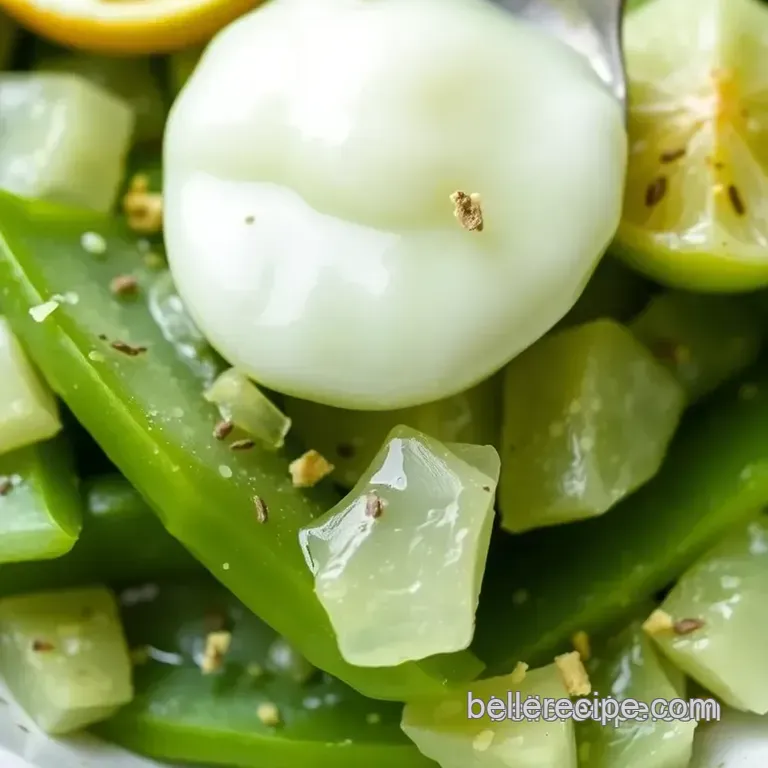
So, what exactly goes into our aloe vera skin remedy? well, let’s break it down. first up, you need some fresh aloe vera gel i recommend about 1/2 cup from one large leaf.
You’ll also want a dollop of coconut oil and a splash of vitamin e oil . optional ingredients like lavender essential oil add a dreamy fragrance while raw honey can give your skin a nurturing boost.
This mix provides about 1 cup of pure goodness. So, you can share it with friends or keep it all to yourself no judgment here!
Health Benefits: So Much More Than Just a Cool Treat
Now, let's talk about why this is a skin soothing godsend. aloe vera is known for its hydrating skin mask properties, making it an ideal natural skin remedy for anyone.
It’s packed with vitamins and antioxidants that bring those moisture levels up and keeps your skin looking as fresh as a daisy.
Plus, it's an all-natural sunburn remedy who doesn’t need that during the summer?
What i love most is how this diy aloe vera gel is customizable. you can add other essential oils or even blend in cucumber juice for extra cooling.
So not only will your skin get a sweet treat, but you will also have double the soothing benefits!
For Those Special Moments
Picture this: a fun girls' night in or maybe a self care day where it’s just you and your favorite netflix show.
Definitely, this skin remedy suits any special occasion , and it’s perfect for a pampering session after a day outside.
Don't just keep it for yourself, share the love! it’s also fantastic for gifting during the summer months.
Making Your Own Homemade Beauty Remedies
What could be better than an eco-friendly skincare solution that’s made from natural ingredients? seriously, you’re not only treating your skin, but you’re also being kind to mother earth.
Plus, it’s a fun project to tackle! nothing beats that feeling of applying something you made yourself a true labor of love!
Ready to dive into the ingredient list? you’re about to become a pro at whipping up this skin hydration remedy that brings so many benefits.
Grab your fresh aloe vera leaves, and let's get mixing!
Essential Ingredients Guide for DIY Skincare
Oh my gosh, if you're anything like me, you love a good diy aloe vera recipe ! there's something so satisfying about knowing what goes into your skincare.
Really, when you're mixing up a soothing aloe vera skin remedy , it's all about using the best, most natural ingredients.
So, let’s break down the essentials.
Premium Core Components
First up, let’s talk about the premium ingredients you need. When you’re picking up your ingredients, go for quality every time. For your soothing aloe vera skin remedy , you’ll want:
- 1/2 cup fresh aloe vera gel (about one large leaf) super versatile, and trust me, you want fresh!
- 1 teaspoon coconut oil (5 grams) makes everything fabulously moisturizing.
- 1 teaspoon vitamin E oil (5 ml) because your skin deserves a juicy dose of nourishment.
Storage is key with these goodies. keep your aloe vera gel in the fridge to make sure it stays fresh .
It’s best to use it within 1-2 weeks . for coconut oil and vitamin e, a cool, dark cupboard is your best bet.
Quality Indicators
How do you know you’re getting the good stuff? for aloe vera, look for plump leaves they should feel firm and juicy.
Coconut oil should smell slightly sweet and nutty, while your vitamin e oil should be pure skip the ones loaded with fillers.
Signature Seasoning Blend
Now, this isn’t just about aloe. We’re diving into the signature seasoning blend that gives your skin that extra love.
- Essential Spice Combinations: Pair aloe with soothing lavender essential oil for a relaxing vibe. Just 3-5 drops mixed in will change the game!
- Herbs and Aromatics: You might want to throw in a bit of raw honey for a touch of sweetness talk about nourishing !
Don’t forget: regional variations matter! in some cultures, they might add chamomile or peppermint for an extra soothing kick. if lavender’s not your jam, switch it out for eucalyptus or tea tree oil.
Customize to your heart's content!
Smart Substitutions
Now let’s say you’re in a pinch. Here are some smart substitutions for those must have ingredients.
- Coconut Oil: Allergic or just not a fan? Almond oil or jojoba oil works beautifully, too.
- Honey: If you’re vegan, consider using maple syrup or agave. They’ll give you a sweet touch without the bee involvement.
And, oh! if you happen to have cucumber on hand , blend that into the fold for a cooling effect, especially if you're dealing with that summer sunburn.
Trust me, it feels heavenly.
Kitchen Equipment Essentials
Let’s get geared up! Here are the must have tools for our skincare project:
- Sharp knife: You’ll need this to slice that big ol’ aloe leaf gently.
- Blender or whisk: Either will do the job of mixing your ingredients.
- Small bowl: This is perfect for storage make sure it's clean!
If you don't have a fancy blender, don’t sweat it. a whisk and some elbow grease do just as well! just make sure everything gets mixed well for that smooth consistency.
That’s how you craft your hydrating skin mask .
Wrapping It Up
With all this knowledge at your fingertips, you’re ready to create your very own skincare concoctions! whether you want a skin hydration remedy or a gentle skin soothing treatment , it all starts in your kitchen with these essential ingredients.
Stay tuned; the next step is sharing the actual Mixing Soothing Aloe Vera Skin Remedy instructions. Let’s get that glow, folks!
Mastering the Art of Professional Cooking
Whether you’re a kitchen newbie or a seasoned chef, understanding professional cooking methods can take your culinary game to the next level.
Today, let’s dive into some essential preparation steps, the step-by-step cooking process, expert techniques, and those oh-so-important success strategies. let’s sprinkle in a little fun and personality, 'cause who said cooking has to be boring?
Essential Preparation Steps
Before diving in, we've got to get our ducks in a row. this involves mise en place a fancy way of saying “everything in its place.
” this means chopping, measuring, and prepping all your ingredients before you start cooking. it’s like laying out your game plan.
Trust me, nothing beats the chaos of panicked searching through the kitchen halfway through cooking!
Time management tips are crucial too. i learned the hard way that timing is everything in cooking. like, you don’t want to have your chicken ready but your veggies are still crying for attention.
Set a timer, and pace yourself!
Also, staying organized saves a ton of time. labeling containers or using separate cutting boards can prevent mix-ups. and for heaven’s sake, don’t forget to think about safety! this means using sharp knives carefully, handling hot surfaces the right way, and making sure your work areas are clean.
Step-by-step Process
Alright folks, let’s break this down into numbered steps. Think of it as your cooking road map:
- Prep those ingredients before you start. Get everything chopped, chopped, and ready.
- Clear the cooking space. A clutter free zone equals a clutter free mind.
- Control your heat. Know where your stove settings should be. Low and slow? High and fast? You need to figure that out.
- Keep an eye on timing. If a chicken roast says cook it for 1 hour at 375° F , you better follow that. But also, trust your eyes. Looking for that golden brown color? That’s your visual cue for doneness.
Expert Techniques
Let’s talk some pro methods. for instance, if you’re searing meat, always dry it with a paper towel first! that little trick ensures a nice crust.
Don’t be afraid to stop and ask yourself, “am i following the critical steps?” your skills will grow.
Quality checkpoints are key, too. taste your food along the way. sometimes, you’ve got to adjust salt or acidity, and that’s okay! if something goes wrong, don’t freak out well, unless it’s smoking, then maybe step back!
Troubleshooting can be as simple as adding a pinch of sugar to balance out too much acidity in a tomato sauce.
Success Strategies
We’ve all been there, right? we overcook, under season, or confuse cayenne with chili powder. one of the common mistakes to avoid is not reading your recipe thoroughly before you dive in.
I’ve been guilty of that too many times!
Quality assurance is as vital as the cooking process itself. for perfect results, trust your instincts. was that steak supposed to be medium rare? use a thermometer it should be 130° f when it’s just right!
Plus, consider make-ahead options: marinating meat overnight can amp up flavors like nobody’s business.
And if you’re in the mood for something soothing for the skin after a long cooking session, why not whip up a mixing soothing aloe vera skin remedy ? it’s my go-to for that refreshing skin hydration and moisture treatment after tough kitchen days.
Final Thoughts
Cooking is a journey, not a race. it’s about learning, tasting, and enjoying along the way. whether you're mastering skills or experimenting with a diy aloe vera gel for some lazy self care, embrace the process.
You’ll discover fun, gratifying moments between the sizzling pans and chopping boards.
Ready to dive deeper into homemade skincare or other culinary delights? Let’s explore some extra tips and tricks. Stay tuned for Additional Information , because there's always something new to learn in the kitchen!
Pro Tips & Secrets for Your Soothing Aloe Vera Skin Remedy
Alright, friends! let’s dive into this mixing soothing aloe vera skin remedy . i’m here to share some juicy pro tips and secrets.
You know, those little nuggets of wisdom that can turn your homemade beauty treatments from “meh” to “wow!”
First off, use fresh aloe when you can. trust me on this one. fresh aloe vera gel gives that natural skin remedy kick that dried ones just can't compete with.
For a speedier prep, scoop out that gel right before you need it. no one wants brown, oxidized goo on their face!
Now, let’s talk time saving techniques . you’re probably thinking, “it’s just mixing stuff!” but hear me out: if you slice your aloe leaf and scoop while you’re waiting for your coconut oil to melt, you're cutting downtime in half!
Plus, if you blend all the ingredients together until they’re silky smooth, you’ll get a creamy consistency that's simply divine.
Another secret? don’t skip on the lavender essential oil . it’s like aromatherapy for your skin and your nose seriously. just a few drops really kick the soothing properties up a notch.
It’s like treating your face to a spa day without the steep price tag .
Perfect Presentation for Your Aloe Vera Mixture
So, you’ve whipped up this beautiful, hydrating skin mask. now, let’s make it look pretty! when it comes to presentation , the key is all about that aesthetic vibe.
Store your masterful potion in a clear glass jar . it shows off that lovely jade color and looks super inviting, like something straight outta a boutique.
Garnish your jar with a sprig of fresh lavender or a slice of cucumber on the rim for that photo worthy touch.
I mean, who doesn’t love a good instagram moment, right? if you’re feeling fancy, try to pair it with a brightly colored scarf or towel in your bathroom for a fun splash of color.
Storage & make-ahead Magic
Got leftovers? lucky you! when storing your aloe vera concoction, make sure to keep it in the fridge. it’ll last about one to two weeks .
If you’re planning a spa day, you can totally make it ahead of time. just pour it into your jar, label it (you don’t wanna confuse it with your homemade mayo , trust me), and you’re set!
To reheat, remember: this isn’t a cooking dish . just take a small amount and rub it between your hands to warm it slightly before applying.
It feels just like a gentle, loving hug for your skin!
Creative Variations
Now, let’s get creative! Want a flavor twist on your soothing mask? How about a bit of cucumber juice added in for an extra cooling effect? It’s a summertime game changer, perfect for sunburn relief!
Feeling experimental? try switching it up with some chamomile extract or even peppermint oil. seriously, it’s a total vibe switch from fresh and floral to zesty and cooling in seconds.
Play with the ingredients; make it truly your own!
And for all my vegan friends out there, skip the honey and replace it with a dash of agave syrup or just leave it out this homemade skincare product is super flexible.
Complete Nutrition Guide
Okay, so what’s the scoop on the nutritional info ? overall, it’s a super light and nourishing treat for your skin because, well, no calories are going to your waistline here! the vitamin e oil is like the classic superhero for maintaining healthy skin, giving it the hydration boost it craves.
Did you know aloe vera also helps with skin irritation solutions? all that goodness packs a punch with soothing effects and hydration.
That’s why this remedy is also fantastic for keeping skin looking fresh and youthful.
Expert FAQ Solutions
You’ve got questions? i’ve got answers! a couple of common concerns are about how to store and customize your remedy.
For storage, just keep it in your fridge. don’t let it sit too long, though.
If you have sensitive skin, remember to patch test it first! a little spot on your wrist can save you from any nasty reactions.
If it’s too sticky for your liking, add more aloe or melt down the coconut oil a bit further. customize those ratios until it feels good!
Wrapping It Up
So there you have it, friends! from pro tips to creative variations, making this mixing soothing aloe vera skin remedy can be a super enjoyable process.
Let those natural ingredients embrace and pamper your skin naturally. remember, beauty doesn’t have to come from harsh chemicals or expensive products.
You can whip up your very own homemade skincare products that are effective and eco-friendly.
So, go ahead, give it a shot! Your skin deserves a treat, and trust me you’ll feel oh-so-good after applying it. Happy pampering!
Mixing Soothing Aloe Vera Skin Remedy