Heavenly Brown Butter Ice Cream: a Nutty Delight in Every Scoop
- A Scoop of Nostalgia: My Love for Brown Butter Ice Cream
- A Little Bite of History
- Crunching Numbers: Cost-Effective Indulgence
- Health Benefits & Unique Selling Points
- Time to Gather Your Ingredients!
- Essential Ingredients Guide: The Lowdown on Ice Cream Staples
- Unlocking the World of Professional Cooking: A Beginner’s Guide
- Pro Tips & Secrets for Perfecting Brown Butter Ice Cream
- Perfect Presentation: Make it Gorgeous!
- Storage & Make-Ahead: Keeping It Fresh
- Creative Variations: Mix It Up!
- Complete Nutrition Guide: The Good Stuff
- Frequently Asked Questions
- 📝 Recipe Card
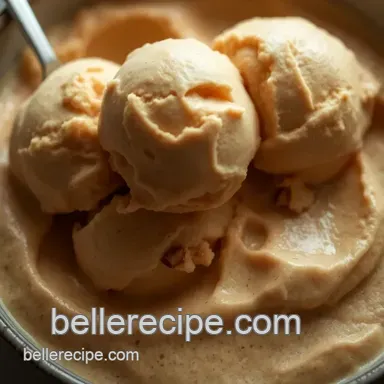
A Scoop of Nostalgia: My Love for Brown Butter Ice Cream
You ever have one of those days where just thinking about dessert makes everything a bit better? that’s how i felt when i first discovered brown butter ice cream .
Picture this: a hot summer afternoon, my friends and i are lounging on the porch. suddenly, one of them walks in with a scoop of this golden delight, and boom! my taste buds were taken on a flavor roller coaster.
The deep, nutty richness complemented by creamy sweetness? oh my gosh, i was hooked! it wasn’t just ice cream; it was a dessert that brought people together.
Now, you might wonder, what the heck is brown butter ice cream anyway? well, my friends, it’s an elevated ice cream flavor derived from a classic french technique called beurre noisette .
Translated, it means brown butter , and it’s all about that toasty, caramel like flavor that adds a whole new dimension to your homemade ice cream.
Let’s dive into it!
A Little Bite of History
This nutty ice cream has roots that stretch back to french culinary traditions. people have been cooking with browned butter for ages; it adds warmth and richness to dishes.
Fast forward to today, and we see this glorious flavor making waves in gourmet ice cream shops across america. its modern relevance is undeniable, as dessert lovers everywhere crave unique and bold flavor combinations.
Now, let’s be real. making homemade ice cream could seem like a challenge. but with this brown butter dessert recipe, you’re looking at a medium level of difficulty.
The hardest part is mastering the art of browning butter, but trust me, once you get the hang of it, the results are totally worth it! you’ll need about an hour for active work (plus a little chill time), but it yields around 4-6 delightful servings.
Crunching Numbers: Cost Effective Indulgence
Let’s chat about cost considerations . with most ingredients easily found in your pantry or local grocery store, this swanky dessert won’t break the bank.
Think around $10-$15 total, depending on what you have on hand. and with 4-6 servings, you’re set to impress your friends or simply indulge yourself!
Health Benefits & Unique Selling Points
Before you say, “but wait, isn’t ice cream kinda bad for you?” let’s take a minute. yes, it’s ice cream, but it’s made with real ingredients! that means health benefits and nutrition highlights that come from the creamy base and the wholesome butter.
With egg yolks in the mix, you’re also getting some protein.
What truly makes this dessert shine? it's that unique selling point a nutty ice cream recipe that feels both sophisticated and approachable.
When you serve it, your friends will be raving about how gourmet it tastes, and you can smile, knowing you created it right in your own kitchen.
Plus, it fits perfectly into any special occasion think summer barbecues, elegant dinner parties, or even a chill night in with some binge watching.
And let’s not forget: this is way more than just your typical ice cream flavor. while vanilla can be a safe bet, this brown butter recipe brings a delightful twist to your dessert table.
It rivals that classic vanilla ice cream base but adds a warm note that you won't find in standard ice cream flavor combinations.
Time to Gather Your Ingredients!
Alright, now that we’ve got you drooling over the idea of brown butter ice cream, are you ready to gather your ingredients? Get your heavy cream, whole milk, sugar, and, of course, that golden unsalted butter ready to shine!
Let’s make this gourmet treat happen together. you won’t regret this journey into crafting ice cream at home . trust me it’s an adventure that brings the joys of cooking right to your kitchen.
Stay tuned for that ingredient list; you’re going to love diving into this recipe!
Essential Ingredients Guide: The Lowdown on Ice Cream Staples
Alright, y'all! let’s talk shop about the essential ingredients you need to whip up a heavenly batch of homemade ice cream, like that dreamy brown butter ice cream we all crave.
This guide is your go-to for knowing what you need, how to use it, and tackling some fun twists along the way.
Grab a snack and let’s dive in!
Premium Core Components
First things first, let’s lay it out. When crafting ice cream, use solid ingredients for the best results.
Measurements matter! If you're in the U.S., you're looking at cups and tablespoons. For my international peeps, I got you with metric liters and grams. It’s about precision here, folks!
Quality indicators: fresh cream should smell sweet and be thick. for butter, look for pale yellow for the best flavor.
You want that rich, nutty note in your brown butter dessert recipe. always check those expiration dates, too.
Storage guidelines: Keep your dairy chilled. Heavy cream lasts about a week in the fridge, while milk’s good for a week or so after opening.
Freshness tips: before using eggs, crack one open to check its smell and freshness. if it smells like sulfur, run! and when selecting butter, make sure it's nice and solid, not soft to the touch.
Signature Seasoning Blend
Now, let’s sprinkle a little magic on that ice cream base!
Bundling essential spices can supercharge your flavors. A pinch of nutmeg or cinnamon transforms a basic batch into something exciting.
Herb pairings: Fresh herbs can make unexpected differences! Think mint and basil they bring out flavors in your desserts like you wouldn’t believe.
Flavor enhancers are your friends! Vanilla extract is a must have. It complements that nutty profile of our beloved brown butter.
And if you're feeling flashy, let’s talk regional varieties . Ever tried toasted coconut with your ice cream? You should!
Smart Substitutions
Life happens, and sometimes you can’t get your hands on every ingredient. Here's where creativity shines!
Common alternatives can work wonders. No heavy cream? Use half and-half, though it might be just a tad less rich.
If you’re vegan, folks, swap eggs for silken tofu or coconut milk! You’ll still end up with a creamy ice cream that’s downright delicious.
Emergency replacements: Out of vanilla? A bit of almond extract or even some leftover coffee can turn your ice cream into a surprise delight.
And don’t forget about seasons! Add fresh peaches in summer or pumpkin in fall. It's a game changer!
Kitchen Equipment Essentials
Alright, kitchen warriors let’s gear up!
First, a trusty ice cream maker brings the magic! If you don’t have one, no worries. A good ol’ shallow dish works, too. Just stir every half hour for the best texture!
Must have tools include a whisk and a spatula . They are crucial when you’re mixing your ingredients and tempering those egg yolks yes, we’ll get into that!
Storage solutions : Clear airtight containers are the way to go. You don’t want your ice cream tasting like that leftover lasagna in the back of the freezer!
Let’s be real here: You need the right tools and ingredients to really nail those gourmet ice cream ideas .
Get Ready to Create!
Hopefully, you’re as excited to get cooking as i am. the world of ice cream definitely holds some fun surprises, especially with that luscious brown butter ice cream waiting to happen! with these insights in your back pocket, you’re all set to embrace the joy of crafting ice cream at home .
Don’t forget to stick around for the step-by-step instructions on how to bring that creamy treat to life! Trust me, your taste buds will thank you later! look into into the details, and let’s create some elevated ice cream recipes that will blow everyone away!
Unlocking the World of Professional Cooking: A Beginner’s Guide
So, you’ve decided to roll up your sleeves and step into the deliciously exciting world of professional cooking? awesome! whether you want to make that stellar brown butter ice cream or nail a family dinner, getting the essentials down can make all the difference.
Let’s dive into it!
Essential Preparation Steps
Mise en place that fancy french term just means “everything in its place.” before you even think about turning on the stove, chop, measure, and organize your ingredients.
Seriously, it’s like having a game plan for your cooking. trust me; you’ll save yourself a ton of time and a lot of stress no last minute searching for that missing spice!
Time management is key. chunk your cooking time into specific tasks. for instance, when whipping up that sweet brown butter ice cream, spend the first 15 minutes browning the butter while prepping your other ingredients.
This way, you’ll keep things flowing smoothly without feeling frazzled.
Staying organized is a chef’s secret weapon. use your kitchen space wisely. keep a clean countertop and tidy away any clutter.
I can’t tell you how many times i’ve tripped over a stray spatula or misplaced a cup of sugar! and hey, let’s not forget about safety , folks.
Use oven mitts, keep pot handles turned in, and watch out for those sneaky hot spots on the stove. safety first, always!
Step-by-step Process
Alright, now for the fun part cooking! Here’s a simple, no-nonsense process:
Brown the butter : heat that ½ cup of unsalted butter in a saucepan over medium heat. make sure to stir it enough so it doesn’t burn.
We’re aiming for that rich, nutty aroma, which should take about 5- 7 minutes !
Prepare the ice cream mixture : in a bowl, whisk together 1 cup of heavy cream , 1 cup of whole milk , ¾ cup of sugar , 1 teaspoon of vanilla , and ¼ teaspoon of salt .
Pour in your heavenly brown butter slowly while mixing. it should look creamy and luxurious.
Temper the egg yolks : beat 4 large egg yolks in a separate bowl. gradually add your warm cream mixture, whisking to prevent scrambling those eggs.
Don’t rush this step; it's so important for that rich texture!
Cook the Mixture : Place the saucepan over medium low heat until the mixture thickens a good 5- 7 minutes here too or until it coats the back of a spoon.
Chill and churn : strain your mix into a bowl to catch any lumps, then chill it for at least 4 hours (or overnight, if you can wait).
Churning is where the magic happens, turning it into creamy ice cream perfection.
Freeze : Once you’ve churned it to soft serve consistency, pop it into the freezer for a solid 4 hours to firm up. Trust me; it’ll be worth the wait!
Expert Techniques
Here’s where we bring out the big guns! Pay attention to your cooking temps— medium low heat is your best friend here. It keeps the butter from burning and preserves those delicious flavors.
Don’t skip quality checkpoints. taste as you go. if something seems off, it might just need a pinch more salt or sugar.
It’s all about that balance, right? if your ice cream isn’t creamy enough, give it a few more minutes in the machine or remember to cool everything really well before churning.
And hey, troubleshooting tips! If your ice cream is too icy, it might have been over churned, or not chilled long enough. Next time, be a little gentler with it.
Success Strategies
Finally, let’s chat about avoiding those common pitfalls. one big one? not measuring accurately. i’ve had many a failed dish because i added a bit too much or too little.
So get that measuring cup out and be precise!
Quality assurance is simple: always taste! You can’t go wrong with a little sampling.
For perfect results, allow enough time for chilling and freezing. we all want that smooth, creamy texture in our brown butter ice cream .
If you're pressed for time, there’s always the no-churn option stir every half an hour to break up the ice crystals.
And speaking of flexibility, consider making ahead ! a batch of this ice cream can easily be prepped in advance and left in your freezer for special occasions it’s the perfect showstopper for gatherings.
So there you have it! with these tools in your back pocket, you’re well on your way to becoming a home cooking superstar.
Ready to dive deeper into the wonderful world of ice creams and other elevated dessert recipes ? stay tuned for more tips and tricks coming right up!
Pro Tips & Secrets for Perfecting Brown Butter Ice Cream
Oh my gosh, if you haven't tried brown butter ice cream , you’re missing out on a real treat! this nutty ice cream recipe is more than just a sweet dish; it’s an experience.
Here are some of my favorite pro tips to help you master this delightful dessert.
Chef's personal insights: one thing i learned the hard way is to really pay attention when browning butter . it’s super easy to go from perfectly golden to burnt in a flash.
Gotta channel your inner "martha" and keep stirring!
Time saving techniques: if you’re short on time, make the ice cream base a day ahead. chill overnight and churn the next day.
You’ll be surprised at how well flavors develop overnight. plus, you can impress friends with that "i planned this all along" vibe.
Flavor Enhancement Tips: Want to amp up those caramel notes ? Toss in a hint of sea salt or even a splash of bourbon while it churns. It totally elevates the flavor.
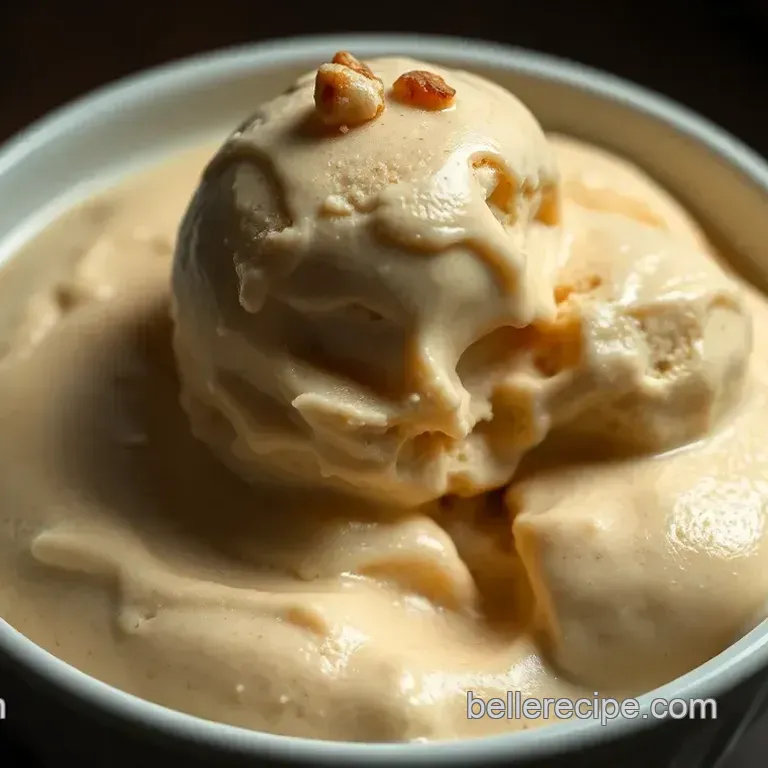
Presentation advice: this ice cream deserves to look as good as it tastes. scoop it into a fancy bowl and sprinkle some toasted nuts on top for that “wow” factor.
Honestly, it doesn’t take much to turn a simple scoop into a gourmet dessert.
Perfect Presentation: Make it Gorgeous!
Remember, we eat with our eyes first! Here’s how to nail the plating and impress your friends.
Plating Techniques: Use a big, beautiful scoop of your beurre noisette ice cream in a shallow bowl, then drizzle with homemade caramel sauce. It’s all about layering!
Garnish Ideas: A few dollops of whipped cream on top and some chocolate shavings will do the trick. Or, opt for a sprinkle of flaky sea salt to highlight that nutty flavor.
Color Combinations: A bright plate contrasts beautifully with the rich brown of the ice cream. Think white dishes or vibrant colors that make that brown butter color pop.
Visual Appeal Tips: Try adding a couple of fresh berries! They’ll not only add a pop of color but also give that sweet tart zing that complements the rich creaminess.
Storage & make-ahead: Keeping It Fresh
Let’s talk about keeping that nutty goodness fresh for as long as possible.
Storage Guidelines: Store your ice cream in an airtight container. This means less ice crystal formation which messes with that luscious texture you worked so hard to achieve.
Preservation Methods: Lay a sheet of wax paper directly on the ice cream before putting on the lid. It helps keep it super creamy!
Reheating instructions: well, this is ice cream, so there isn’t really a “reheat” situation. but if you’ve frozen it solid, let it sit out for a few minutes before scooping.
You want that creamy consistency, not a workout for your spoon!
Freshness Duration: This ice cream can last a good 2 weeks in the freezer, but why wait? It’s too delicious to last that long!
Creative Variations: Mix It Up!
Don’t be afraid to give this homemade ice cream your personal touch!
Flavor Adaptations: Swap out some of the sugar for brown sugar for a deeper flavor. Or try using maple syrup for a rustic twist.
Dietary Modifications: If you’re dairy-free, coconut cream can be a fantastic substitute. You won’t lose the creaminess!
Seasonal Twists: When berries are in season, toss in some fresh mashed strawberries to create a sweet and savory ice cream combo.
Regional Variations: Try adding spices like cinnamon for a cozy fall vibe, or maybe a little chili powder for a celebration of fusion flavors!
Complete Nutrition Guide: The Good Stuff
Let’s break down what makes our brown butter ice cream both indulgent and a bit more wholesome.
Detailed Breakdown: It’s around 300 calories per serving, which isn’t too bad for a decadent dessert option .
Health Benefits: Believe it or not, that creaminess comes with some perks! Milk contains calcium, and how about those antioxidants from the dark chocolate?
Dietary Considerations: Watching sugar? Consider using stevia or monk fruit as a sweetener alternative.
Portion Guidance: One scoop is generally enough for dessert, especially when paired with a heavier cake or pie.
In the end, this ice cream can be your canvas. whether you're serving it with chocolate desserts or enjoying it on its own, remember to savor every spoonful! look into in and don’t shy away from experimenting.
Happy ice cream crafting!
Frequently Asked Questions
What is brown butter ice cream and how does it differ from regular vanilla ice cream?
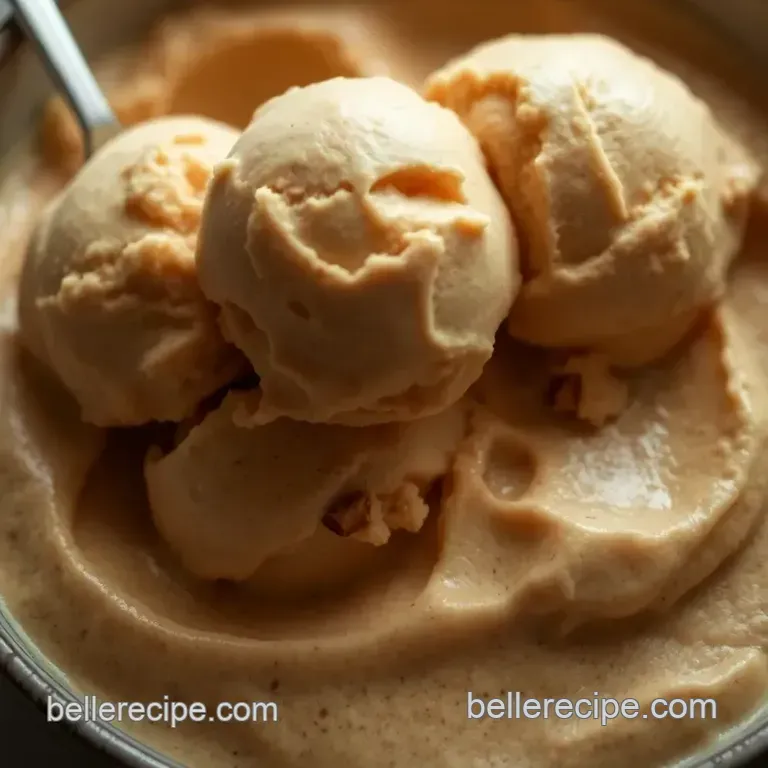
Brown butter ice cream is a rich and nutty variation of traditional vanilla ice cream made using browned butter, which imparts a deep, caramel like flavor. Unlike regular vanilla ice cream, it has a wonderful toasty aroma and a unique taste profile that adds sophistication and warmth, making it an impressive dessert choice.
How do I prevent the butter from burning while browning it for my ice cream?
To avoid burning the butter, keep the heat on medium and stir it frequently as it melts and foams. Watch closely for the color change and be ready to remove it from the heat as soon as it turns golden brown and emits a nutty aroma this usually takes about 5-7 minutes.
Can I make brown butter ice cream without an ice cream maker?
Absolutely! If you don’t have an ice cream maker, simply pour the chilling mixture into a shallow dish and place it in the freezer. Stir it every 30 minutes for about 2-3 hours to break up ice crystals, resulting in a creamy texture without all the fancy gear.
What are some variations I can try with brown butter ice cream?
There are loads of delicious variations! You could add toasted nuts for crunch, mix in some cocoa powder for a chocolatey twist, or even incorporate a splash of bourbon for an adult twist. Get creative and see what combinations you love the most!
How long can I store brown butter ice cream, and how should I do it?
Your brown butter ice cream can be stored in an airtight container in the freezer for up to two weeks. To maintain the best texture, ensure it's tightly covered to prevent freezer burn. Take it out a few minutes before serving so it can soften and be easier to scoop.
Is brown butter ice cream suitable for those with dietary restrictions?
While traditional brown butter ice cream contains dairy and eggs, you can make it dairy-free by using coconut cream and almond milk. If you're avoiding eggs, consider using a substitute or cornstarch to maintain a creamy consistency. It's a delightful treat that can be tailored to various dietary needs!
Heavenly Brown Butter Ice Cream A Nutty Delight