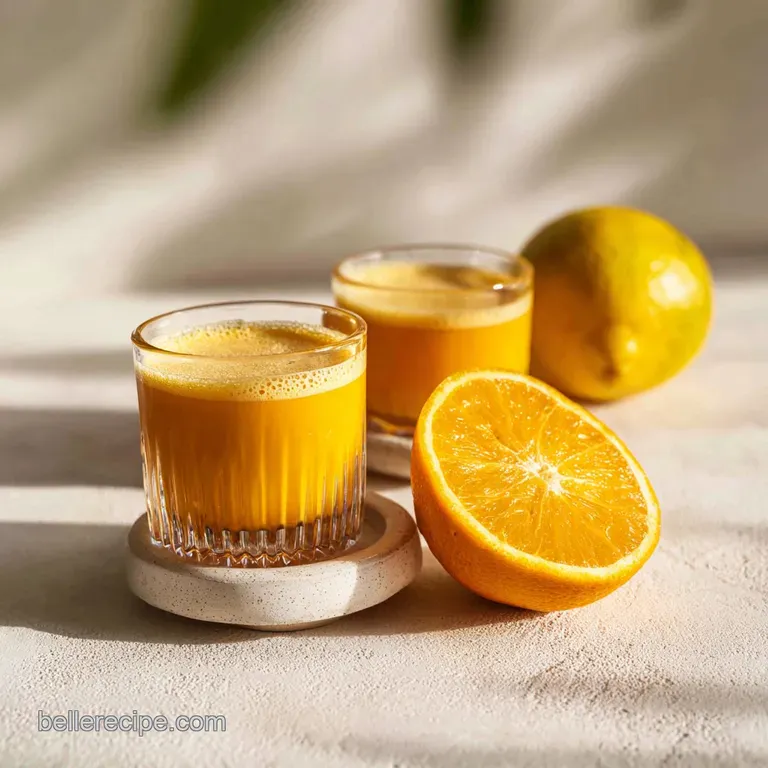
Wellness Shots Recipe: Turmeric and Ginger
- Time: Active 10 minutes, Passive 0 minutes, Total 10 minutes
- Flavor/Texture Hook: Sharp, spicy ginger heat balanced by citrus zing and a silky honey finish
- Perfect for: Early morning energy, immune support during winter, or a post lunch digestive aid
- The Magic Behind These Potent Flavor Layers
- Selecting the Best Method for Your Kitchen
- The Bioavailability Secret of Golden Roots
- Selecting Your Elements and Smart Substitutes
- Step by Step Guide to a Perfect Zingy Shot
- Managing the Intense Heat of Fresh Ginger
- Adjusting the Batch for Your Needs
- Traditional Simmering vs Modern Blending
- Debunking Common Infusion Misconceptions
- Keeping Your Shots Fresh and Vibrant
- Serving and Presentation Ideas
- Wellness Shots Recipe FAQs
- 📝 Recipe Card
The Magic Behind These Potent Flavor Layers
Building the perfect wellness shot is all about layering different types of heat and acidity to create a balanced profile. If you find yourself gravitating toward these herbal boosts, you might also love learning [How to Make recipe] for a goldenseal tonic, which follows a similar philosophy of using earth's roots for wellness.
Here is why this specific combination of ingredients works so well together:
- Thermic Synergy: The ginger and turmeric provide a "slow burn" that increases blood flow, while the cayenne adds an immediate "sharp" heat that wakes up the palate.
- Piperine Activation: Black pepper isn't just for flavor here, it contains piperine, which is essential for making the beneficial compounds in turmeric actually usable by your body.
- Citrus Osmosis: The high acidity of the lemon and orange juices helps to extract the oils from the ginger and turmeric roots during the blending process.
- Enzymatic Preservation: By keeping the recipe raw and unheated, we preserve the delicate enzymes and Vitamin C that can sometimes be lost during boiling.
It’s a mindful practice, much like brewing a [Classic Sun Tea recipe] on a quiet Sunday afternoon, where we let simple ingredients do the heavy lifting.
Selecting the Best Method for Your Kitchen
Before you start chopping, you need to decide which tool is going to give you the best extraction. While a juicer is the "traditional" choice, I actually prefer the blender method for several reasons.
It allows you to control the exact amount of liquid and ensures you aren't losing any of those potent oils that get stuck in the fiber of a juicer.
| Method | Prep Time | Cleanup Level | Best For |
|---|---|---|---|
| High Speed Blender | 10 minutes | Moderate (Need a nut milk bag) | Maximum oil extraction and flavor control |
| Centrifugal Juicer | 5 minutes | High (Many parts to wash) | Speed and high volume without pulp |
| Masticating Juicer | 15 minutes | High | Highest nutrient retention and very dry pulp |
Choosing the right path depends on how much time you have on a Monday morning. Personally, I stick with the blender because it’s easier to toss everything in and then just do one quick strain through a fine mesh sieve.
The Bioavailability Secret of Golden Roots
Piperine Bridge: Curcumin, the star of turmeric, has very low absorption on its own, but adding black pepper increases its bioavailability by up to 2,000 percent. The tiny pinch of pepper acts as a key that unlocks the cellular door for the turmeric to enter.
| Component | Science Role | Pro Secret |
|---|---|---|
| Ginger Root | Gingerol compounds | Use the spoon scraping method to peel to save the nutrient dense layer just under the skin. |
| Turmeric Root | Curcuminoid source | Always wash twice, the skin is porous and holds onto fine silt which can make the shot taste "dusty." |
| Black Pepper | Bioavailability catalyst | Freshly cracked pepper is 5x more potent than pre ground powder for piperine content. |
| Raw Honey | Natural Emulsifier | Honey helps the spices stay suspended in the citrus juice rather than sinking to the bottom. |
The interaction between the fats (if you add a drop of oil) and the spices is where the real transformation happens. Without these small additions, you're just drinking spicy juice instead of a functional wellness shot.
Selecting Your Elements and Smart Substitutes
To make the best wellness shots recipe, you need fresh, vibrant ingredients. Look for ginger that feels heavy for its size and has taut, shiny skin if it looks wrinkled, it’s already drying out and losing its juice.
- Filtered Water (1 cup): Essential for a clean taste.
- Substitute: Coconut water for added electrolytes and a hint of sweetness.
- Why this? Dilutes the intense acidity to make the shot drinkable without losing potency.
- Fresh Lemon Juice (1/2 cup): Provides the sharp acid hit.
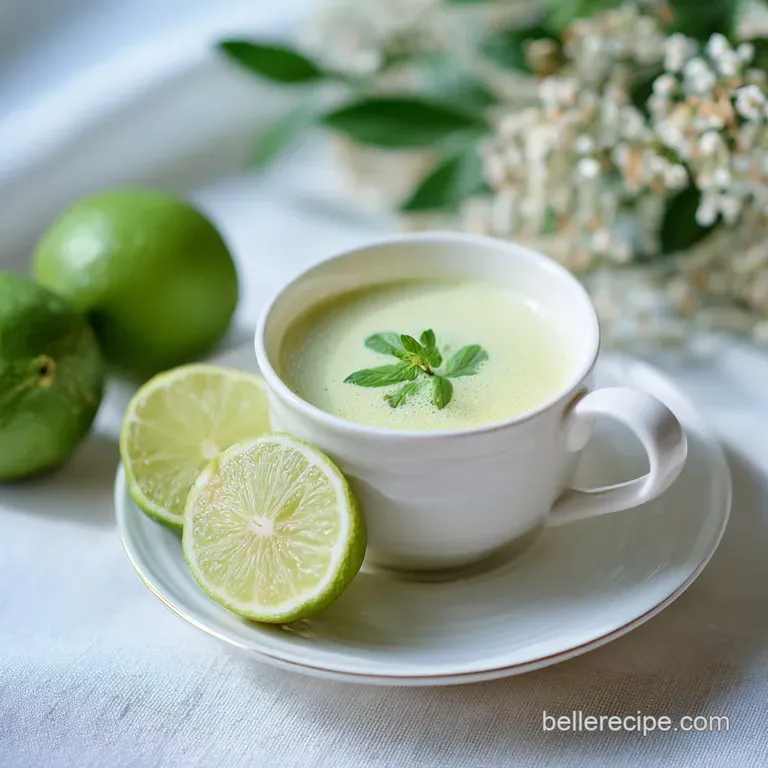
- Substitute: Lime juice (adds a slightly more floral, bitter note).
- Why this? Acts as a natural preservative and provides a massive Vitamin C boost.
- Fresh Orange Juice (1/2 cup): Softens the blow of the ginger.
- Substitute: Pineapple juice (adds bromelain for digestion but increases sugar).
- Why this? The natural sugars balance the earthy bitterness of the turmeric root.
- Fresh Ginger Root (4 oz): The "engine" of the shot.
- Substitute: 2 tbsp ginger powder (Warning: much more concentrated and lacks the fresh "zing").
- Fresh Turmeric Root (2 oz): The golden healer.
- Substitute: 1 tbsp ground turmeric (Note: results in a grittier texture).
- Black Pepper (1/4 tsp): Freshly cracked is best.
- Substitute: White pepper (milder heat, same piperine benefits).
- Cayenne Pepper (1/8 tsp): For the metabolic "kick."
- Substitute: A slice of fresh habanero (Only for the brave, significantly increases heat).
- Raw Honey (2 tbsp): The soothing finish.
- Substitute: Maple syrup (vegan friendly, but adds a woodsy flavor).
step-by-step Guide to a Perfect Zingy Shot
- Prep the roots. Scrub the 4 oz ginger and 2 oz turmeric thoroughly under cold water. Note: You don't actually need to peel them if using a high speed blender and a fine strainer, just chop them into 1/2 inch pieces.
- Squeeze the citrus. Extract 1/2 cup each of lemon and orange juice. Ensure no seeds fall in, as blending seeds will make the shot incredibly bitter.
- Combine ingredients. Place the chopped roots, citrus juices, 1 cup filtered water, 2 tbsp raw honey, 1/4 tsp black pepper, and 1/8 tsp cayenne into the blender canister.
- High speed pulse. Start the blender on the lowest setting and slowly increase to high. Process for 60 seconds until completely pulverized and the liquid looks like bright orange milk.
- Set up the strain. Place a fine mesh sieve or a nut milk bag over a large glass bowl or measuring cup.
- Filter the liquid. Pour the mixture through the strainer. Press firmly on the solids with the back of a spoon to squeeze out every last drop of the "liquid gold."
- Final stir. Give the strained liquid a quick whisk to ensure the honey and spices are perfectly incorporated.
- Bottle it up. Carefully pour the mixture into small glass jars (2 oz size is standard).
- Chill and settle. Place the jars in the fridge for at least 30 minutes. Note: The sediment will settle at the bottom, which is totally normal.
- The morning ritual. Shake the bottle vigorously before drinking. Drink in one or two quick gulps followed by a sip of water if the ginger "sting" is too intense.
Chef's Tip: If you find the turmeric stains your blender, wipe it down with a bit of vegetable oil before washing with soap. The oil lifts the curcumin pigment much better than water alone.
Managing the Intense Heat of Fresh Ginger
The most common hurdle with this wellness shots recipe is the sheer intensity of the ginger. If you've never had a fresh ginger shot before, the sensation can be quite shocking it’s a physical heat, not just a flavor.
Taming the Spicy Burn
If your first batch feels like it's melting your throat, don't throw it out. The intensity of ginger varies wildly depending on the season and where it was grown. Older, larger roots are often much more fibrous and "hot" than young, spring ginger.
| Problem | Root Cause | Solution |
|---|---|---|
| Too spicy to swallow | Excess ginger or cayenne | Dilute with more orange juice or add an extra tablespoon of honey. |
| Bitter aftertaste | Blended citrus seeds or old turmeric | Add a pinch of sea salt; it suppresses bitterness and enhances the citrus. |
| Staining everywhere | Turmeric is a natural dye | Use glass equipment only and wear gloves when handling the raw root. |
Common Mistakes Checklist
- ✓ Always use fresh roots instead of powder for the most vibrant flavor profile.
- ✓ Don't skip the black pepper - it's the biological "on switch" for the turmeric.
- ✓ Strain the mixture twice if you prefer a perfectly silky, sediment free texture.
- ✓ Shake the bottle right before drinking to redistribute the settled spices.
- ✓ Use glass storage containers; plastic will absorb the smells and stains permanently.
Adjusting the Batch for Your Needs
This recipe makes about 10 servings (2 oz each), which is perfect for one person to have a shot every morning for a week, with a couple extra for a friend.
Scaling Down (Single Serving): If you just want to try it out, you can divide everything by 10. However, most blenders struggle with such small volumes. I recommend making at least a half batch (5 shots). Use a small personal blender like a Magic Bullet if you go this route.
Scaling Up (For a Family or Group): If you’re making 20 or 30 shots at once, keep the salt and spices (pepper/cayenne) at 1.5x the original amount rather than doubling or tripling them. Spices can become overwhelmingly dominant in large batches.
Also, work in batches in your blender to ensure the roots get completely pulverized without overheating the motor.
Traditional Simmering vs Modern Blending
While we are focusing on a raw blender method, some people prefer a cooked version. This is similar to how we might approach the [The Homemade Chicken recipe] for a Divan sometimes we want the freshness of the raw ingredients, and sometimes we want the mellowed, melded flavors of a simmer.
| Method | Temperature | Texture | Best For |
|---|---|---|---|
| Blender (Raw) | Cold/Room Temp | Vibrant and sharp | Immediate energy and Vitamin C retention |
| Stovetop (Simmered) | 185°F | Mellow and earthy | A soothing evening tea or for sensitive stomachs |
| Oven (Roasted Root) | 350°F | Caramelized and deep | A unique, smoky version of a wellness tonic |
Debunking Common Infusion Misconceptions
One of the biggest myths in the wellness world is that you must drink these on an empty stomach for them to work. In reality, turmeric is fat soluble. Drinking your shot alongside a breakfast that includes healthy fats (like avocado toast or eggs) actually helps your body absorb the nutrients better than drinking it on a completely empty stomach.
Another misconception is that boiling the ginger and turmeric makes them "stronger." While heat can help release some compounds, it also destroys the delicate Vitamin C in the lemon and orange juices.
By using the blender method, we get the best of both worlds: high extraction through mechanical force without the heat induced nutrient loss.
Keeping Your Shots Fresh and Vibrant
Storage Guidelines: Store your wellness shots in the back of the fridge, which is the coldest part. They will stay fresh and potent for up to 7 days. After day 4, you might notice the citrus flavor starts to flatten out slightly, but the ginger and turmeric will remain effective.
Freezing for Later: You can absolutely freeze these! Pour the strained liquid into a silicone ice cube tray. Once frozen, pop the "wellness cubes" into a freezer bag. You can drop a cube into a mug of hot water for an instant ginger tea or let it thaw in a small glass overnight.
They stay good in the freezer for up to 3 months.
- 1. Ginger Turmeric Tea
- Boil the pulp with a cinnamon stick and water to make a secondary "weak" tea.
- 2. Stir fry Base
- Freeze the pulp in 1 tbsp portions and drop them into a hot pan before adding veggies for a quick flavor base.
- 3. Smoothie Boost
- Add a teaspoon of the pulp to your morning smoothie for extra fiber and a subtle spice kick.
Serving and Presentation Ideas
To make this feel like a true ritual, don't just drink it out of a measuring cup. I love using small amber glass bottles they protect the light sensitive nutrients and look beautiful lined up in the fridge.
If you're serving these to guests at a brunch, rim a small shot glass with a mixture of coconut sugar and a pinch of sea salt. It looks elegant and helps balance the intense acidity of the lemon. You can also garnish with a tiny sprig of mint or a very thin slice of fresh ginger on the rim.
The goal is to make the experience as vibrant as the ingredients themselves, transforming a simple health habit into a highlight of your morning.

Wellness Shots Recipe FAQs
What are the best ingredients for wellness shots?
Focus on fresh, potent roots and citrus. Key ingredients include fresh ginger root, fresh turmeric root, lemon juice, and orange juice, often enhanced with black pepper for turmeric absorption and a touch of honey. These provide a powerful blend of anti inflammatory and immune boosting compounds.
Are wellness shots actually healthy?
Yes, when made with whole, fresh ingredients. They are packed with vitamins, minerals, and potent antioxidants from ingredients like ginger and turmeric, known for their anti inflammatory properties. However, watch out for added sugars if you're buying pre-made versions.
Is it okay to take wellness shots every day?
Generally, yes, but listen to your body. Daily consumption can provide consistent immune support and digestive benefits. Start with one shot per day and adjust based on how you feel, especially considering the intensity of ingredients like ginger.
Who should not drink ginger shot?
Individuals with certain medical conditions should exercise caution. This includes those prone to heartburn, with stomach ulcers, or on blood thinning medications, as ginger can sometimes exacerbate these issues or interact with medication.
Can I use dried ginger or turmeric instead of fresh?
It's best to use fresh roots for maximum potency and flavor. While dried spices can be used, they lack the vibrant 'zing' of fresh ginger and may result in a less potent or grittier shot, similar to how dried herbs offer a different flavor profile than fresh in recipes.
How long do homemade wellness shots last?
Store them in airtight glass containers in the refrigerator for up to 7 days. For longer storage, you can freeze them in ice cube trays; this method preserves their potency for up to 3 months. The freezing technique is a great way to manage your prep, much like freezing portions of your favorite Cheddar Broccoli Soup: Ultra Creamy, Panera Style Homemade Recipe.
What's the best way to strain the wellness shot mixture?
Use a fine mesh sieve or a nut milk bag. Press down firmly on the solids to extract all the liquid for maximum yield. This is a crucial step for a smooth texture, ensuring no pulp remains, much like ensuring a smooth sauce consistency when making something like Boursin Chicken Recipe: Pan-Seared with Creamy Garlic Herb Sauce.
Wellness Shots Recipe
Ingredients:
Instructions:
Nutrition Facts:
| Calories | 34 kcal |
|---|---|
| Protein | 0.4 g |
| Fat | 0.2 g |
| Carbs | 8.2 g |
| Fiber | 0.3 g |
| Sugar | 5.5 g |
| Sodium | 2 mg |
