Drop Biscuits the Essential 20Minute Recipe No Rolling Pin Needed
- Why These Drop Biscuits Master the Art of Rustic Baking
- The Fastest Route to Freshly Baked Bread
- Gathering the Essentials for Tender Drop Biscuits
- Beyond the Pantry: Critical Temperature and Measurement Tips
- Mastering the Technique: Step and by-Step Drop Biscuit Assembly
- Troubleshooting and Customizing Your Next Batch
- Recipe FAQs
- 📝 Recipe Card
Why These Drop Biscuits Master the Art of Rustic Baking
Listen, I love a laminated, flaky, roll and cut biscuit as much as the next person. Truly. But sometimes (okay, most of the time), I just don't have the emotional energy for precise layering and cleaning flour dust off every surface in the kitchen.
That’s where the gorgeous, messy, rustic drop biscuit comes in. These aren't fussy. They don't require fancy cutters or bench scrapers. They are the kitchen equivalent of throwing on a comfortable sweater and realizing you look effortlessly chic.
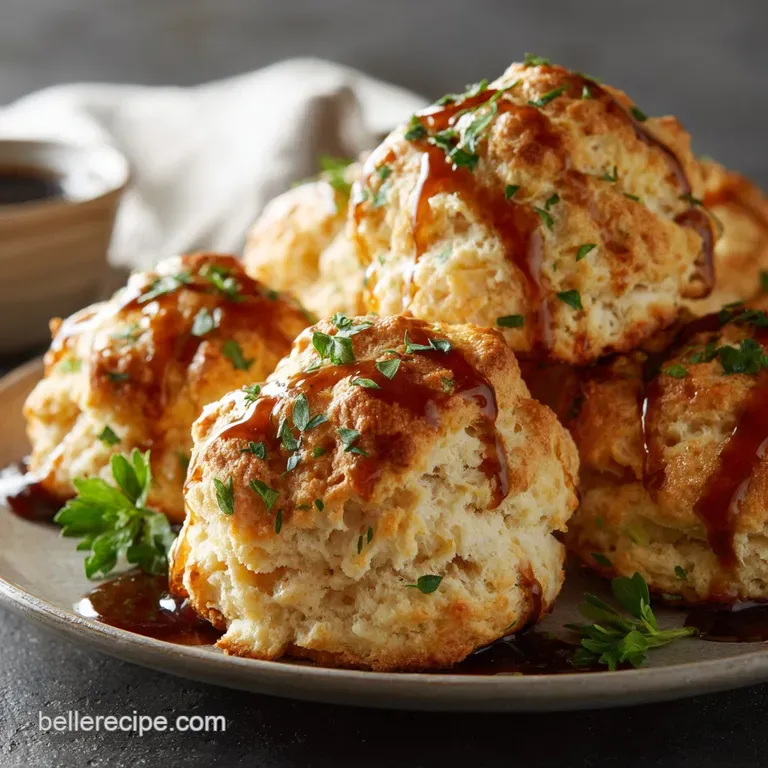
The goal is maximum cragginess and a deeply tender interior that is absolutely perfect for soaking up any kind of liquid, whether it’s rich gravy or the savory broth from a deep drop biscuits for stew or chicken pot pie. We ditch the rolling pin entirely. We embrace the sticky dough. It’s brilliant.
The Fastest Route to Freshly Baked Bread
When you need a batch of warm bread right now , nothing beats this method. We’re talking under ten minutes of active mixing and then about fifteen minutes in a blisteringly hot oven.
If you’ve got cold butter, buttermilk, and flour on hand (and you should, always), you’re literally 25 minutes away from smelling that glorious, comforting scent wafting through your house.
Defining the Essential Difference: Dropped vs. Rolled Dough
Rolled biscuits rely on creating layers of butter you fold, turn, and laminate the dough so the butter melts in sheets, producing those distinct layers we often call 'flaky.' Drop biscuits, however, rely on sheer speed and tiny, inconsistent chunks of cold butter that create vertical steam pockets.
This difference matters because it changes the texture. Rolled biscuits are neat and uniformed; drop biscuits are delightfully ragged, which gives you more surface area for that crispy, buttery crust.
Think of rolled as the formal dinner guest, and the dropped biscuit as the fun, loud cousin who shows up wearing a spectacular sweater.
The Secret Weapon of Southern Comfort Cuisine
These drop biscuits are staples in Southern kitchens for a reason: versatility. They are robust enough to stand up to heavy sauces but soft enough not to feel dense. You can easily make savoury drop biscuits with cheese or herbs, or keep them plain.
If you are struggling to find a solid companion for a hearty weeknight meal, these are your answer.
| Use Case | Recommended Biscuit Treatment |
|---|---|
| Beef Stew or Chili | Simple, unadorned for maximum soaking capacity. |
| Chicken Pot Pie | Drop them right on top of the filling during the last 15 minutes of baking. |
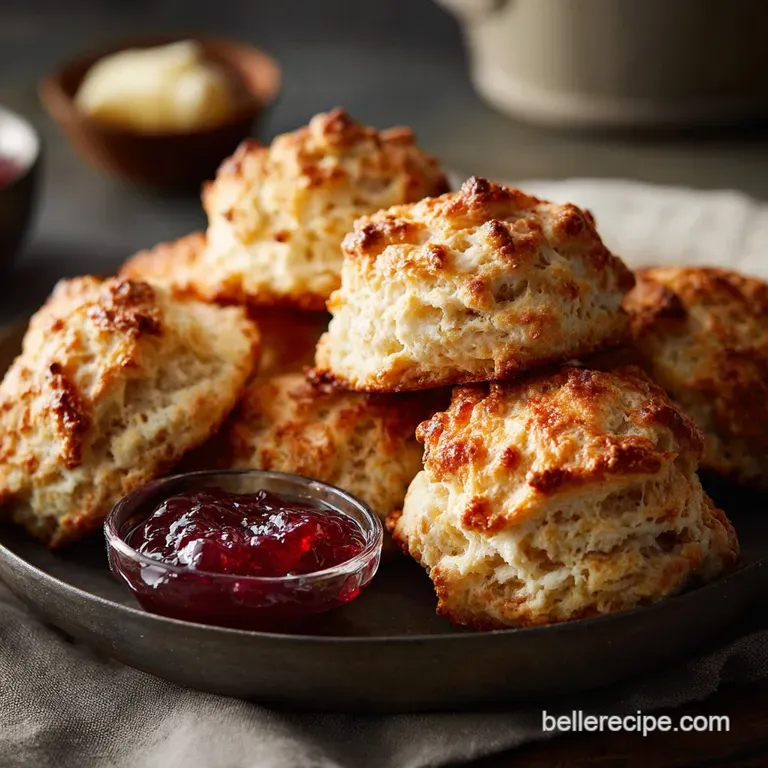
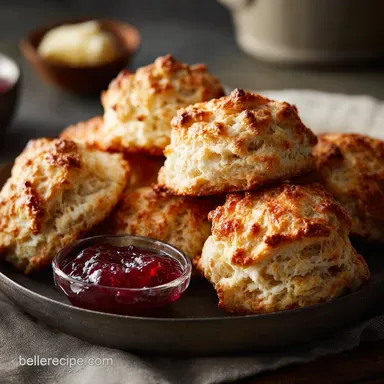
| Breakfast/Jam | Brush generously with drop biscuits melted butter right after they come out. |
20 Minutes Start and to-Finish: Timing the Perfect Batch
This speed is achievable because we are using high heat and relying on cold ingredients to do the work. Don’t dawdle once the buttermilk hits the flour. You’ll want your oven preheated to 450°F (232°C) before you even start cutting the butter.
The moment those wet ingredients meet the dry, gluten development begins, and that clock is ticking toward toughness. Mix. Drop. Bake. Fast, fast, fast.
Gathering the Essentials for Tender Drop Biscuits
Baking is chemistry, and chemistry hates shortcuts, right? Wrong. The ingredient list here is minimal, but the quality and temperature are non and negotiable.
You need full and fat buttermilk. Trust me on this. If you absolutely cannot find it (or need drop biscuits without milk for dietary reasons), the vinegar and standard milk trick works, but the flavour and tenderness are better with real buttermilk.
It brings a tangy richness that helps tenderize the flour, fighting off the toughness that could otherwise develop. Also, make sure your baking powder hasn’t been hiding in the back of the cupboard since 2018. If it’s old, your biscuits will sit flatter than a pancake. Give them the lift they deserve!
Related Recipes Worth Trying
- Grandmas Easy Drop Biscuit Recipe So Simple — Craving Grandmas biscuits This easy drop biscuit recipe is foolproof No rolling just simple Southern comfort food The perfect quick biscuit recipe Get the...
- 7Up Biscuits Fluffy Bisquick Biscuits Made Easy — Craving fluffy easy biscuits These Bisquick and 7 up biscuits are a breeze A Southern classic with a lemonlime twist perfect for any meal Get the recipe now
- Biscuits and Gravy Hashbrown Breakfast Casserole Oh My — Kick off brunch with my biscuits and gravy hashbrown breakfast casserole This comfort food mashup is easy to make perfect for a crowd Get the recipe
Beyond the Pantry: Critical Temperature and Measurement Tips
These tips are the difference between a decent biscuit and a life and changing one. Please, read this section twice.
The Magic of Ice and Cold Butter and Why It Matters
When the ice and cold butter hits that screaming hot oven (450°F!), it instantly turns into steam. This steam is what gives your biscuit lift and creates all those gorgeous internal holes and air pockets.
If your butter is soft or even slightly pliable, it will melt before the biscuit structure sets, resulting in a flat, dense disc instead of a puffy cloud.
I highly recommend cutting your butter into half and inch cubes and popping them back into the freezer for five minutes while you measure the flour. This is non and negotiable. It's the primary engine for maximum biscuit rise.
Choosing the Right Leavener: Baking Powder vs. Baking Soda
We are using both here, and that’s intentional.
Baking powder is a double and acting leavener; it starts working when it gets wet, and it works again when it hits the heat. The baking soda, however, requires an acid and we get that acid from the buttermilk. The combo gives you a massive, immediate lift.
If you substitute the buttermilk with regular milk, you should skip the baking soda entirely and rely only on the baking powder, otherwise you’ll end up with a metallic aftertaste. Yuck.
Essential Tools: Skipping the Mixer (and the Rolling Pin)
This is a strictly hands and on, low and tech operation. If you use a stand mixer, you risk overworking the dough in about ten seconds flat. We want a delicate hand here. A simple large bowl, a whisk for the dry stuff, and a rubber spatula for mixing the wet are all you need.
You'll be using your fingertips or a pastry blender to cut in the butter. Keep it simple. Keep it fast.
The Proper Spooning Method for Accurate Flour Measurement
I learned this the hard way. My first few batches of scones (the British cousin, remember?) were dry and sad because I was scooping the flour straight out of the bag with the measuring cup. When you scoop, you compact the flour, meaning you are adding up to 25% more flour than the recipe calls for.
Crucial Tip: Use a small spoon to gently fluff the flour in its canister, then spoon it lightly into your measuring cup until it overflows. Level the excess off with the back of a knife. That is the only accurate way to measure flour volumetrically.
Mastering the Technique: Step and by-Step Drop Biscuit Assembly
The process is simple, but the mental checklist for speed is key.
Cutting the Fat: Incorporating Butter Without Overworking
When you cut in the cold butter, you are looking for two textures. You want the bulk of the mixture to look like coarse sand, but crucially, you need to see some definite pea and sized pieces of butter left intact. Those little peas are what explode with steam in the oven.
Work quickly with your fingers or a pastry cutter, stopping the second you hit this texture. Seriously. Stop.
Hydrating the Dough: Mixing Until Just Combined
Pour in the buttermilk all at once. Now, using that rubber spatula, use a cutting and folding motion. Don't stir it like soup. Fold it gently, turning the bowl as you go, just until the liquid is incorporated and the mass holds together. It will be very shaggy and sticky. It will look unprofessional.
That’s how you know you did it right. Streaks of dry flour are absolutely fine.
The Scoop and Drop: Ensuring Maximum Rise and Shape
Remember, we aren't shaping these. We are dropping them. I like using an ice cream scoop (a 2 ounce size) because it gives a nice, rounded vertical shape. If you use a spoon, use two spoons to help guide the dough up and off the spoon, aiming to drop a rustic mound onto the baking sheet.
Resist the urge to press them down or smooth the tops. The craggier, the better.
The High Heat Strategy: Oven Placement for Golden Tops
The 450°F heat is necessary to set the crust immediately, forcing the steam inside to push the dough upward. Place your baking sheet on the upper and middle rack. This positioning ensures the tops of the biscuits get a beautiful golden colour without burning the bottoms (which can happen if they are too close to the heating element).
Rotate the pan halfway through the bake time (around the 7 minute mark) for even colour.
Troubleshooting and Customizing Your Next Batch
Handling Overworked Dough: A Quick Fix
If you accidentally mixed the dough for too long and it feels smooth and elastic (you'll know, because it will be tougher to work with), your biscuits will likely be a bit dense. You have one emergency trick:
- Add 1 2 tablespoons of heavy cream or melted butter to the dough and gently fold it in. The extra fat will help tenderize the gluten that you overworked. Then immediately drop and bake.
Creative Flavor Swaps: Herbs, Cheeses, and Sweet Variations
These biscuits welcome additions! Just remember that any add and ins must be coated in flour first before mixing, especially if you are using drop biscuits with cheese.
- Savoury Power: Try sharp cheddar and a pinch of cayenne pepper, or perhaps roasted garlic and parmesan.
- Sweet Treat: Mix in a tablespoon of orange zest and a quarter cup of dried cranberries. Brush with honey after baking.
- Lard for Flavour: Substitute 2 tablespoons of butter with cold, cubed lard for an incredibly rich, subtle depth of flavour.
Freezing Unbaked Drop Biscuits for Later Use
This is my absolute favourite hack for having "fresh bread" on demand.
- Drop the raw biscuit mounds onto the parchment and lined baking sheet as usual.
- Place the entire tray into the freezer until the biscuits are solid (about 1– 2 hours).
- Transfer the frozen biscuits to a freezer bag or airtight container. Label the bag with the temperature (450°F).
- To Bake: Do not thaw! Place the frozen biscuits back on a baking sheet. Add 3– 5 minutes to the total bake time. They bake up perfectly from frozen.
Best Practices for Reheating Day and Old Biscuits
Don't microwave them. Seriously. They turn rubbery and sad.
The only acceptable way to revive a day and old biscuit is wrapping it loosely in foil and sticking it in a moderate oven (300°F/150°C) for about 8– 10 minutes. The foil traps the steam, gently rewarming the biscuit without drying it out.
If you're really pressed for time, slicing them in half and toasting them in a buttered pan works great too.

Recipe FAQs
My biscuits came out flat as a pancake, not tall and fluffy. Where did I go wrong?
This is usually a tragedy of warmth or over mixing! Ensure your butter and buttermilk are stone cold like a British seaside in winter and mix the dough only until the flour disappears, otherwise, you'll develop tough gluten that prevents a proper rise.
I've made a huge batch! How do I store leftover Drop Biscuits to keep them fresh?
Once completely cool, store them in an airtight container at room temperature for up to two days. A quick reheat in a medium oven (about 5 minutes) brings back that 'freshly baked' magic and prevents them from becoming sadly stale.
These remind me a bit of a British scone. What’s the main difference between scones and American biscuits?
While they share similar ingredients, scones often contain egg and sometimes sugar, and are typically cut into neat rounds or triangles; these rustic American Drop Biscuits rely entirely on high heat and cold butter for a highly savoury, craggy texture perfect for rich gravies.
I haven't got any buttermilk lurking about. Is there a simple pantry fix I can use?
Absolutely. If you’re caught short, simply combine whole milk with a dash of lemon juice or white vinegar (one tablespoon per cup of milk); let it sit for five minutes until it curdles slightly, and you'll have a perfectly functional acidic substitute.
Can I freeze the raw dough for these ahead of time for a quick mid-week meal?
Yes, and it’s a brilliant time saver! Scoop the raw dough into the drop shapes, flash freeze them on the baking sheet until solid, then transfer the frozen drops to an airtight bag, baking them straight from the freezer with an extra 5 8 minutes added to the bake time.
20minute Essential Drop Biscuits
Ingredients:
Instructions:
Nutrition Facts:
| Calories | 499 kcal |
|---|---|
| Protein | 2.5 g |
| Fat | 26.3 g |
| Carbs | 63.3 g |
