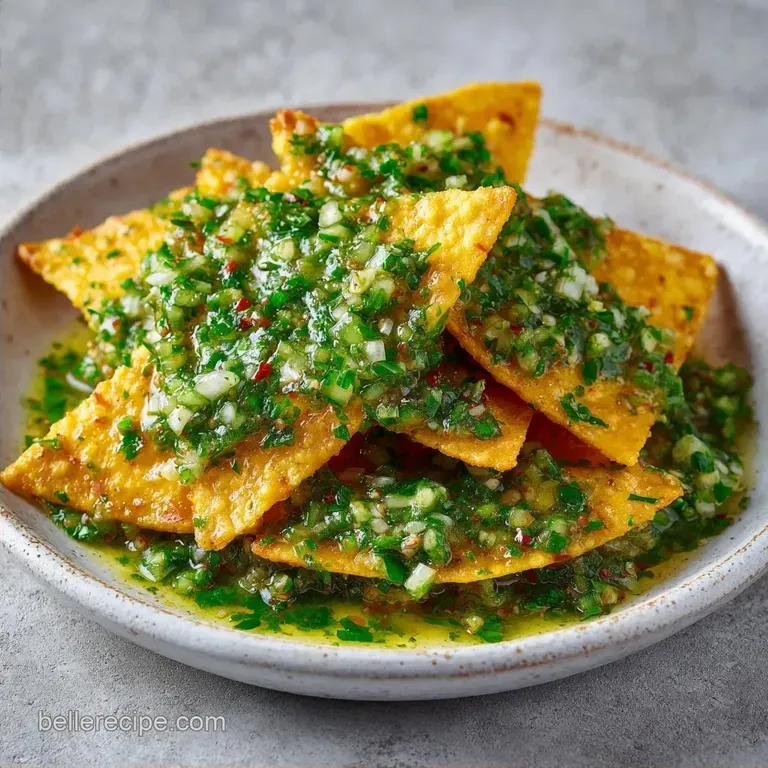
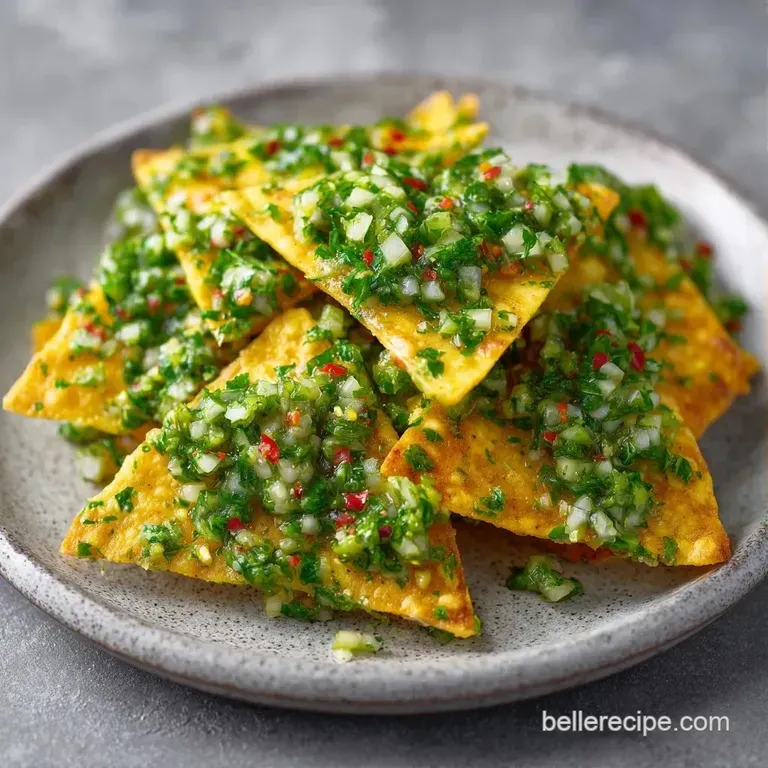
Chilaquiles Verdes: Zesty and Crispy
- Time: 10 min active + 15 min cook
- Flavor/Texture Hook: Tangy, zesty sauce with shatter crisp chips
- Perfect for: Sunny weekend brunches or a hearty dinner
- Easy Home Style Chilaquiles Verdes
- Why This Dish Works
- Component Analysis
- Shopping List Breakdown
- Cooking Steps and Tips
- Fixing Common Issues
- Troubleshooting Common Issues
- Customizing Your Plate
- Dish Truths and Myths
- Saving Your Leftovers
- Perfect Side Pairings
- High in Sodium
- Recipe FAQs
- 📝 Recipe Card
Easy Home Style Chilaquiles Verdes
The smell of roasting tomatillos is something that takes me right back to my grandmother's kitchen. It is a scent that is sharp, slightly acidic, and completely mouth watering. There is something so special about the way those little green fruits soften and release their juices, filling the room with a bright, garden fresh aroma that tells you breakfast is almost ready.
In Mexico, this dish is a lesson in resourcefulness. It started as a way to use up stale tortillas, turning something dry and forgotten into a vibrant, savory meal. Chilaquiles Verdes isn't just about hunger, it's about the sharing experience, gathering around a big platter while the chips are still sizzling in the sauce.
You can expect a dish that hits every taste bud. You get the zing of lime, the creamy coolness of avocado, and the heat of serrano peppers. It's not about being fancy, it's about those comforting, bold flavors that make you feel at home, no matter where you are.
Why This Dish Works
Starch Structure: Baking tortillas at 400°F removes moisture, creating a rigid structure that resists getting soggy immediately when hitting the sauce.
Acid Balance: Tomatillos provide a natural citric acidity that cuts through the fat of the crema and avocado, keeping the palate refreshed.
Heat Distribution: Simmering the blended sauce first concentrates the flavors, ensuring the heat from the serranos is mellowed and spread evenly.
Protein Integration: Adding shredded chicken directly to the sauce allows the meat to absorb the zesty flavors rather than just sitting on top.
| Approach | Prep Time | Texture | Best For |
|---|---|---|---|
| Fresh Blend | 10 mins | Vibrant, zesty | Weekend brunch |
| Shortcut Sauce | 5 mins | Milder, uniform | Weeknight dinner |
| Fried Chips | 15 mins | Greasier, denser | Maximum crunch |
| Baked Chips | 10 mins | Lighter, crisp | Healthier option |
Component Analysis
| Ingredient | Science Role | Pro Secret |
|---|---|---|
| Tomatillos | Primary Acid | Keep the husks on until washing to prevent stickiness |
| Corn Tortillas | Texture Base | Use tortillas that are a day old for faster crisping |
| Serrano Peppers | Heat Source | Remove seeds for a mild kick, keep them for a punch |
| Mexican Crema | Fat/Coolant | Chill the crema before drizzling for a better contrast |
Shopping List Breakdown
For a truly authentic taste, look for firm, bright green tomatillos. According to USDA FoodData, these fruits are rich in vitamins and provide that signature tartness. If you can't find fresh ones, canned works, but the flavor is less bright.
- 12 corn tortillas, cut into triangles (approx. 450g) Why this? Corn provides a nutty base that holds sauce well
- 2 tbsp extra virgin olive oil Why this? High smoke point for oven roasting
- 1/2 tsp sea salt Why this? Enhances the natural corn flavor
- 1 lb husked tomatillos Why this? The soul of the green sauce
- 2 serrano peppers Why this? Provides a clean, sharp heat
- 1/2 white onion (approx. 100g), roughly chopped Why this? Adds a savory, aromatic depth
- 3 cloves garlic, peeled Why this? Pungency that balances the acid
- 1/4 cup fresh cilantro, stems included Why this? Stems have more flavor than leaves
- 1 tbsp lime juice Why this? Brightens the final taste
- 1 tsp salt Why this? Basic seasoning for the sauce
- 2 cups cooked shredded chicken breast (300g) Why this? Hearty protein that absorbs sauce
- 1/2 cup crumbled queso fresco (60g) Why this? Salty, milky contrast
- 1/4 cup Mexican crema (60ml) Why this? Velvety texture to cool the heat
- 1 avocado, sliced Why this? Adds richness and creaminess
- 2 tbsp chopped cilantro for garnish Why this? Fresh herbal finish
- 2 tbsp thinly sliced red onion (20g) Why this? Sharp, crisp bite
| Original Ingredient | Substitute | Why It Works |
|---|---|---|
| Mexican Crema | Sour Cream | Similar tang. Note: Slightly thicker and more tart |
| Queso Fresco | Feta Cheese | Briny and crumbly. Note: Stronger salt profile |
| Serrano Peppers | Jalapeños | Similar heat. Note: Slightly milder and fruitier |
| Olive Oil | Avocado Oil | Neutral taste. Note: Higher smoke point for oven |
Cooking Steps and Tips
Right then, let's get into the actual making. I've found that the order of operations is everything here. If you rush the chips, they turn into mush. If you overcook the sauce, you lose that bright green color.
Phase 1: Creating the Crispy Base
- Preheat oven to 400°F (200°C). Toss tortilla triangles with olive oil and salt on a baking sheet. Note: Space them out so they don't steam each other
- Bake for 8-10 minutes, flipping halfway through, until golden and crisp. Set aside. Note: They should shatter when you bite them
Phase 2: Blending the Zesty Green Sauce
- Place tomatillos, serrano peppers, onion, garlic, and cilantro into a blender and pulse until smooth. Note: Don't over blend or it becomes too frothy
- Pour the sauce into a skillet over medium heat and simmer for 5-7 minutes until thickened and smelling fragrant. Stir in lime juice and salt. Note: The aroma should change from raw to savory
Phase 3: The Final Assembly
- Stir shredded chicken breast into the simmering sauce to warm through. Note: Let the chicken soak up that green gold
- Turn off the heat and immediately fold in the baked tortilla chips to coat quickly. Note: Doing this off heat prevents instant sogginess
- Plate immediately and top with crumbled queso fresco, a drizzle of crema, avocado slices, and red onion. Note: The heat from the chips will slightly melt the cheese
Chef's Note: For a deeper flavor, I like to char the tomatillos and peppers in a dry skillet for 3 minutes before blending. It adds a smoky note that makes the Chilaquiles Verdes taste like they came from a professional kitchen.
Fixing Common Issues
One thing I learned the hard way is that timing is everything. I once left my chips in the sauce for five minutes too long, and I ended up with a green tortilla porridge. It was edible, but it wasn't the experience I wanted.
Troubleshooting Common Issues
| Issue | Solution |
|---|---|
| Why Your Chips Get Soggy | This usually happens if you simmer the chips in the sauce. The chips are meant to be coated, not boiled. To avoid this, always turn off the stove before adding your tortillas. |
| Why Your Sauce Is Too Tart | Tomatillos can vary in acidity. If your sauce tastes too sharp, a pinch of sugar or an extra knob of butter can mellow it out. You can also add more onion to the blend to provide a sweeter base. |
| Why The Sauce Separates | This is rare with a blender sauce, but it can happen if the heat is too high. Keep the simmer gentle. If it happens, a quick whisk usually brings it back together. |
Mistakes Checklist
- ✓ Did you preheat the oven to 400°F?
- ✓ Are the chips actually crisp before adding sauce?
- ✓ Did you turn off the heat before folding in tortillas?
- ✓ Did you taste the sauce for salt before adding chicken?
- ✓ Are your toppings fresh and chilled?
Customizing Your Plate
The beauty of Chilaquiles Verdes is that it's a canvas. While I love the chicken version, you can really play around with this. If you want a lighter start to the day, try making them with just eggs. For those who love a different kick, you might prefer my Red Chilaquiles Recipe, which uses dried guajillo chilies for a smokier, deeper profile.
For a protein power up, you can add crumbled chorizo or black beans. If you are feeling fancy, a fried egg with a runny yolk on top is non negotiable. The yolk mixes with the green sauce to create a velvety richness that is just out of this world.
If you want a vegan friendly version, swap the crema for a cashew based cream and use a dairy-free feta. You'll find that the boldness of the tomatillo sauce carries the dish regardless of the toppings.
For a Milder Heat Level
If you are cooking for kids or people who can't handle spice, remove the seeds and ribs from the serrano peppers. You can even swap the serranos for a mild poblano pepper, though you'll lose some of that signature "zing."
For the Low Oil Chips
Instead of tossing the tortillas in oil, you can spray them lightly with an oil mister. According to Serious Eats, this still allows for a crisp texture while significantly cutting down on the fat content.
| Goal | Action | Result |
|---|---|---|
| More Heat | Add habanero | Intense, fruity spice |
| More Creamy | Double the crema | Milder, velvety sauce |
| More Texture | Add pumpkin seeds | Nutty, roasted crunch |
Dish Truths and Myths
You might hear that you have to fry your tortillas in a deep vat of oil to get them right. That is a myth. Baking them at a high temperature gives you a cleaner, lighter crunch that actually absorbs the sauce better without feeling greasy.
Another common misconception is that you need a fancy molcajete to make the sauce. While a stone mortar and pestle adds a certain charm, a modern blender provides a consistent, smooth texture that is much more practical for a quick weekday meal.
Some people think Chilaquiles Verdes are only for breakfast. Honestly, don't even bother with that rule. This is a fantastic dinner option, especially when paired with a cold drink and some fresh lime wedges.
Saving Your Leftovers
Storing this dish is a bit tricky because of the texture. If you store the assembled Chilaquiles Verdes in the fridge, the chips will inevitably soften. This isn't necessarily bad, as some people actually prefer the "soft" style, but if you want the crunch, you have to separate the components.
Fridge Storage: Store the green sauce and chicken in one container and the baked chips in a separate airtight bag. They will stay fresh for about 3-4 days. When you're ready to eat, heat the sauce in a pan and fold in the chips at the last second.
Freezing: You can freeze the green sauce for up to 3 months. Just leave out the lime juice and cilantro, as those lose their brightness in the freezer. Add them back in once you've thawed and reheated the sauce.
Zero Waste Tip: Don't throw away the tomatillo husks if you're composting. Also, if you have leftover corn tortillas that are too dry to even bake, you can blend them directly into the sauce to act as a natural thickener. It adds a subtle corn flavor and reduces waste.
Perfect Side Pairings
Since this dish is so bold and acidic, you want sides that provide a contrast. Something cool and creamy or something sweet and fresh works best. I often serve this alongside a bowl of fresh papaya or mango slices to cleanse the palate between bites of the spicy sauce.
For those who want a full brunch spread, this goes amazingly well with a side of refried beans. The earthiness of the beans anchors the brightness of the Chilaquiles Verdes. If you are looking for something even faster, you can check out my Easy Breakfast Chilaquiles for a streamlined version of this experience.
A fresh Mexican coffee, or Cafe de Olla, with its notes of cinnamon and piloncillo, is the ultimate beverage pairing. The warmth and sweetness of the coffee balance the sharp, zesty notes of the green sauce, making the whole meal feel like a cozy embrace.
Right then, that's it. You've got the secrets to a platter of Chilaquiles Verdes that will actually stay crisp and taste authentic. Just remember: bake the chips well, don't overcook them in the sauce, and be generous with the avocado. Happy cooking!
High in Sodium
980 mg 980 mg of sodium per serving (43% 43% of daily value)
The American Heart Association recommends a daily sodium limit of no more than 2,300 mg for most adults to maintain heart health.
Tips to Reduce Sodium in Your Recipe
-
Cut Added Salt-30%
Reduce the sea salt and table salt by half or eliminate them entirely; the tomatillos and cheese already provide significant flavor.
-
Fresh Shredded Chicken-20%
Use freshly poached chicken breast instead of pre-cooked shredded chicken to avoid hidden sodium from commercial brines.
-
Limit Queso Fresco-15%
Reduce the amount of queso fresco or swap it for a smaller portion of a lower sodium fresh cheese alternative.
-
Low-Sodium Tortillas-10%
Choose low-sodium corn tortillas or make your own using masa harina and water to avoid processed additives.
-
Enhance with Aromatics
Increase the amount of fresh cilantro, lime juice, and garlic to add brightness and depth without increasing sodium.
Recipe FAQs
What ingredients are in Chilaquiles Verdes?
They consist of corn tortilla triangles, salsa verde, and shredded chicken breast. The sauce is made from tomatillos, serrano peppers, onion, garlic, and cilantro, then topped with queso fresco, crema, avocado, and red onion.
What is the difference between red and green chilaquiles?
The primary difference is the base of the sauce. Chilaquiles Verdes use tomatillos and green chiles for a tart flavor, while red versions typically use tomatoes or dried red chilies.
How to prevent the chips from getting soggy?
Turn off the heat before folding in the baked chips. This ensures the tortillas are coated in the sauce rather than boiled, which preserves their texture.
How to make the salsa verde?
Blend tomatillos, serrano peppers, onion, garlic, and cilantro until smooth. Simmer the mixture in a skillet for 5 7 minutes until thickened, then stir in lime juice and salt.
Can I use store-bought tortilla chips?
Yes, but homemade baked chips are crispier. To make them, toss tortilla triangles with olive oil and salt and bake at 400°F for 8 10 minutes.
Is it true that simmering the chips in the sauce makes them taste better?
No, this is a common misconception. Simmering the chips makes them mushy; for the best result, fold them in immediately after turning off the stove.
How to serve Chilaquiles Verdes?
Plate the chicken coated chips immediately. Top with crumbled queso fresco, a drizzle of crema, avocado slices, and red onion; this dish pairs perfectly with a wet burrito for a complete meal.
Chilaquiles Verdes Recipe

