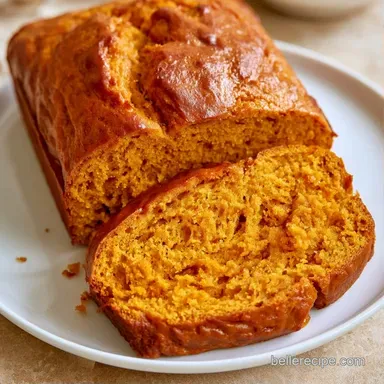
Pumpkin Bread Machine Recipe Yeast: Soft, Low-Sugar Loaf
- Time: 10 min active + 3 hours 15 mins cook
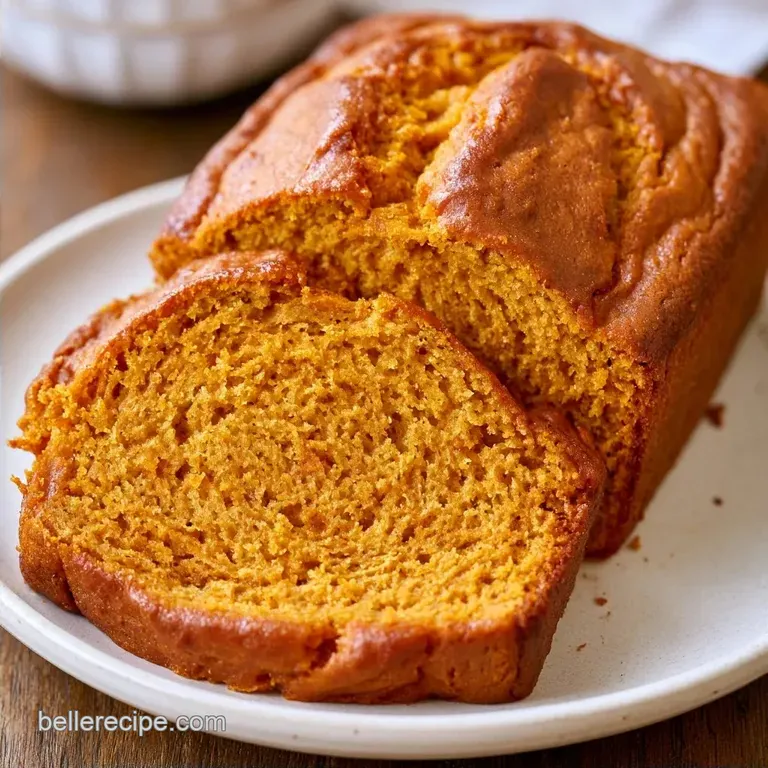
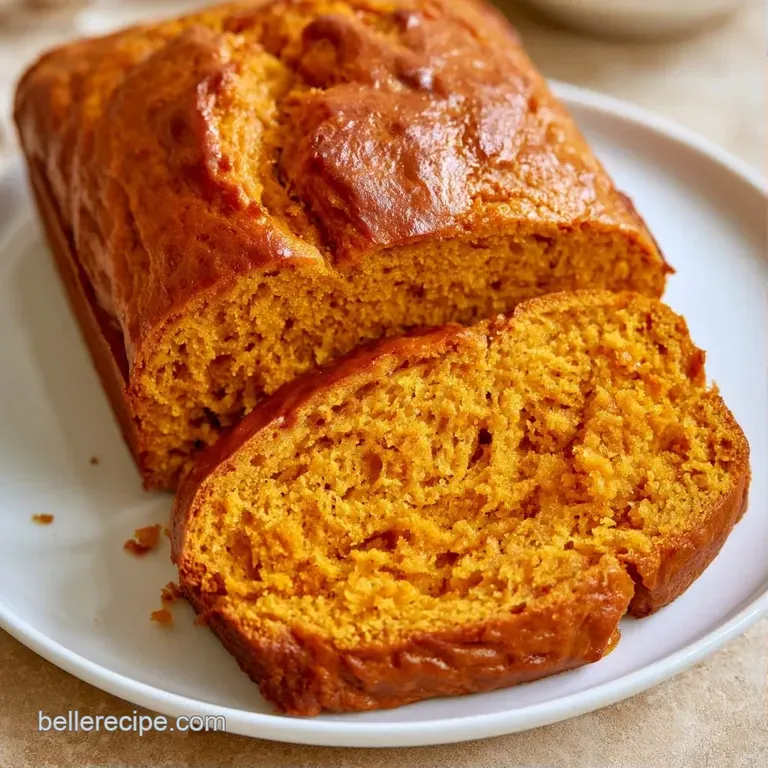
- Flavor/Texture Hook: Deep mahogany crust with a tender, moist crumb
- Perfect for: Cozy breakfast or sharing with neighbors during the holidays
The smell of toasted cinnamon and warm pumpkin fills the whole house long before the machine beeps. There is something about that specific aroma that makes a kitchen feel like a sanctuary.
I remember my first attempt at this; I forgot to scrape the corners of the pan, and I ended up with a loaf that had a strange, floury patch on the side. It wasn't a tragedy, but it taught me that the machine needs a little help to be consistent.
Once you get the loading order right, this becomes the easiest part of your morning. You just toss things in, press a button, and wait for the magic. This Pumpkin Bread Machine Recipe Yeast method takes the stress out of baking while keeping that homemade, mindful quality we all crave.
Expect a loaf that feels substantial but stays soft. It's a bit different from the cake like quick breads you find in stores. Because we use yeast, you get a real bread texture that's satisfyingly chewy and pairs perfectly with a thick slab of salted butter.
Pumpkin Bread Machine Recipe Yeast Basics
Pumpkin Purée: The natural sugars and moisture in the squash act as a dough conditioner, creating a velvety interior that stays fresh longer.
Yeast vs. Baking Powder: Using yeast instead of chemical leaveners gives the loaf a structured, airy rise. This makes it feel more like a traditional artisan loaf than a dense cake, similar to how homemade white bread gets its fluffiness. Bread machine yeast is formulated to activate quickly and mix directly with dry ingredients. Learn more from Serious Eats about the different types of yeast for baking bread.
The Gear You'll Need
The required equipment is minimal. A standard bread machine, such as a Zojirushi or Hamilton Beach, does most of the work. You'll also want a sturdy silicone spatula for the "corner scrape" and a wire cooling rack. Using the rack is essential to prevent trapped steam from making the bottom of your loaf soggy.
What Each Ingredient Does
| Component | Purpose | Substitute Notes |
|---|---|---|
| Pumpkin Purée | Adds moisture and color | Roasted butternut squash: Works well, slightly sweeter |
| Bread Flour | Provides strong gluten structure | All purpose: Loaf will be softer and less tall |
| Maple Syrup | Natural sweetness and depth | Honey: Same ratio, slightly more floral taste |
| Instant Yeast | Lifts the dough | Active Dry: Must bloom in warm water first |
For the Wet Base
- 3/4 cup warm water
- 1/2 cup pure pumpkin purée Why this? Keeps the crumb moist and adds color
- 2 tbsp extra virgin olive oil
- 1/3 cup maple syrup Why this? Adds a rich, woody sweetness
- 1 tsp vanilla extract
For the Dry Mix
- 3 cups bread flour Why this? High protein creates a better rise
- 2 tsp instant yeast Why this? No need to proof before adding
- 1 tsp salt
- 1 tbsp pumpkin pie spice
- 1 tsp ground cinnamon
Quick Numbers and Times
This recipe takes about 10 minutes of your time to prep, but the machine does the heavy lifting over 3 hours 15 mins. The total time from start to finish is 3 hours 25 mins. It yields 12 generous slices.
| Goal | What to change |
|---|---|
| Sweeter loaf | Add 1 tbsp maple syrup |
| Heartier crumb | Swap 1 cup white for whole wheat |
| Spicier profile | Add 1/2 tsp extra cinnamon |
Bringing It Together
Phase 1: The Loading Sequence
Pour the warm water, olive oil, maple syrup, and pumpkin purée into the bread pan. Note: Adding liquids first prevents flour from sticking to the bottom.
Carefully spoon the bread flour over the wet ingredients. Spread it out so it forms a complete blanket, hiding all the liquids from view.
Push a small hole into the center of the flour with your finger, but don't let it touch the water. Pour the instant yeast into this hole.
Sprinkle the salt, cinnamon, and pumpkin pie spice into separate corners of the pan. Keeping the salt away from the yeast helps the bread rise better.
Phase 2: The Machine Cycle
Set your machine to the 'Basic White' or 'Whole Wheat' setting. Choose the 'Medium Crust' option for a balanced finish.
Start the cycle. Set a timer for 10 minutes. When it goes off, open the lid and use your silicone spatula to scrape any dry flour pockets out of the corners.
Phase 3: Cooling and Finishing
Wait for the machine to beep. Remove the pan immediately so the crust doesn't steam inside the machine.
Gently shake the loaf onto a wire cooling rack. Let it sit for 20 minutes until the internal structure sets before you slice into it.
Avoiding Kitchen Disasters
When using this Pumpkin Bread Machine Recipe Yeast, the most common issue is the dough consistency. Pumpkin moisture varies between brands, so one can might be "wetter" than another. Trust your eyes during the first few minutes of kneading.
Fixing Sticky Dough
If the dough looks like a thick batter instead of a smooth ball, it's too wet. Add 1 tablespoon of bread flour every few minutes until it clears the sides of the pan.
Handling Poor Rise
A flat loaf usually means the yeast was old or the water was too hot. Make sure your water feels like a warm bath, not boiling, or you'll kill the yeast.
Managing Loaf Collapse
A sunken top often happens if the machine is overloaded or the flour wasn't measured correctly. Use a scale or the "spoon and level" method for the flour.
| Problem | Root Cause | Solution |
|---|---|---|
| Dough too sticky | Excess pumpkin moisture | Add 1 tbsp flour at a time |
| Loaf didn't rise | Dead yeast or hot water | Check yeast expiration; use 110°F water |
| Dense, heavy crumb | Too much flour | Reduce flour by 2 tbsp next time |
Keeping It Fresh
Store your slices in an airtight plastic container on the counter for 2 days. To extend their freshness, move them to the fridge for about 72 hours.
For longer storage, slice the loaf and freeze the pieces with parchment paper layers in between. They will keep in a freezer bag for 2 months. Just toast a slice for a minute to revive that fresh baked scent.
To prevent waste, repurpose stale slices as pumpkin French toast. Soak them in a mixture of cinnamon, milk, and egg, then fry in butter. It's a thoughtful way to use every slice.
Ways to Shake Things Up
If you want to experiment with tweaking this Pumpkin Bread Machine Recipe Yeast, try adding half a cup of toasted pepitas or chopped walnuts. Add these during the "add in" beep of your machine.
For a different twist on autumn baking, you might enjoy my sweet potato bread with miso which offers a salty sweet contrast.
You can also swap the maple syrup for honey or brown rice syrup. Just be aware that honey is slightly sweeter, so you might want to reduce the amount by a teaspoon to keep the flavor balanced.
Presentation Tips
Cut the loaf into thick slices and toast them until the edges are golden and crisp. Top with a pat of salted butter or a splash of extra maple syrup.
Since this is a yeast based bread, it offers a different character than a quick bread. It feels less like a cake and more like a cozy brunch loaf.
| Feature | Fresh Hand Kneaded | Machine Shortcut |
|---|---|---|
| Effort | High (manual labor) | Low (automated) |
| Time | 4-5 hours | 3.5 hours |
| Texture | Chewy and irregular | Soft and consistent |
And that's everything. Once you see the contrast of the dark mahogany crust against the vibrant orange center, the Pumpkin Bread Machine Recipe Yeast will likely become your October favorite. It's an easy, heartwarming way to bring some cozy vibes to your table.
Recipe FAQs
Can pumpkin bread be made in a bread machine?
Yes, this yeast based recipe is designed specifically for automated pans.
Tip: use bread flour for a better structure than all-purpose flour.
Should yeast be bloomed before adding?
No, instant yeast is designed to be mixed directly with dry ingredients.
Tip: keep your yeast in the freezer to extend its shelf life.
What creates the moist texture in this loaf?
Pumpkin purée and maple syrup act as natural humectants to retain moisture.
Tip: avoid over baking by removing the loaf immediately after the cycle ends.
Is it true that yeast breads are too complex for beginners?
That's a myth. Bread machines automate the kneading and proofing process for you.
Tip: follow the specific loading order to ensure the yeast doesn't activate too early.
Which mistakes most often ruin the rise?
Putting yeast in direct contact with liquids or salt too early often kills the reaction.
Tip: if you enjoyed mastering the effortless rise here, see how we adapt dough handling for artisan sourdough.
What happens if yeast is accidentally omitted?
The loaf will not rise and will result in a dense, cake like brick.
Tip: check your yeast's expiration date before starting the machine.
How to achieve the perfect crust color?
Select the Medium Crust option on your machine's settings.
Tip: avoid adding extra sugar beyond the maple syrup to prevent burning.
Is home baking cheaper than buying bread?
Yes, the cost per loaf is significantly lower when using pantry staples.
Tip: buy flour in bulk to reduce your cost even further.
Pumpkin Bread Machine Yeast