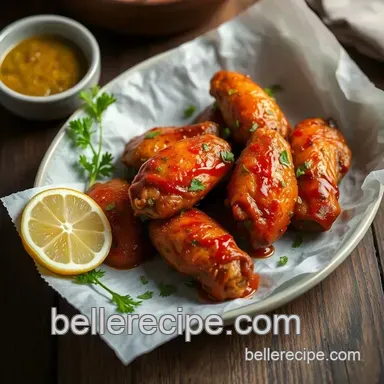
Crispy Baked Chicken Wings with Spicy Garlic Flavor
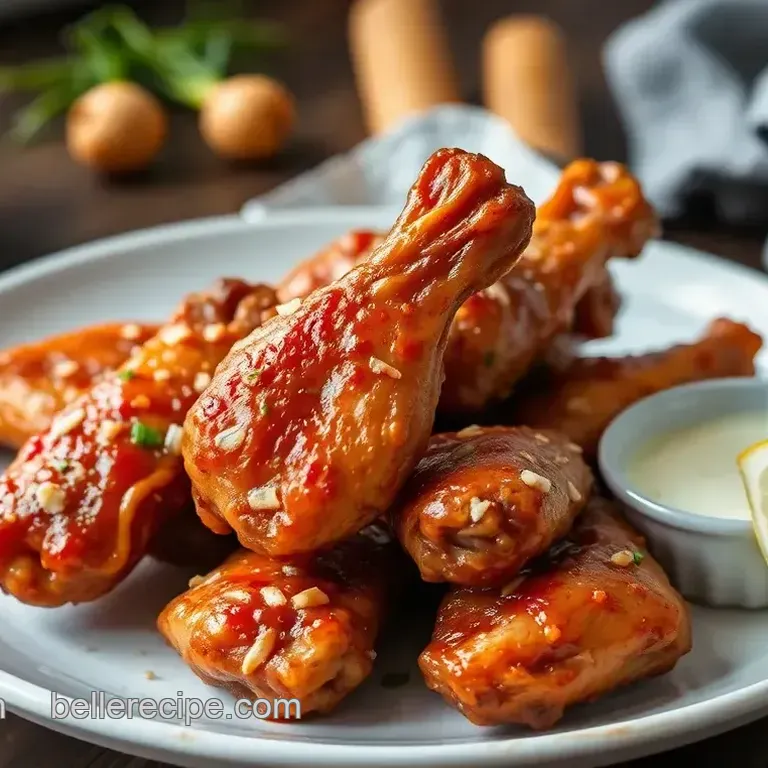
- Time: 10 min active + 50 min cook
- Flavor/Texture Hook: Mahogany glaze with a crackling exterior
- Perfect for: Game day crowds or a mindful weekend treat
Ever wonder why home baked wings usually end up rubbery or pale? It's almost always a battle against moisture. When chicken skin steams instead of searing, you lose that satisfying snap we all crave.
Here is the ultimate recipe for Baked Chicken Wings with Spicy Garlic Flavor. I spent a long time figuring out how to get that fried chicken feel without actually dealing with a vat of hot oil on my stove.
The goal here is a build up of layers. First, we create a dry, crisp base, then we hit it with a punchy garlic glaze that bubbles under the broiler. You'll get a wing that's comforting and bold, perfect for sharing with friends.
The Texture Trick
Getting that "shatter" on the skin is all about the surface chemistry. I've found that two specific steps do the heavy lifting here.
- Baking Powder: It raises the pH level of the skin, which breaks down the proteins and creates tiny bubbles. These bubbles increase the surface area, so the heat crisps the skin faster.
- The Wire Rack: Lifting the wings off the pan lets hot air circulate underneath. This prevents the bottoms from getting soggy in their own juices.
Before you start, decide if you want a traditional slow roast or a faster, over high heat finish. Most people prefer the classic route for a more developed flavor.
| Goal | Method | Texture | Best For |
|---|---|---|---|
| Fast | High Heat/Short Time | Very Crisp | Quick Snacks |
| Classic | Gradual Roast/Broil | Deeply Caramelized | Game Day |
Recipe Basics
When you're prepping these, keep a close eye on your oven's hotspots. I usually rotate my pan halfway through the 40 minute mark to ensure every wing browns evenly.
For the best results, use party cut wings. This means the drumette and flat are already separated. It helps the coating reach every nook and cranny.
| Goal | What to change |
|---|---|
| Extra Crisp | Increase bake by 5 mins |
| Milder Heat | Swap Sriracha for ketchup |
| More Garlic | Add 2 extra cloves |
The Shopping List
I prefer using kosher salt because the larger grains don't clump as much when tossing the wings. If you're using table salt, cut the amount in half or it'll be too salty.
| Ingredient | Role | If You Don't Have It |
|---|---|---|
| Baking Powder | Creates bubbles for crispiness | Cornstarch (less crisp) |
| Sriracha | Adds heat and tang | Chili garlic sauce |
| Honey | Balances heat with sweetness | Maple syrup |
| Smoked Paprika | Adds earthy, charred notes | Sweet paprika |
The Dry Base 907g chicken wings, party cut 15g baking powder Why this? Essential for the chemical reaction that crisps the skin 3g kosher salt 2g black pepper 15ml olive oil
The Spicy Garlic Glaze 45g unsalted butter, melted 20g garlic, minced finely Why this? Fresh garlic provides a pungent, sharp contrast to the honey 15ml Sriracha 21g honey 5ml soy sauce 2g smoked paprika
If you're looking for a different heat profile, my Spicy Korean Q wings are another great option.
Gear You Need
While you can get by with basic equipment, a few key items will simplify the process. A large mixing bowl is essential for tossing the wings without creating a mess on your floor.
The most critical tool is the wire cooling rack. If yours doesn't fit the baking sheet perfectly, a smaller rack is fine, provided the wings aren't crowded together.
- Large mixing bowl
- Baking sheet
- Parchment paper
- Wire cooling rack
- Pastry brush (for the glaze)
The Cooking Process
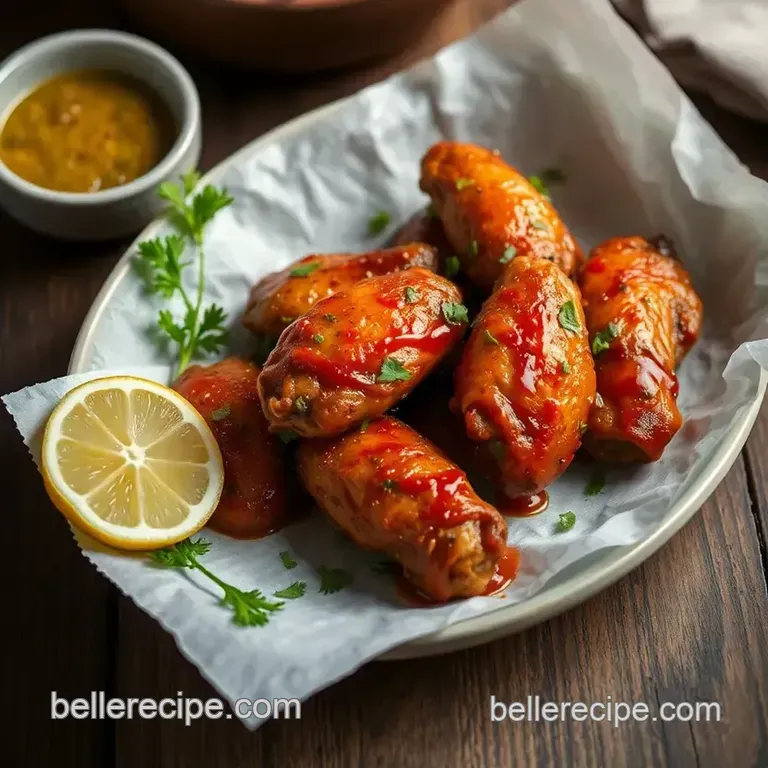
This method is broken into three steps: removing excess moisture, developing the crust, and finishing with a high heat glaze.
Prep and Seasoning
- Use paper towels to ensure the wings are bone dry. Note: Damp skin will steam rather than crisp.
- Toss the wings in a bowl with salt, pepper, baking powder, and olive oil.
- Place a wire rack on top of a parchment lined baking sheet.
- Arrange the wings in a single layer, leaving a gap between each piece.
The over High heat Roast
- Preheat your oven to 218°C (425°F).
- Bake for 40-45 minutes until the skin is golden brown and feels firm.
- Pull the pan from the oven and let them rest for 2 minutes.
Glazing and Finishing
- In a small bowl, whisk together minced garlic, melted butter, honey, soy sauce, smoked paprika, and Sriracha.
- Coat each wing generously with the spicy garlic glaze.
- Switch to the Broil setting and cook for 2-4 minutes until the glaze bubbles and turns mahogany.
Fixing Common Issues
Even with a plan, things happen. The most frequent issue I see is the "soggy bottom," which usually means the oven was too crowded. If the wings are touching, they trap steam, which ruins the crust.
Another common slip up is the garlic burning during the broiler phase. Garlic has a low burn point, so if you leave them under the broiler for 6 minutes instead of 3, the garlic turns bitter.
Soggy Skin
If the wings aren't crackling, you likely had too much moisture. Pat them drier next time or increase the bake time by 5 minutes.
Burnt Garlic
Watch the wings like a hawk during the broil. The second you see bubbles and a deep brown color, pull them out.
Underdone Meat
Use a meat thermometer to be sure. USDA guidance puts the safe internal temperature at 165°F (74°C).
| Problem | Root Cause | Solution |
|---|---|---|
| Rubber like skin | Not enough baking powder | Measure precisely with a scale |
| Glaze sliding off | Wings were too oily | Pat wings dry before glazing |
| Bitter flavor | Garlic overcooked | Reduce broil time to 2 mins |
Flavor Twists
This base is very flexible. If you want a more citrusy vibe, stir in a teaspoon of lime zest to the glaze. It cuts through the butter and brightens the whole dish.
For those who prefer a different kind of kick, you can swap the Sriracha for a habanero sauce. Just be careful with the quantities, as those can be much hotter. Pair these with a side of Thai sweet chili sauce for a sweet contrast.
If you're going Keto, replace the honey with a sugar-free maple syrup or a touch of stevia. The texture of the glaze will be slightly less sticky, but the garlic flavor still shines through.
Storage and Freezing
Store remaining wings in a tight container in the refrigerator for 3 days. While they will lose their crunch, you can easily restore it when reheating.
For freezing, do so after the first bake but before applying the glaze. Let them set on the tray for 2 hours before transferring to a freezer bag; they will keep for 2 months.
Steer clear of the microwave when reheating. Instead, pop them in the oven at 200°C (400°F) for 5-10 minutes to get the skin crisp again.
To reduce waste, keep the wing tips if you used whole wings. Simmer them in a pot with carrots and onions to create a flavorful chicken stock.
Serving Suggestions
I enjoy presenting these on a large wooden platter in the middle of the table, as it turns the meal into a shared experience. Add some fresh celery sticks and carrot batons on the side for a satisfying crunch.
To balance the heat, a cool dip is a must. A simple ranch or blue cheese dressing works perfectly. This creaminess coats the palate, letting the spicy garlic notes linger without becoming too intense.
For a complete meal, pair these with corn on the cob or a crisp coleslaw. The acidity of a vinegar based slaw cuts through the richness of the butter glaze, making the whole dish feel bright and balanced.
Recipe FAQs
Why is baking powder used in the coating?
It breaks down proteins on the skin. This creates tiny bubbles during baking that result in a crispier, fried like texture.
How to prevent the wings from sticking?
Line your baking sheet with parchment paper. Place a wire cooling rack on top so heat circulates around the entire wing.
Is it true that glazing before baking improves the texture?
Actually, no. Sugars in the honey and Sriracha burn quickly, so you must glaze and broil only at the very end.
Can these wings be frozen?
Yes, but freeze them before glazing. Flash freeze on a tray for 2 hours before moving them to a bag for 2 months.
What's the best way to reheat leftovers?
Bake at 400°F (200°C) for 5-10 minutes. This restores the snap to the skin, whereas a microwave makes them rubbery.
Which dipping sauce complements this spicy garlic flavor?
A creamy dip offsets the heat. If you enjoyed the flavor balancing here, try our boom boom sauce for a similar zesty profile.
Bake Chicken Wings With Spicy Garlic Flavor