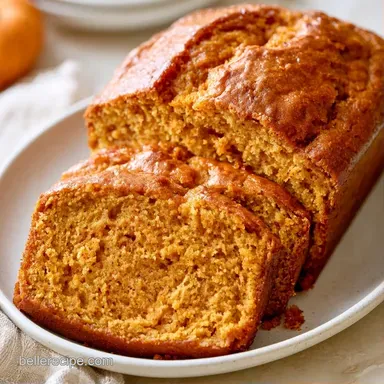
Moist Dairy Free Pumpkin Bread
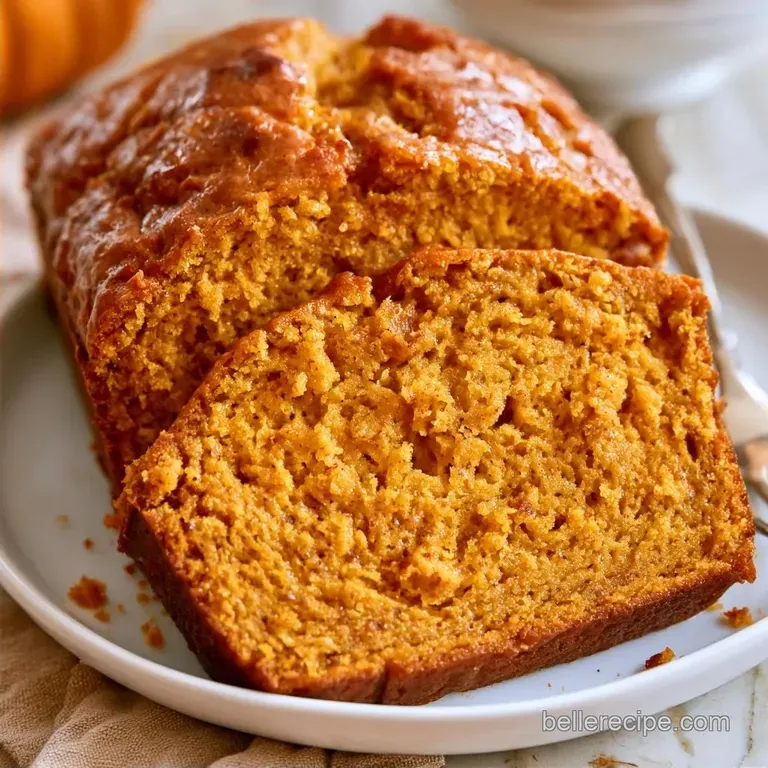
- Time:15 minutes active + 60 minutes baking
- Flavor/Texture Hook: Spiced, warm, and velvety
- Perfect for: Easy autumn breakfasts or healthy gifting
Easy DairyFree Pumpkin Bread for Autumn
Nothing signals the arrival of October quite like the aroma of cinnamon and nutmeg wafting through the air. My early attempts at a vegan friendly loaf were disastrous; one particular batch was so dense it could have stopped a bullet.
After paying ten dollars for a "specialty" slice from a local café that tasted like damp cardboard, I became determined to master the process at home.
This DairyFree Pumpkin Bread succeeds by adjusting how the fats are incorporated. By treating the pumpkin puree as a binder instead of simply stirring everything together, you get that nostalgic, cozy flavor without any butter or heavy creams.
You can expect a loaf that is satisfyingly rich and deep amber in color. Because it is a straightforward bake that requires no specialized equipment, this DairyFree Pumpkin Bread is an ideal choice for anyone wanting a cozy kitchen experience without the stress.
Why the Batter Works
- The Oil Emulsion: Whisking eggs into the pumpkin before adding oil binds the fat. This prevents the oil from separating during the bake, which is how some DairyFree Pumpkin Bread ends up with a greasy top.
- Chemical Leavening: Using both baking soda and powder creates a double action lift. Unlike a sourdough discard bread recipe, which relies on wild yeast and long ferment times, this uses a quick reaction to keep the crumb light.
| Method | Time | Texture | Best For |
|---|---|---|---|
| Oven Loaf | 60 minutes | Classic high rise | Traditional slices |
| Stovetop Skillet | 45 minutes | Denser, crisp edges | Quick breakfast |
Essential Baking Tools
No fancy equipment is required for this. A basic 9x5 inch loaf pan works perfectly. I always line mine with parchment paper, letting the edges extend over the sides so the entire loaf can be lifted out easily without any scrubbing.
For the mixing process, a large bowl and rubber spatula will suffice. While a stand mixer like a KitchenAid is an option, a simple whisk and a bit of manual effort get the job done just as well.
The Ingredient List
| Component | Purpose | Substitute Notes |
|---|---|---|
| Pumpkin Puree | Body and hydration | Butternut squash puree (a touch sweeter) |
| Brown Sugar | Richness and chewiness | Coconut sugar (more caramel like) |
| Neutral Oil | Softness and crumb | Melted coconut oil (adds a coconut hint) |
| All Purpose Flour | Core framework | 1:1 gluten-free flour (may be denser) |
- 2 cups (250g) all purpose flour Why this? Creates a dependable, traditional base
- 1 cup (200g) brown sugar, packed Why this? Imparts a bold, molasses style richness
- 1 tsp (5g) baking soda
- 1/2 tsp (2g) baking powder
- 2 tsp (5g) ground cinnamon
- 1 tsp (2g) ground nutmeg
- 1/2 tsp (3g) salt
- 1 cup (245g) pumpkin puree Why this? Offers a seasonal flavor and natural moisture
- 1/2 cup (120ml) neutral oil
- 2 large eggs
- 1 tsp (5ml) vanilla extract
- 2 tbsp (30ml) water or dairy-free milk
Baking Specifications
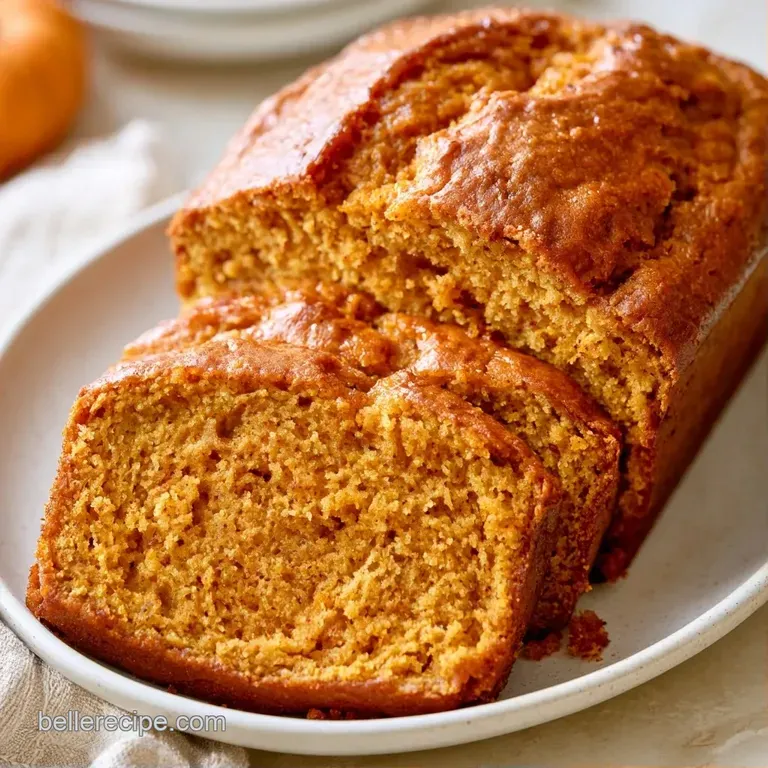
The goal is a steady heat. Keep your oven at 350°F (175°C) throughout the process. This temperature allows the edges to set without drying out the center.
- Prep time:15 minutes
- Bake time:60 minutes
- Total time:75 minutes
- Yield: 10 slices
Step by step Guide
1. Preparing the Oven and Pan
Set your oven to 350°F (175°C). Lightly grease a 9x5 inch loaf pan and line it with parchment paper, allowing a few inches to hang over the sides.
2. Aerating the Dry Ingredients
In a large bowl, whisk together the flour, brown sugar, baking soda, baking powder, cinnamon, nutmeg, and salt. Note: Be sure to whisk until all brown sugar clumps are gone to prevent sugar pockets.
3. Emulsifying the Wet Base
In a separate bowl, beat the eggs into the pumpkin puree until smooth. Gradually stream in the oil and vanilla extract while whisking continuously. This creates a stable base for the DairyFree Pumpkin Bread.
4. Folding for Tenderness
Using a rubber spatula, gently fold the wet ingredients into the dry mixture. Stop stirring as soon as the last streaks of flour vanish; over mixing can make the bread tough.
5. The Bake and Sensory Check
Transfer the batter into the pan. Bake for 60 minutes until a tester poked into the middle emerges clean and the top is a deep golden brown.
6. Cooling the Loaf
Allow the bread to rest in the pan for 10 minutes. Use the parchment overhang to lift the loaf out and place it on a wire rack to cool completely.
Avoiding Kitchen Disasters
If your loaf isn't perfect, it typically boils down to temperature or moisture levels. A collapsed center often occurs when heat escapes because the oven door was opened prematurely.
According to Serious Eats' research, properly emulsifying fats is key to avoiding a greasy crust, so make sure you whisk the oil thoroughly.
Fixing a Sunken Center
This is typically caused by a temperature drop or overly watery pumpkin puree. To prevent this, verify you are using 100% pumpkin puree rather than "pumpkin pie filling."
Preventing a Greasy Crust
If you see oil pooling on top, the emulsion has failed. For better results next time, incorporate the oil more gradually into the pumpkin and egg mixture.
Solving a Dense Texture
Over mixing the flour creates too much gluten. Instead of stirring vigorously, use a spatula to fold the batter gently.
| Problem | Root Cause | Solution |
|---|---|---|
| Sunken Top | Opening the oven too early | Avoid peeking before 40 minutes |
| Oily Surface | Poor oil emulsion | Whisk oil in slowly |
| Tough Crumb | Over mixing | Fold until just combined |
Keeping It Fresh
Keep your DairyFree Pumpkin Bread in a sealed container on the counter for 2 days. For longer storage, wrap individual slices in wax paper and put them in the cooler for up to 4 days.
If you have a few slices left that went a bit dry, they're the best base for homemade bread pudding. You can also freeze the loaf for up to 3 months. Just thaw a slice at room temperature or pop it in the toaster for a minute.
To minimize waste, don't toss the remaining pumpkin puree in the can. Mix it into your morning oatmeal or use it as a base for a savory pumpkin soup.
Ways to Change Flavors
You can easily pivot this DairyFree Pumpkin Bread to suit your mood. For a nutty crunch, fold in 1/2 cup of toasted walnuts or pecans during the last step of mixing.
If you want a vegan version, replace the 2 eggs with 2 flax eggs (2 tbsp ground flaxseed meal mixed with 6 tbsp water). Let the flax mixture sit for 5 minutes before adding it to the pumpkin. This keeps the DairyFree Pumpkin Bread moist and plant based.
For a more decadent twist, add 1/2 cup of dark chocolate chips. The bitterness of the chocolate cuts through the sweetness of the brown sugar perfectly.
| Goal | What to change |
|---|---|
| Spicier | Add 1/2 tsp ground ginger |
| More moist | Swap oil for melted coconut oil |
| Heartier | Fold in 1/2 cup walnuts |
Serving Suggestions
The best way to enjoy this is slightly warmed. Slice the DairyFree Pumpkin Bread and lightly toast it in a skillet with a tiny bit of vegan butter.
For a a more detailed platter, serve it with a side of whipped coconut cream or a drizzle of maple syrup. It's also a great companion to a strong cup of black coffee or a hot chai tea during a rainy afternoon.
Whether you're serving it as a quick breakfast or a dessert, the key is the temperature. A warm slice brings out the cinnamon and nutmeg notes, making the experience feel like a hug in a bowl.
This DairyFree Pumpkin Bread is a satisfying way to bring the flavors of autumn into your home without spending a fortune at a bakery.
Recipe FAQs
Is this recipe gluten-free?
No, it contains all-purpose flour. You would need to substitute the flour with a certified gluten-free blend to accommodate a GF diet.
How to prepare the batter?
Whisk dry ingredients first, then beat eggs into pumpkin puree and stream in oil and vanilla. Gently fold the two mixtures together using a rubber spatula until no flour streaks remain.
Can I use coconut milk as a substitute?
Yes, any dairy-free milk works. If you enjoyed mastering dough hydration with our artisan loaf, you'll find the liquid ratio here is similarly critical for a moist crumb.
Why did the loaf collapse?
Overmixing is the likely cause. Stirring the batter too vigorously develops excess gluten, which can cause the bread to rise quickly and then sink.
Is it true that I should stir the batter until it is completely smooth?
Not true. Mix only until no streaks of flour remain to ensure the bread stays tender rather than tough.
What temperature is required for baking?
Set your oven to 350°F (175°C). Baking at this specific temperature ensures the loaf cooks through for the full 60 minutes without burning the edges.
Does the bread contain butter?
No, it uses neutral oil. This keeps the recipe dairy-free and ensures the crumb remains soft and moist.
Which neutral oil is recommended?
Use canola or vegetable oil. These options have a neutral flavor that allows the cinnamon and nutmeg to remain the dominant notes.
dairy free Pumpkin Bread