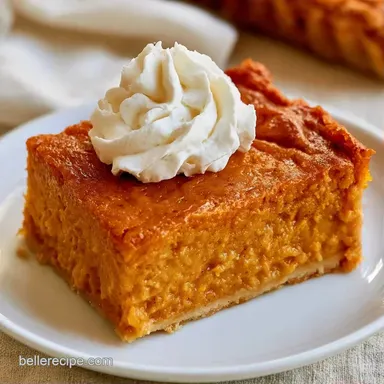
Gluten-Free Crustless Pumpkin Pie: Creamy
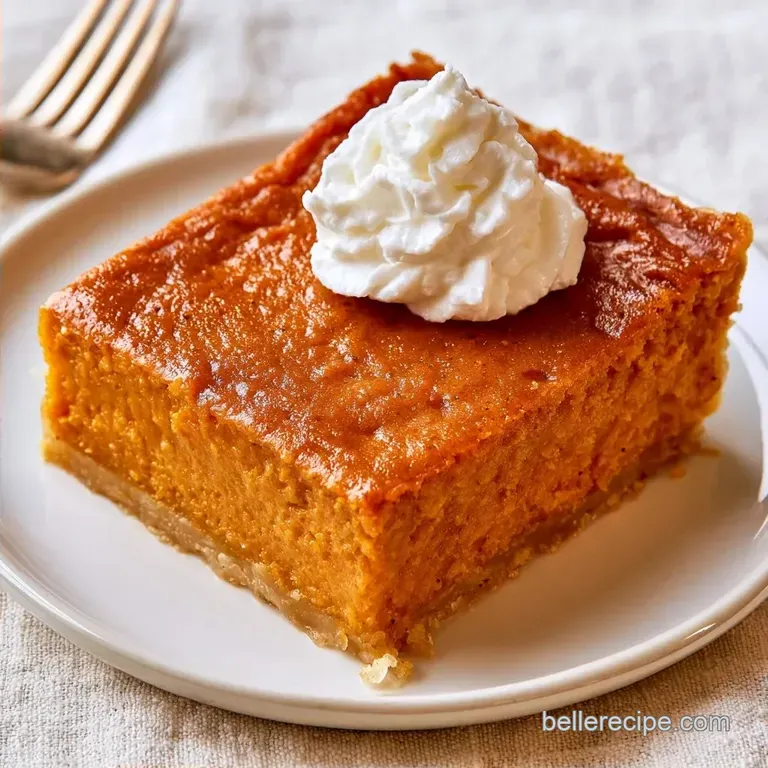
- Time: 10 min active + 4 hr chilling
- Flavor/Texture Hook: Velvety custard with bold autumn spices
- Perfect for: Holiday gatherings or dairy-free dessert options
GlutenFree Crustless Pumpkin Pie
The scent of nutmeg and ground cinnamon wafting through a hot oven is instantly nostalgic. That cozy, spiced fragrance is the essence of comfort. I craved that same feeling but wanted to ditch the heavy crust, which often overpowers the actual taste of the pumpkin.
However, my initial try at a crustless version was basically a pumpkin-flavored omelet. It turned out rubbery, released water onto the plate, and felt like a sponge. I realized I had been treating the batter like a cake rather than a custard.
That is how this GlutenFree Crustless Pumpkin Pie was perfected. By avoiding over-mixing and refining the binder, I finally achieved a result with clean, sharp edges and a texture that truly melts in your mouth.
Recipe Specs
Here is the timing breakdown. Prep is minimal, but you'll need some patience. Do not rush the cooling phase, or you'll end up with a gloppy mess.
For a standard 9 inch pan, active prep takes 10 minutes. Baking lasts about an hour, but the real secret is the 4 hour chill. Trust me, if you slice it while warm, it won't hold its shape.
| Feature | Detail |
|---|---|
| Active Time | 10 minutes |
| Bake Time | 60 minutes |
| Cooling/Chill | 4 hours |
| Total Time | 5 hours 10 mins |
The Texture Trick
The real trick here is the cornstarch, which binds the water in the pumpkin puree so the pie doesn't leak. Along with the eggs, it creates a stable structure that supports itself without needing a flour crust.
- Base
- Earthy, sweet pumpkin
- High Notes
- Sharp ginger and bright nutmeg
- Finish
- Deep, caramelized brown sugar
Before we get into the ingredients, you need to decide if you're going for convenience or a more rustic feel.
| Method | Prep Time | Texture | Best For |
|---|---|---|---|
| Canned Puree | 10 mins | Consistent & Smooth | Quick holiday prep |
| Fresh Pumpkin | 45 mins | Slightly Grainier | Seasonal purists |
The Building Blocks
Brown sugar is my preference over white sugar here, as its molasses notes pair perfectly with the pumpkin. Stick with full-fat cream rather than low-fat alternatives; that fat content is essential for the custard's structure.
| Component | Purpose | Substitute Notes |
|---|---|---|
| Pumpkin Puree | Core flavor & volume | Fresh puree: cut liquid by 2 tbsp |
| Heavy Cream | Fat & richness | Full fat coconut milk: imparts tropical notes |
| Cornstarch | Stabilizer | Arrowroot powder: 1:1 ratio, creates a softer set |
| Eggs | Binding & lift | Flax eggs: will be denser and less velvety |
Ingredients List: 15 oz (425g) canned pumpkin puree 3/4 cup (150g) brown sugar, packed Why this? Adds complexity and a caramel note 1 tsp (5g) salt 3 large (150g) eggs, room temperature Why this? Mixes more effectively with the cream 1 cup
(240ml) heavy cream 2 tbsp (16g) cornstarch 2 tsp (4g) ground cinnamon 1/2 tsp (1g) ground ginger 1/4 tsp (0.5g) ground cloves 1/4 tsp (0.5g) ground nutmeg
Equipment Needed
You don't need any fancy gear for this. A basic hand mixer does the job, but a whisk and some elbow grease work too.
- 9 inch pie plate
- Large mixing bowl
- Hand mixer or whisk
- Wire cooling rack
- Measuring cups and spoons
How to Make It
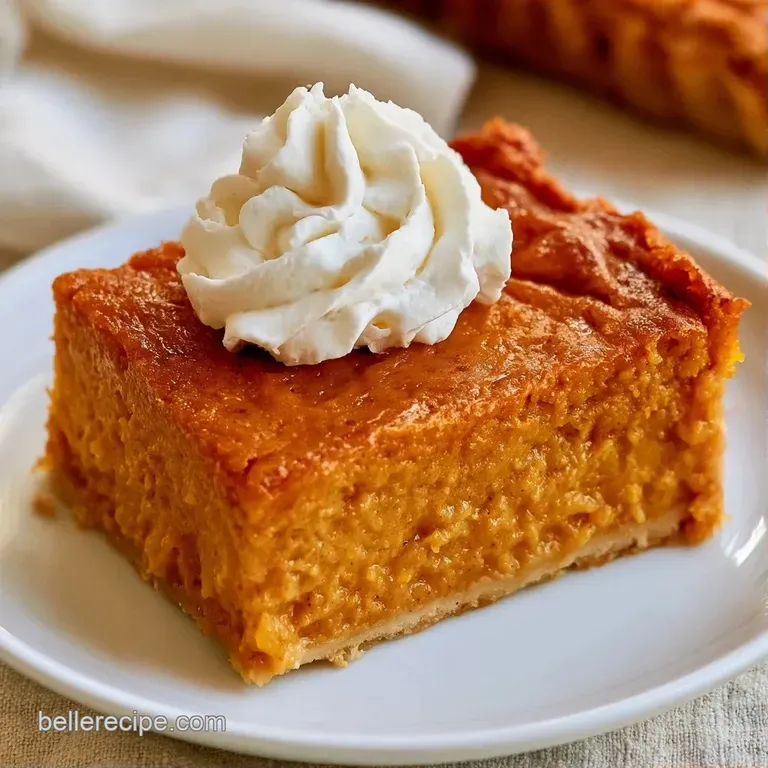
Time to get started. To ensure the batter remains smooth and doesn't split, it's important to add the eggs slowly.
- Lightly grease a 9 inch pie plate with coconut oil or butter. Heat your oven to 350°F (175°C). Note: Since there is no crust, greasing stops the edges from sticking.
- In a large bowl, mix the pumpkin puree, brown sugar, and salt. Beat with a hand mixer until the texture is smooth.
- Incorporate the eggs one by one, beating thoroughly after each addition to emulsify the fats.
- Gradually pour in the heavy cream, then whisk in the cornstarch and spices until the batter is a uniform, glossy mahogany shade.
- Transfer the mixture into the prepared plate.
- Bake for 50–60 minutes until the edges are firm and the center retains a slight gelatinous wobble.
- Remove from the oven and allow the pie to cool completely on a wire rack at room temperature.
- Keep it chilled for 4 hours or more, or even overnight, for the cleanest slices.
Chef's Tip: For a more intense spice profile, toast your nutmeg and cinnamon in a dry pan for 60 seconds before stirring them into the batter. This helps release the aromatic oils.
Handling Common Issues
A crustless pie can be finicky because there is nothing to hold the liquid in. If you see water pooling on top, it usually means the oven temperature was too low or the pumpkin was too watery.
Stopping the Wobble
If the center is still liquid after an hour, your pumpkin might have had extra moisture. Put it back in for 5 minute bursts. You want a jiggle, not a wave.
Preventing Surface Cracks
Cracks happen when the eggs overcook. Avoid baking at temperatures higher than 350°F, as the edges will burn before the center sets.
Fixing a Weeping Pie
Weeping happens when the custard breaks. Ensure your eggs are at room temperature before mixing to keep the emulsion stable.
| Problem | Root Cause | Solution |
|---|---|---|
| Center is too runny | Underbaked or watery puree | Bake in 5 min increments |
| Top has deep cracks | Oven too hot/overbaked | Lower temp to 325°F next time |
| Rubbery texture | Overbeaten eggs | Mix eggs until just combined |
Dietary Adaptations
This recipe is naturally gluten-free, but you can tweak it further. For a dairy-free version, swap the heavy cream for full fat coconut milk. It stays creamy but adds a subtle coconut scent.
For a vegan version, use a combination of cornstarch and flax eggs. Note that the texture will be denser and less like a traditional custard. If you're craving something fruity for the holidays, maybe try a strawberry rhubarb crumble pie as a second option on your dessert table.
- For a firmer set
- add 1 extra tsp of cornstarch.
- For a bolder spice
- double the ginger and cloves.
- For a lighter finish
- swap half the cream for Greek yogurt.
| Guests | Pan Size | Egg Count | Bake Time Adjustment |
|---|---|---|---|
| 4-6 | 7 inch | 2 Eggs | Reduce by 10 mins |
| 8-10 | 9 inch | 3 Eggs | Standard (60 mins) |
| 12-15 | 11 inch | 4 Eggs | Increase by 15 mins |
Keeping It Fresh
Keep this pie refrigerated. When covered, it will remain delicious for up to 4 days. Avoid freezing it, as the custard may split during thawing, which creates a grainy texture.
Don't throw away any remaining pumpkin puree from the can. Instead, blend it into a morning smoothie with a pinch of cinnamon and a frozen banana. If you're in the mood for another classic dessert, my golden apple pie is a wonderful option for the freezer.
- Fridge
- 4 days (covered with beeswax wrap or foil)
- Freezer
- Not recommended
- Reheating
- Best served chilled or at room temperature
Serving Ideas
This GlutenFree Crustless Pumpkin Pie pairs wonderfully with various toppings. Since the dessert is quite rich, adding something light or tangy creates a perfect balance.
A spoonful of homemade whipped cream with a sprinkle of cinnamon is the traditional choice. For a unique twist, try a drizzle of maple syrup and some toasted pecans for added texture.
I also enjoy serving this with fresh blackberries. Their acidity cuts through the creamy pumpkin, keeping every bite tasting bright and fresh.
The Texture Trick
We talked about cornstarch earlier, but the eggs are the real heavy lifters. They provide the structure that allows the pie to be sliced without crumbling.
USDA FoodData Central notes that the proteins in eggs coagulate when heated, forming a network that traps the moisture from the cream and pumpkin. This is why the cooling period is mandatory. The proteins need time to firm up, turning a soft custard into a sliceable dessert.
Recipe FAQs
Can a pumpkin pie be made without a crust?
Yes, by using cornstarch and eggs as binders. These ingredients create a stable custard that holds its shape once chilled.
Is it true that canned pumpkin pie filling is always gluten-free?
No, this is a common misconception. Some fillings contain thickeners or additives with gluten, so always use 100% pure pumpkin puree.
Which variations work best for a crustless pie?
Adding extra nutmeg or ginger can sharpen the flavor profile. If you enjoyed the spice balance here, see how we use a similar flavor approach in our classic Christmas mince pies.
Why is my pumpkin pie turning brown instead of orange?
Overbaking or using too much brown sugar can cause the sugars to caramelize and darken the color. Pull the pie when the center still has a slight wobble.
How to make a great pie without cinnamon?
Omit the cinnamon and slightly increase the ginger or nutmeg. This shifts the profile toward a more pungent, peppery taste.
Does the pie need to be chilled?
Yes, for at least 4 hours. Chilling allows the cornstarch and eggs to fully set, ensuring you get clean slices.
What is the key to avoiding a rubbery texture?
Beat the eggs one at a time. This emulsifies the fats properly and prevents the pie from becoming too dense or sponge-like.
gluten-free Crustless Pumpkin Pie for 8