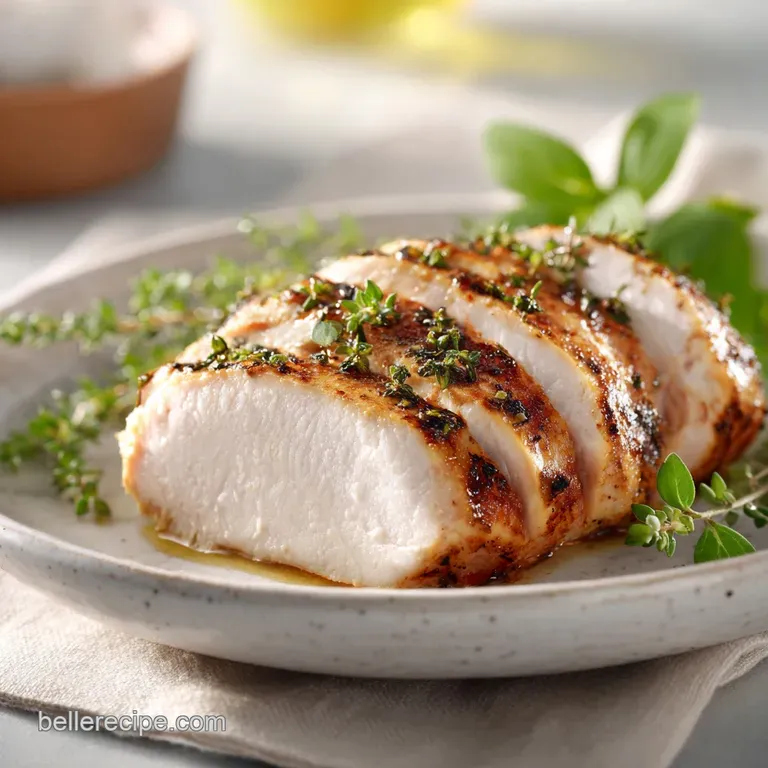
How to Cook Chicken Breast: Juicy and Flavorful
- Time: Active 10 minutes, Passive 18 minutes, Total 28 minutes
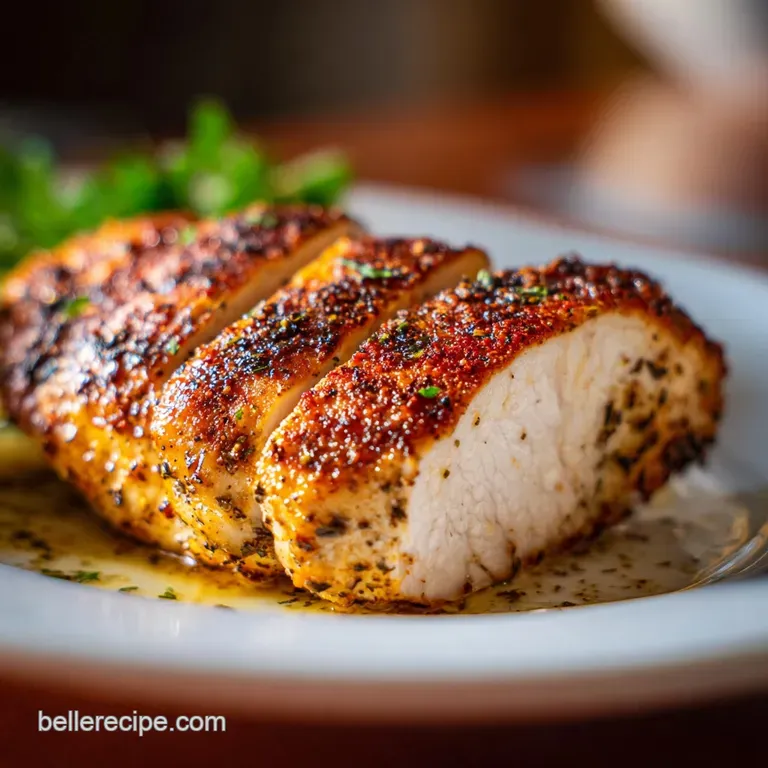
- Flavor/Texture Hook: Smoky sweet crust with a velvety, succulent center
- Perfect for: Stress free weeknight dinners or healthy meal prep
- Why You Will Love This Meal
- Essential Facts About This Recipe
- Deep Dive Into Our Ingredients
- Simple Tools for Great Results
- Putting the Whole Dish Together
- Fixes for Common Cooking Mistakes
- Fun Ways to Mix Flavors
- Keep Your Leftovers Fresh Longer
- Creative Ideas for Serving Tonight
- Recipe FAQs
- 📝 Recipe Card
Why You Will Love This Meal
The real magic here lies in the balance of temperature and timing. We often think lean meat needs low heat to stay tender, but the opposite is actually true for a quick cook.
- The Maillard Reaction: Using a touch of brown sugar in the rub encourages rapid browning at high heat, creating a savory crust before the interior can dry out.
- Protein Denaturation: By keeping the chicken at a uniform thickness, the heat travels evenly, meaning the edges don't turn into rubber while the center finishes.
- Osmotic Pressure: The salt in our rub draws out a tiny bit of moisture, dissolves the seasonings, and then pulls that seasoned brine back into the muscle fibers.
| Breast Thickness | Target Internal Temp | Total Roast Time | Visual Cue |
|---|---|---|---|
| 1/2 inch (pounded) | 165°F (74°C) | 12-15 minutes | Juices run clear |
| 3/4 inch | 165°F (74°C) | 16-20 minutes | Firm but springy touch |
| 1 inch | 165°F (74°C) | 22-25 minutes | Opaque throughout |
If you are looking for a more decadent twist on this technique, you might enjoy my Boursin Chicken Recipe which uses similar pan searing methods but adds a lush garlic herb finish.
Essential Facts About This Recipe
When we talk about the science of the kitchen, it is less about chemistry sets and more about understanding how heat interacts with water and fat. Chicken breast is notoriously low in fat, which means it has no "buffer" against high heat.
| Component | Science Role | Pro Secret |
|---|---|---|
| Kosher Salt | Protein Relaxant | Apply 30 mins early for a "dry brine" effect |
| Light Brown Sugar | Caramelization Agent | Lowers the smoke point for better color |
| Extra Virgin Olive Oil | Heat Conductor | Creates a barrier to prevent moisture evaporation |
One of the most important things I've learned is that the meat continues to cook even after you take it out of the oven. This "carryover cooking" can raise the internal temperature by 5 degrees in just a few minutes.
If you pull the chicken at exactly 165°F, it might end up at 170°F by the time you eat it, which is where the "dryness" begins. Pulling it just a hair early and letting it rest is the secret to that supple texture we all crave.
Deep Dive Into Our Ingredients
Selecting the right bird is half the battle, but the seasonings are what give it life. I always look for air chilled chicken if I can find it, as it hasn't been soaked in extra water that will just steam out in the pan.
- 4 boneless skinless chicken breasts (7 oz each): Try to find pieces that are similar in size so they finish at the same time.
- 2 tbsp extra virgin olive oil: This helps the spices stick and prevents the meat from tearing on the pan.
- 1 tsp smoked paprika: Adds a lovely depth and a "sun kissed" color to the crust.
- 1 tsp garlic powder: Provides a savory base without the risk of burning fresh garlic bits.
- 0.5 tsp onion powder: Adds a subtle sweetness that rounds out the sharper spices.
- 0.5 tsp dried oregano: Brings an earthy, floral note that pairs well with the smoke.
- 1 tsp light brown sugar: Why this? It helps the chicken brown quickly without making the overall dish taste sugary.
- 1 tsp kosher salt: Essential for tenderizing the muscle fibers and heightening all other flavors.
- 0.5 tsp cracked black pepper: Provides a gentle heat and texture to the rub.
| Original Ingredient | Substitute | Why It Works |
|---|---|---|
| Smoked Paprika | Chili Powder | Provides color and heat, though less smoky flavor |
| Light Brown Sugar | Honey | Similar caramelization, but may burn faster - watch heat |
| Extra Virgin Olive Oil | Avocado Oil | Higher smoke point, very neutral flavor profile |
If you find yourself enjoying the process of getting that perfect sear, you can apply these same principles to other proteins. For example, my Duck Breast Recipe uses a very specific fat rendering technique that results in an incredibly crispy skin.
Simple Tools for Great Results
You don't need a kitchen full of gadgets to learn how to cook chicken breast, but one or two simple items make the job much easier. I always keep a heavy duty plastic wrap roll nearby for pounding out the meat. This ensures the chicken doesn't splatter everywhere and keeps your mallet clean.
A rimmed baking sheet or a heavy cast iron skillet (like a Lodge) are my go to choices. The heavy metal holds onto heat beautifully, which is exactly what we need for that initial sear. Finally,, a digital meat thermometer is non negotiable for me.
It takes the guesswork out of the process and gives you the confidence to pull the meat at the perfect moment.
Putting the Whole Dish Together
- Level the protein. Place the chicken breasts between two sheets of plastic wrap and use a heavy skillet or meat mallet to gently pound the thickest part until the whole breast is about 3/4 inch thick. Note: This ensures the entire piece cooks at the same rate.
- Dry the surface. Use paper towels to pat the meat completely dry on all sides. Note: Moisture on the surface creates steam, which prevents the crust from forming.
- Mix the rub. In a small bowl, combine the smoked paprika, garlic powder, onion powder, oregano, brown sugar, salt, and pepper.
- Coat the chicken. Drizzle the olive oil over the breasts, then sprinkle the spice mix evenly, pressing it into the meat with your fingers.
- Preheat the oven. Set your oven to 400°F (200°C) and ensure your rack is in the center position.
- Start the sear. Heat a large oven safe skillet over medium high heat. Once hot, add the chicken and cook for 2-3 minutes until a deep golden crust forms.
- Flip and roast. Turn the chicken over and immediately transfer the skillet to the oven.
- Bake the chicken. Roast for about 12-15 minutes until the internal temperature reaches 165°F (74°C).
- Rest the meat. Remove from the oven and transfer to a clean plate or cutting board. Cover loosely with foil and wait 5 minutes. Note: This allows the juices to redistribute so they don't leak out when you slice.
Fixes for Common Cooking Mistakes
Even with a clear plan, things can sometimes go sideways in the kitchen. Most chicken issues come down to moisture management or heat control.
Preventing Dry, Stringy Meat
If your chicken feels like it’s growing in your mouth as you chew, it’s likely overcooked. This often happens because people wait for the center to turn "white" visually, but by then, the internal temperature has usually shot past 175°F.
Always use a thermometer and trust the numbers rather than your eyes.
Solving Lack of Color
If your chicken looks pale and sad, your pan probably wasn't hot enough, or the meat was too wet. That "sizzle" when the meat hits the pan is the sound of moisture evaporating so browning can begin. If it doesn't sizzle, take the meat out and wait another minute for the pan to heat up.
| Problem | Root Cause | Solution |
|---|---|---|
| Rubbery Texture | Meat was too cold | Let chicken sit at room temp for 15 mins before cooking |
| Spices Burning | Heat too high | Reduce burner to medium or skip the sugar in the rub |
| Uneven Cooking | Irregular thickness | Always pound the thickest part to match the thinnest |
Chef's Tip: To get an even more shatter crisp crust, let the seasoned chicken sit uncovered in the fridge for an hour before cooking. This "air dries" the surface perfectly.
Common Mistakes Checklist
- ✓ Skipping the "pounding" step (leads to dry edges and raw centers)
- ✓ Forgetting to pat the meat dry with paper towels
- ✓ Using a cold pan instead of preheating for 2-3 minutes
- ✓ Slicing the chicken immediately without a 5 minute rest
- ✓ Relying on time alone instead of an internal temperature probe
Fun Ways to Mix Flavors
Once you have the basic method down, you can start playing with the profile to suit whatever you are craving.
Creating Herb and Garlic Cream Cheese Chicken
For a richer meal, you can slice a pocket into the side of the breast before seasoning. Stuff it with a mixture of cream cheese, fresh chives, and minced garlic. This adds a beautiful interior moisture that bastes the meat from the inside out as it roasts.
Going Mediterranean
Swap the smoked paprika and oregano for dried basil and lemon zest. Serve the finished chicken with a side of olives, feta, and a squeeze of fresh lemon juice. It’s a bright, fresh take that feels much lighter for summer evenings.
Keep Your Leftovers Fresh Longer
Storing chicken properly is the key to having great lunches the next day. I always slice my leftover chicken after it has cooled completely to keep the moisture locked inside the fibers.
- Fridge: Store in an airtight container for up to 4 days. To keep it from drying out, splash a teaspoon of water or chicken broth into the container before sealing.
- Freezer: Wrap individual cooked breasts tightly in plastic wrap, then place them in a freezer bag for up to 3 months. Thaw in the fridge overnight before reheating.
- Zero Waste Tip: Don't throw away those little brown bits (the fond) left in the pan! While the chicken rests, add a splash of chicken stock or white wine to the hot pan and scrape the bottom with a wooden spoon to create a quick pan sauce.
Creative Ideas for Serving Tonight
Chicken breast is the ultimate "blank canvas" for your plate. If you want a classic comfort feel, serve it alongside some buttery mashed potatoes and roasted green beans. The smokiness of the paprika in the rub plays beautifully against the creaminess of the potatoes.
If you are looking for something a bit more mindful and light, slice the chicken into thin strips and lay it over a bed of arugula with shaved parmesan and a balsamic glaze. The heat from the chicken will slightly wilt the greens, creating a natural sauce.
You can also use the leftovers for a stellar chicken salad by dicing the cold meat and mixing it with a little Greek yogurt, celery, and grapes.
- If you want a crispy crust, use a cast iron skillet and don't move the meat once it hits the pan.
- If you want a juicy interior, never skip the 5 minute resting period under a tent of foil.
- If you want deep flavor, apply the dry rub at least 30 minutes before you plan to cook.
Baking chicken is a simple act of love for yourself and your family. When you take the time to do it right, it turns a basic ingredient into a comforting meal that feels like a warm hug at the end of a long day. Right then, let's crack on and get that pan heating!

Recipe FAQs
What is the best way to cook a chicken breast?
Sear then bake. Begin by searing the breast in a hot, oven safe skillet for a crust, then immediately transfer the skillet to a moderate oven (400°F) to finish cooking evenly. This two-step method locks in flavor and ensures uniform doneness.
What is the best way to cook a single chicken breast?
Use a meat thermometer and pound it evenly. For one breast, focus on pounding it to a uniform thickness (about 3/4 inch) so it cooks through in under 20 minutes. Pull it immediately when the internal temperature hits 165°F to prevent drying.
What is the best way to cook chicken breasts so they don't dry out?
Pull the meat 5 degrees before the final temperature. The key is to account for carryover cooking, where the internal temperature rises after removing it from the heat source. If you pull it at 160°F, it will reach a perfect 165°F while resting.
How to cook chicken breasts to make them moist?
Brine or heavily season ahead of time. Dry brining with salt at least 30 minutes prior helps the muscle fibers retain more moisture during cooking. If you enjoyed mastering the sensory doneness cues here, apply them to our seared duck breast recipe for perfect results.
Should I rest the chicken breast after cooking?
Yes, rest for a minimum of 5 minutes. Resting allows the highly agitated muscle fibers to relax and reabsorb the juices that were pushed toward the center by the heat. Skipping this step causes all the internal moisture to spill out onto your cutting board.
Is it true that breading chicken prevents it from drying out?
No, this is a common misconception. While a breading like the one used in How to Pan recipe adds an exterior fat barrier, it's the internal temperature control that determines moisture, not the coating itself. High heat is necessary for crisping the crust quickly.
How do I guarantee a nice brown crust on the outside?
Use medium high heat and ensure the surface is completely dry. Moisture creates steam, which actively prevents the Maillard reaction (browning). Pat the chicken aggressively with paper towels before adding any oil to the preheated pan.
Juicy Chicken Breast Guide
Ingredients:
Instructions:
Nutrition Facts:
| Calories | 312 kcal |
|---|---|
| Protein | 46.2 g |
| Fat | 12.1 g |
| Carbs | 1.8 g |
| Fiber | 0.3 g |
| Sugar | 1.1 g |
| Sodium | 585 mg |
