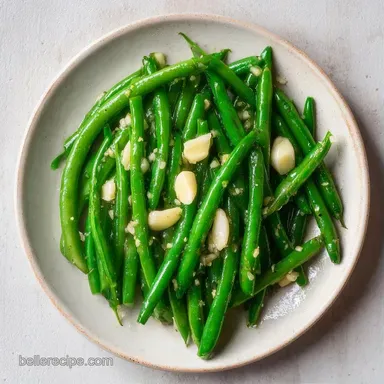
Refrigerator Dilly Beans: Crunchy and Tangy
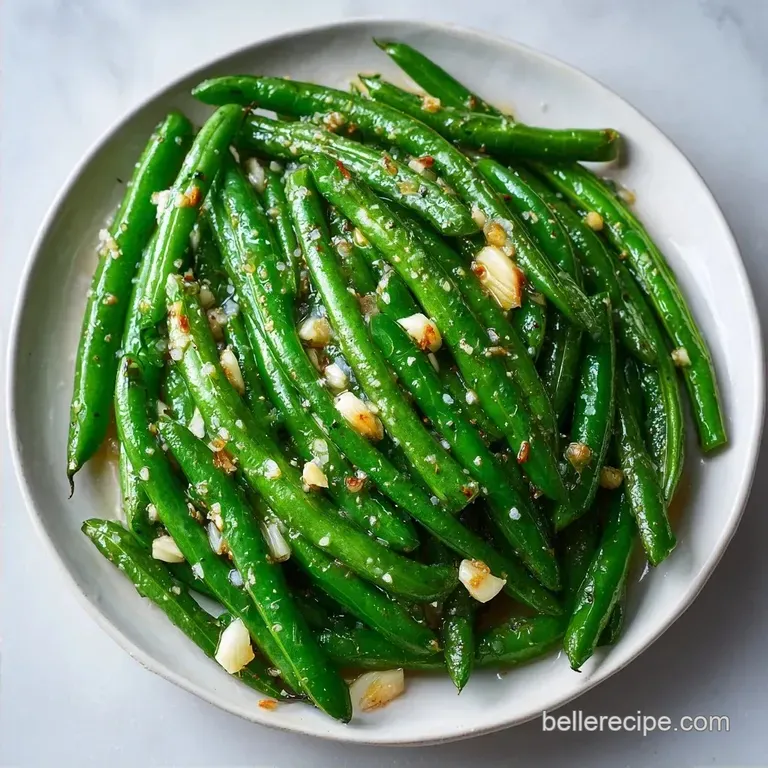
- Time: 15 min active + 5 min cook + 7 days 1 hr 20 mins chilling
- Flavor/Texture Hook: Tangy, garlic forward, and a satisfying shatter
- Perfect for: Low calorie snacking, charcuterie boards, or a zesty side
Refrigerator Dilly Beans
The first thing you notice is that sharp, vinegary scent hitting you the moment you pop the seal. Then comes the snap. There is nothing quite like the sound of a cold, pickled bean breaking between your teeth. I remember the first time I tried these at a family reunion in the middle of July.
The humidity was thick, and the air felt like a wet blanket, but these beans were ice cold and so tart they practically woke up my entire face.
Most people think you need a pressure canner and a chemistry degree to make pickles. But honestly, you don't. I spent a long time trying to follow those rigid canning guides only to end up with beans that felt like soggy rubber bands. It turns out the secret isn't in the heat, it's in the cold.
By skipping the water bath and letting the brine do the work in the fridge, you keep the cellular structure of the bean intact.
This recipe for Refrigerator Dilly Beans is all about patience and a few simple pantry staples. We aren't looking for a "professional" preserve here. We want a fresh, zesty snack that tastes like it came from a high end deli.
It's the kind of thing you make on a Sunday afternoon, tuck away in the back of the fridge, and then find yourself craving every single day for the next month.
Why the Crunch Stays
Acid Penetration: The vinegar seeps into the bean's cells slowly. This preserves the pectin, which is what keeps the bean from turning into mush.
Osmotic Pressure: Salt draws out excess water from the beans. This creates space for the brine to move in and flavor the bean from the inside out.
Temperature Shock: Pouring hot brine over cold beans and then chilling them rapidly locks in the texture. It prevents the beans from overcooking in their own liquid.
Cellular Integrity: Because we avoid boiling the beans, the walls of the vegetable stay strong. According to guidelines on Serious Eats, maintaining low heat during pickling is the best way to prevent softening.
| Feature | Fresh Bean Snap | store-bought Shortcut |
|---|---|---|
| Texture | Shattering crunch | Often soft or rubbery |
| Flavor | Bright, fresh dill | Heavy on preservatives |
| Control | You pick the spice | Generic salt/vinegar |
| Prep | 15 mins active | 0 mins |
Breaking Down the Brine
| Ingredient | Science Role | Pro Secret |
|---|---|---|
| Distilled White Vinegar | Primary Acid | Use 5% acidity for consistent safety and tang |
| Kosher Salt | Brine Stability | Avoid table salt to prevent cloudy jars |
| Granulated Sugar | Flavor Balance | Just a pinch cuts the harsh edge of the vinegar |
| Fresh Dill | Aromatic Base | Use the stems too, they hold a lot of oil |
Tools for the Job
You don't need a fancy arsenal for this. A medium saucepan for the brine and a few wide mouth pint mason jars are the basics. Wide mouth jars are way easier to pack because you can wedge the beans in vertically without fighting the rim.
I also suggest using a stainless steel colander for washing. Plastic ones sometimes hold onto smells from previous meals, and you don't want your Refrigerator Dilly Beans tasting like last Tuesday's tuna salad. A simple measuring cup and a sharp knife for trimming the ends are all you'll need to get this done.
Making the Dilly Beans
Phase 1: Preparing the Produce
- Wash the green beans thoroughly in cold water. Trim the stem ends and snap the beans into 3 inch segments. Note: Uniform size ensures they pickle at the same rate.
Phase 2: Simmering the Brine
- Combine the distilled white vinegar, filtered water, kosher salt, and sugar in a saucepan.
- Bring the brine to a simmer over medium heat, stirring occasionally until the salt and sugar are completely dissolved, then remove from heat immediately. Note: Do not let it boil vigorously or you'll evaporate too much vinegar.
Phase 3: Packing and Curing
- Divide the smashed garlic, dill, peppercorns, and mustard seeds evenly among four wide mouth pint mason jars.
- Pack the beans in vertically, pressing down firmly until they are tightly wedged. Note: If they aren't tight, they will float and get soft spots.
- Pour the hot brine over the beans, leaving 1/2 inch of headspace.
- Seal the lids and allow the jars to cool on the counter for 1 hour before transferring to the refrigerator for 1 to 2 weeks.
Avoiding Common Mistakes
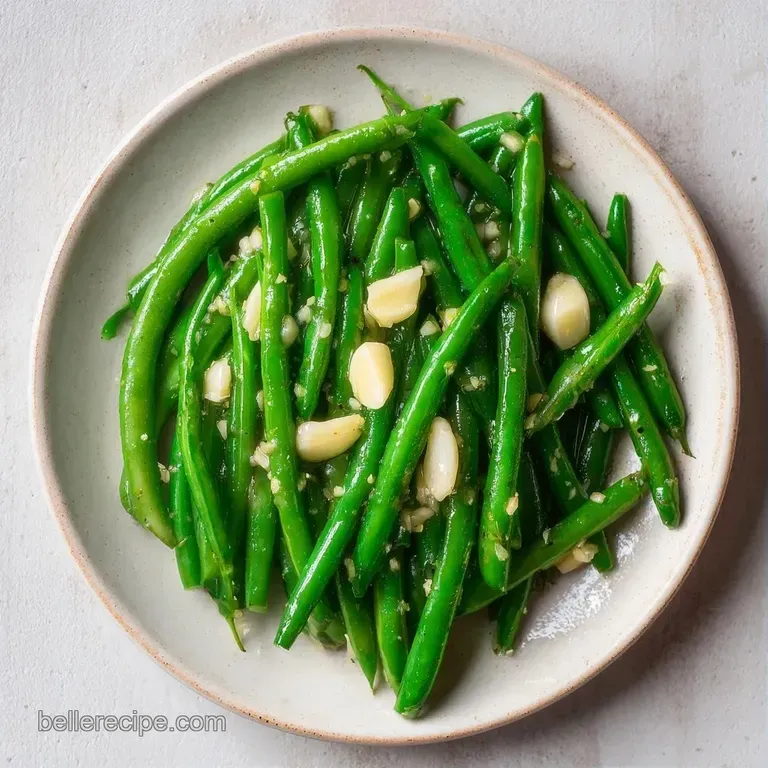
When I first started making these, I used to just toss everything in and hope for the best. But I noticed my brine was often cloudy or my beans were floating. The cloudiness usually comes from using iodized table salt. The additives in table salt react with the vinegar and create a murky look.
Stick to kosher salt or pickling salt for a crystal clear liquid.
Another issue is the "floating bean" syndrome. If you don't pack the beans tightly, the top layer stays above the brine line. Those exposed beans will soften or, worse, develop mold. The trick is to push them down with your thumb until you feel a real resistance.
Troubleshooting Common Issues
| Issue | Solution |
|---|---|
| Why Your Brine is Cloudy | This is almost always a salt issue. Table salt contains anti caking agents that don't dissolve cleanly in vinegar. |
| Why Your Beans are Soft | Usually, this happens if the brine was too hot for too long or if you didn't chill them fast enough. |
| Why the Flavor is Bland | You might have used a vinegar with less than 5% acidity, or you didn't let them cure for the full week. |
Common Mistakes Checklist
- ✓ Used distilled white vinegar (not a mild cider vinegar)
- ✓ Packed beans vertically and tightly
- ✓ Smashed the garlic rather than mincing it
- ✓ Let the jars cool for a full hour before refrigerating
- ✓ Waited at least 7 days before the first taste
Mixing Up the Flavors
If you want a spicy kick, double the red pepper flakes or throw in a sliced habanero. For a sweeter profile, you can increase the sugar to 2 tablespoons, though this shifts it away from that classic "dilly" vibe.
If you're doing a keto version, just swap the granulated sugar for a tiny bit of erythritol or leave it out entirely.
For a deeper, more complex flavor, try adding a pinch of coriander seeds or a slice of lemon peel. If you enjoy other bean based sides, you might like my homemade baked beans, which offer a completely different, smoky contrast to these tart pickles.
Decision Shortcut If you want more heat → add 1 tsp extra red pepper flakes. If you want a "deli" style → double the smashed garlic. If you want a shorter wait → slice the beans thinner (but you lose the snap).
Storage and Waste Tips
Store these jars in the main body of your fridge, not the door. The temperature in the door fluctuates every time you open it, and consistent cold is what keeps the beans from softening. They'll stay great for about 2 months, though they're best in the first 4 weeks.
Don't throw away the brine once the beans are gone. It's basically a pre made seasoning. I use the leftover liquid to marinate grilled chicken or as a base for a zesty potato salad dressing. You can even pour a bit of it over steamed vegetables for a quick hit of acidity.
Serving and Pairing Ideas
These Refrigerator Dilly Beans are the ultimate palate cleanser. I love serving them alongside rich, fatty foods because the acidity cuts right through the grease. They are a natural fit for a charcuterie board with sharp cheddar, salami, and some grainy mustard.
For a healthy snack platter, pair them with my creamy hummus recipe and some sliced cucumbers. The saltiness of the beans complements the nuttiness of the chickpeas beautifully. If you're serving them at a party, put them in a chilled bowl with a pair of small tongs so guests don't have to fish them out of the jar.
Chef's Note: For the absolute best experience, take the jar out of the fridge 10 minutes before serving. This lets the garlic and dill aromas wake up a bit without losing that essential chill.
Critical Sodium Level
2322 mg 2322 mg of sodium per serving (101% 101% of daily value)
The American Heart Association recommends a daily sodium limit of 2,300 mg for most adults, with an ideal limit of 1,500 mg for those with hypertension.
Tips to Reduce Sodium in Your Pickled Beans
-
Reduce Kosher Salt-25%
Cut the amount of kosher salt by half to significantly drop the sodium content while still maintaining a pickled profile.
-
Use Potassium Based Substitutes-20%
Replace a portion of the kosher salt with a potassium based salt substitute to maintain the brine's salinity with less sodium.
-
Increase Vinegar Ratio-10%
Slightly increase the distilled white vinegar to enhance the acidity, which helps mimic the 'sharpness' of salt.
-
Enhance Fresh Aromatics
Double the amount of fresh dill and smashed garlic to add deeper flavor layers that compensate for the reduction in salt.
Recipe FAQs
How long do dilly beans last in the fridge?
About two months. They taste best within the first four weeks, but remain safe and tasty if kept in the main body of the fridge where temperatures are consistent.
How to make refrigerator pickled beans?
Simmer white vinegar, water, salt, and sugar until dissolved. Pack trimmed snap beans and aromatics into jars, pour the hot brine over them, and refrigerate for 1 to 2 weeks.
How long do dilly beans need to sit before eating?
One to two weeks. This curing time allows the brine to fully penetrate the snap beans and develop the characteristic tangy flavor.
What kind of beans are best for dilly beans?
Fresh snap beans. Trim them into 3 inch segments to ensure they pack tightly and vertically in the jars, preventing them from floating.
Is it true that table salt is best for the brine?
No, this is a common misconception. Table salt contains anti caking agents that make the brine cloudy; kosher salt is required for a clear liquid.
Why are my beans soft instead of crunchy?
The brine was likely too hot for too long. This happens if the brine is boiled excessively or if the jars aren't transferred to the refrigerator quickly enough after cooling.
Can you reuse the leftover brine for other things?
Yes, it is a versatile pre-made seasoning. Use it to marinate grilled chicken or as a zesty base for dressings, utilizing a similar acid forward profile found in our sweet pepper relish.
Refrigerator Dilly Beans