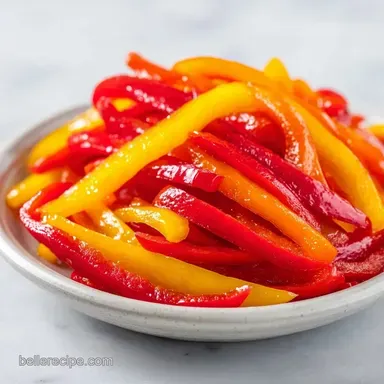
Pickled Bell Pepper Strips: Shatter Crisp
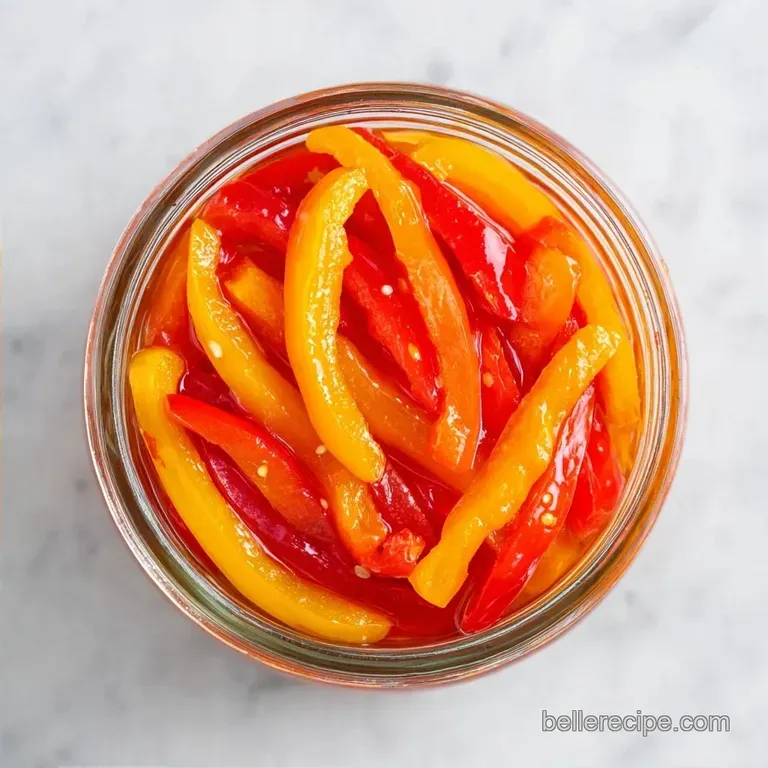
- Time: 30 min active + 24 hours chilling
- Flavor/Texture Hook: Vibrant, tangy, and shatter crisp
- Perfect for: Sandwich toppers, antipasto platters, or zesty snacks
- Perfectly Crisp Pickled Bell Peppers
- Avoiding the Mushy Pickle Problem
- Why These Peppers Stay Crisp
- Component Analysis
- Essential Kitchen Gear
- Step-by-Step Guide
- Fixing Common Pickle Problems
- Troubleshooting Common Issues
- Flavor Twists and Swaps
- Storage and Waste Tips
- Serving Your Pickles
- Recipe FAQs
- 📝 Recipe Card
The sharp, stinging scent of boiling vinegar always takes me back to my grandmother's kitchen, where the air felt heavy with steam and the sound of clinking glass jars. I remember the first time I tried to do this on my own.
I thought I could just mix a cold brine and toss in some sliced peppers, figuring the fridge would do the work. I waited two days, popped the lid, and pulled out what looked like wet, translucent rags. There was no snap, no vibrant color, just a soggy, acidic mess.
It was a total letdown. I wanted that bright, acidic punch to cut through a rich sandwich, but instead, I had something with the texture of overcooked pasta. I realized then that pickling isn't just about soaking things in acid; it's about managing the temperature and the salt balance to keep the vegetable's cell walls intact.
That's why I'm sharing this specific method. We aren't doing a cold soak here. By using a boiling brine and packing the jars tightly, we create a vacuum effect that preserves the structure of the pepper. These Pickled Bell Peppers stay vibrant and crunchy for weeks, providing that sharp contrast you need when you're piling high a grilled flank steak sandwich.
Perfectly Crisp Pickled Bell Peppers
Right then, let's get into the meat of it. The goal here is a pepper that still has a "bite" to it. Most people make the mistake of overcooking the vegetables or using a brine that's too weak. When the acidity is off, the peppers soften too quickly.
We want a vibrant red, orange, and yellow mix that looks as good as it tastes.
I've found that using a mix of colors isn't just for looks. While the flavor is similar, the red peppers tend to be slightly sweeter, while the green ones (if you use them) have a more bitter, grassy note. For this version, we're sticking to the sweet spectrum to get that classic contrast. Trust me on the garlic, too.
Smashed cloves at the bottom of the jar infuse the brine from the bottom up, ensuring every strip gets a hit of that pungent, earthy flavor.
But what about the sogginess? We'll get to that. The secret is in the timing and the temperature of the brine when it hits the pepper. If you let the brine cool too much, you lose that "shock" that helps maintain the crunch. If you boil the peppers themselves, you're just making stewed peppers.
We want a pickle, not a preserve.
Avoiding the Mushy Pickle Problem
The absolute worst thing you can do is under salt your brine or use a vinegar with low acidity. If the vinegar isn't strong enough, the pectin in the pepper walls breaks down, and you end up with that limp texture I mentioned earlier.
It's all about the balance between the salt, which draws out moisture, and the acid, which preserves the structure.
Another common slip up is "loose packing." If you leave too much room in the jar, the peppers float around and get unevenly pickled. Some stay too raw, while others get over saturated.
By packing them in tight, you force the brine into every crevice and minimize the amount of air in the jar, which is the enemy of crispness.
Finally,, don't ignore the chill time. I know it's tempting to eat them right away, but the flavors need a full 24 hours to migrate from the brine into the center of the pepper strips.
The first few hours are just the surface getting tangy; the real magic happens overnight when the sugar and salt stabilize.
Why These Peppers Stay Crisp
Since we're keeping it simple, here is the logic behind the method:
- Thermal Shock: Pouring boiling brine over raw peppers creates a quick seal and forces the liquid into the cells without cooking them through.
- Salt Regulation: Pickling salt draws out excess water from the pepper, making room for the vinegar to enter without collapsing the structure.
- Acidity Barrier: Using 5% acidity vinegar prevents spoilage and firms up the pepper's outer skin.
- Sugar Balance: The sugar doesn't just add sweetness; it increases the viscosity of the brine, which helps it cling to the pepper strips.
| Method | Time | Texture | Best For |
|---|---|---|---|
| Boiling Brine | 24 hours | Shatter crisp | Long term fridge storage |
| Cold Soak | 4 hours | Soft/Pliable | Immediate use (salads) |
| Slow Simmer | 1 hour | Tender/Silky | Antipasto sides |
Component Analysis
I don't use fancy chemicals, just basic pantry staples. Here is what each part is actually doing in the jar.
| Ingredient | Science Role | Pro Secret |
|---|---|---|
| White Vinegar | Acidification | Use 5% acidity for safety and snap. |
| Pickling Salt | Osmotic Draw | Non iodized salt keeps the brine clear. |
| Granulated Sugar | Flavor Offset | Balance the "sting" of the vinegar. |
| Garlic Cloves | Aromatic Base | Smash them, don't mince, for a cleaner taste. |
Essential Kitchen Gear
You don't need a professional lab for this, but a few specific tools make the process a lot cleaner. I always use a stainless steel saucepan because vinegar can react with aluminum or cast iron, leaving a metallic taste in your brine.
For the jars, wide mouth pints are the way to go. They make packing the pepper strips much easier. I also highly recommend a bubble remover tool basically a long plastic stick but a thin butter knife works just as well.
Getting those air bubbles out is the difference between a jar that stays fresh and one that develops a cloudy film.
Finally, a sharp chef's knife is non negotiable. You want uniform 1/4 inch strips. If some are thick and some are thin, the thin ones will be mush by the time the thick ones are actually pickled.
Step-by-step Guide
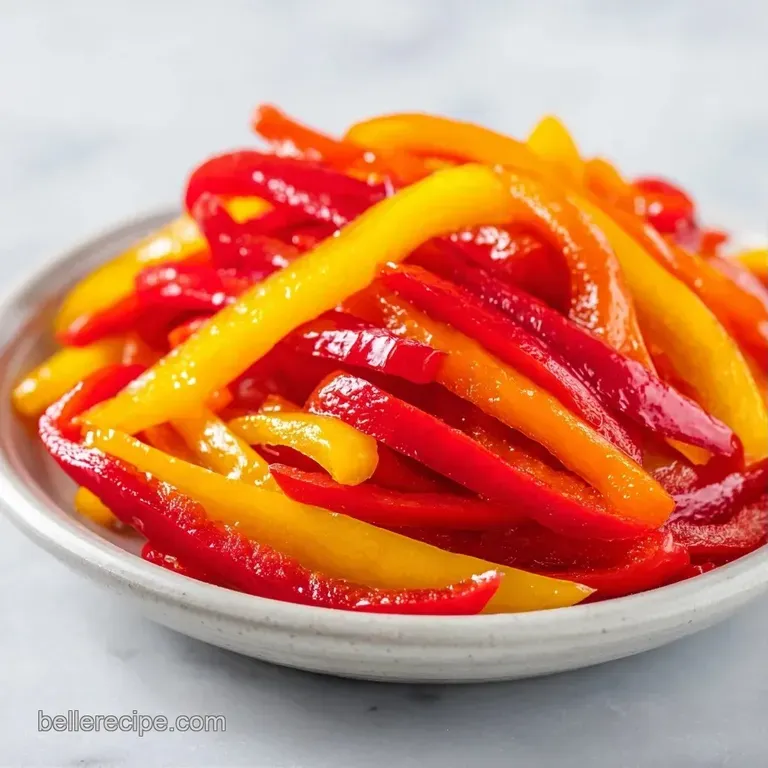
Let's crack on with the actual making. Make sure your workspace is clear and your jars are ready to go.
- Wash and slice the bell peppers. Remove seeds and membranes, then slice into uniform 1/4 inch strips to ensure even pickling.
- Sterilize wide mouth pint jars and lids by boiling them for 10 minutes, keeping them warm until filling. Note: Warm jars prevent the glass from cracking when the hot brine hits.
- In a large stainless steel saucepan, combine the white distilled vinegar, filtered water, granulated sugar, pickling salt, mustard seeds, black peppercorns, and bay leaves.
- Bring the brine mixture to a rolling boil over medium high heat, stirring occasionally until the sugar and salt are fully dissolved.
- Reduce the heat to a simmer for 2 minutes to allow the spices to bloom. until the aroma is sharp and aromatic.
- Place one smashed garlic clove at the bottom of each sterilized warm jar.
- Pack the bell pepper strips tightly into the jars, as they will shrink slightly during the pickling process.
- Carefully pour the boiling brine over the peppers, leaving 1/2 inch of headspace at the top of the jar.
- Use a bubble remover tool or a thin knife to remove any trapped air bubbles from the inside of the jar.
- Seal the jars with lids and bands, and allow them to chill for 24 hours to allow flavors to fully develop.
Fixing Common Pickle Problems
Even with a good plan, things happen. Maybe your peppers didn't snap, or your brine looks like swamp water. Most of these are easy fixes if you catch them early.
Troubleshooting Common Issues
| Issue | Solution |
|---|---|
| Why Your Peppers are Mushy | This usually happens if the vinegar acidity was too low or the peppers were sliced too thin. |
| Why the Brine is Cloudy | Cloudiness often comes from using table salt instead of pickling salt. Table salt has anti caking agents that make the liquid look milky. It's still safe to eat, but it doesn't look as professional. |
| Why the Seal Failed | If you see bubbles rising or the lid pops when you touch it, you likely didn't remove enough air or the jars weren't clean. Always use the bubble remover tool. |
Common Mistakes Checklist
- ✓ Did you slice the peppers to a uniform 1/4 inch?
- ✓ Is your vinegar exactly 5% acidity?
- ✓ Did you pack the jars tightly enough?
- ✓ Did you remove all air bubbles before sealing?
- ✓ Did you wait the full 24 hours before tasting?
Flavor Twists and Swaps
While the classic version is great, you can easily tweak these Pickled Bell Peppers to suit your mood. If you want something with more heat, toss in a sliced habanero or a teaspoon of red pepper flakes. It adds a slow burn that works brilliantly against the sweetness of the red peppers.
For those who prefer a different acid profile, you can swap some of the white vinegar for apple cider vinegar. This will give the brine a slightly fruitier, more muted tone. Just make sure the overall acidity remains at 5%. If you're looking for other zesty additions to your fridge, my pickled banana peppers are a great companion to this recipe.
If you need to swap ingredients due to what's in the pantry, use this guide:
| Original Ingredient | Substitute | Why It Works |
|---|---|---|
| White Distilled Vinegar | Apple Cider Vinegar | Similar acidity. Note: Adds a fruitier flavor and amber color |
| Granulated Sugar | Honey or Maple Syrup | Same sweetness. Note: Thickens the brine slightly |
| Pickling Salt | Kosher Salt | Pure salt crystals. Note: Avoid table salt to prevent cloudiness |
Adjusting the batch size is simple, but don't just multiply everything blindly.
Scaling Down (Half Batch) Use a smaller saucepan to prevent the brine from evaporating too quickly. If you're using an odd number of garlic cloves, just round up you can never have too much garlic.
Scaling Up (Double/Triple Batch) When doubling, only increase the salt and spices to 1.5x. Too much salt can make the peppers shrivel, and too many peppercorns can make the brine taste medicinal. Work in batches when packing the jars to ensure the brine stays boiling hot for every single jar.
Storage and Waste Tips
These Pickled Bell Peppers live happily in the fridge for up to 4 weeks. Keep them tightly sealed and always use a clean fork to pull them out of the jar. If you introduce bacteria from a used fork, the brine will cloud and the peppers will soften.
Don't you dare throw away the leftover brine! It's essentially a seasoned vinegar. I use it as a marinade for chicken or toss it into a potato salad for a sharp, zesty kick. You can also use it to quick pickle some sliced red onions for 30 minutes before serving a meal.
If you have leftover pepper scraps the bits that were too small to make a 1/4 inch strip toss them into a freezer bag. Once you have a handful, sauté them with some onions for a quick base for a pasta sauce.
Serving Your Pickles
The beauty of this recipe is the contrast. The bright, acidic snap of the peppers cuts right through rich, fatty foods. I love them most on a deli style sandwich with salty salami, provolone, and a smear of spicy brown mustard. The acidity cleanses the palate between bites of meat.
For a more sophisticated approach, build an antipasto platter. Arrange the peppers alongside some marinated olives, chunks of sharp manchego cheese, and some toasted baguette slices. The vibrant colors of the red and yellow strips make the board look professionally catered.
If you're hosting a crowd, these make a fantastic topping for a nacho bar. Pair them with a rich nacho cheese sauce to get that perfect balance of creamy and tangy. The crunch of the pepper provides a necessary texture break from the melted cheese and chips.
Recipe FAQs
Do bell peppers pickle well?
Yes, they maintain a great crunch and absorb flavors effectively. Slicing them into uniform 1/4 inch strips ensures the brine penetrates evenly for the best results.
How do you keep peppers crisp when pickling?
Slice peppers into uniform 1/4 inch strips. Cutting them too thin often leads to mushy textures, while this specific thickness preserves the snap.
Can you use store-bought pickle juice to make more pickles?
No, stick to a fresh brine. store-bought juices lack the precise balance of granulated sugar, pickling salt, and whole spices required for this specific recipe.
Why is my pickling brine cloudy?
This usually happens if you used table salt instead of pickling salt. Table salt contains anti caking agents that make the liquid look milky, although the peppers are still safe to eat.
How do you prevent the jars from cracking when filling?
Sterilize and keep your jars warm by boiling them for 10 minutes. Using warm glass prevents thermal shock when the boiling brine is poured in.
How long do homemade pickled peppers stay fresh in the fridge?
They stay fresh for up to 4 weeks. Keep the jars tightly sealed and always use a clean fork to avoid introducing bacteria that soften the peppers.
Can the leftover brine be used for other things?
Yes, it works perfectly as a zesty marinade or salad additive. These peppers are also a fantastic topping for appetizers; they pair perfectly with our homemade hummus.
Pickled Bell Peppers