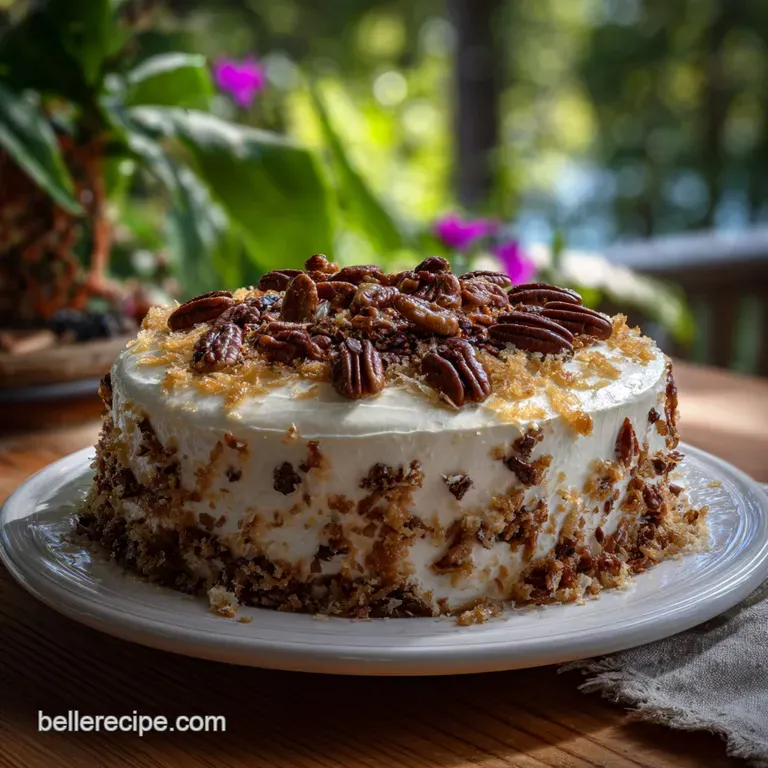
Smith Island Cake Recipe
- Time: Active 30 minutes, Passive 45 minutes, Total 75 minutes
- Flavor/Texture Hook: Velvety cooked fudge meets tender, wafer thin golden sponge
- Perfect for: Anniversary celebrations, coastal themed parties, or a dedicated weekend baking project
- The Science of Why it Works
- Identifying the Essential Components for Your Cake
- The Essential Elements for a Successful Build
- Gathering the Tools for Thin Layer Success
- Step by Step Guide to Success
- Overcoming Common Hurdles When Making Fudge
- Creative Ways to Personalize Your Island Treasure
- Handling Quantities for Larger Groups
- Debunking Common Layer Cake Misconceptions
- Keeping Your Cake Fresh and Reusing Leftovers
- Presentation Ideas for Your Golden Layered Showstopper
- Smith Island Cake Recipe FAQs
- 📝 Recipe Card
The Science of Why it Works
Starch Gelatinization: The high ratio of whole milk to flour allows the wheat starches to fully hydrate and swell during the incredibly fast bake time of the thin layers, ensuring they stay moist despite their small stature.
Sucrose Recrystallization: By simmering the evaporated milk, sugar, and butter for the frosting, we create a supersaturated solution that, once cooled, forms tiny, undetectable crystals that give the fudge its signature "set" without becoming grainy.
| Method | Bake Time | Texture Profile | Best For |
|---|---|---|---|
| Classic Multi Pan | 8-10 mins | Tender, separate layers | Authentic Maryland style |
| Single Large Sheet | 12-15 mins | Denser, cut out rounds | Quick assembly |
| Toaster Oven Batch | 7 mins | Crispy edges | Small scale cravings |
Choosing the multi pan method is usually the way to go if you want that iconic look. While it takes a bit more coordination to swap pans in and out of the oven, the result is a cake that holds its structure perfectly.
The thin layers bake so quickly that the moisture doesn't have time to fully evaporate, leaving you with a silky mouthfeel that is the hallmark of a true smith island cake recipe.
Identifying the Essential Components for Your Cake
When we look at the smith island cake recipe from scratch, every single gram serves a purpose. We aren't just tossing things in a bowl; we are balancing fats and proteins to create a structure that can support nearly a pound of fudge.
It's a delicate dance between the 225g of softened butter and the 5 large eggs that provide the necessary lift and emulsification.
| Component | Science Role | Pro Secret |
|---|---|---|
| Dutch Process Cocoa | Reduced acidity for better lift | Sift twice to prevent "cocoa pockets" in the fudge |
| Evaporated Milk | Concentrated protein and fat | Simmer slowly to avoid scorching the milk solids |
| Large Eggs | Structural emulsifier | Room temperature eggs incorporate 30% more air |
The milk and butter in the batter work together to create a tender crumb. If the milk is too cold, it will seize the butter, leading to a clumpy batter that won't spread thin enough. Always ensure your liquids are at a happy room temperature before you start mixing.
The Essential Elements for a Successful Build
To get this right, you'll need your 375g of all purpose flour ready to go alongside the 2 tsp of baking powder and that vital half teaspoon of salt to balance the sweetness. The sugar content is high (400g in the batter and another 400g in the frosting), which is why the salt and the bitterness of the 100g of Dutch process cocoa are so important.
They provide the contrast that keeps the cake from being cloying.
- 375g All purpose flour: Why this? Provides enough gluten for structure without making the thin layers tough or rubbery.
- Substitute: Cake flour (use 400g) for an even more delicate, melt in-the mouth texture.
- 225g Unsalted butter, softened: Why this? Pure fat source that carries the vanilla flavor and creates a tender crumb.
- Substitute: Salted butter (omit the 0.5 tsp salt from the recipe).
- 5 Large eggs: Why this? The primary binder that keeps the thin layers from shattering when you stack them.
- Substitute: 250ml of liquid egg substitute, though the richness may slightly decrease.
- 100g Unsweetened Dutch process cocoa powder: Why this? Offers a darker color and smoother chocolate flavor than natural cocoa.
- Substitute: Regular unsweetened cocoa (add a pinch of baking soda to neutralize acidity).
- 354ml Evaporated milk: Why this? The secret to the fudge's creamy, shelf stable consistency and rich dairy flavor.
- Substitute: Heavy cream (same volume), but the fudge will be much softer.
Gathering the Tools for Thin Layer Success
You don't need a professional kitchen, but a few specific tools will make this old fashioned smith island cake recipe much easier to manage. Since we are dealing with multiple thin layers, having at least three 9 inch cake pans is helpful, though you can work in batches with just two.
Chef's Note: If you only have two pans, let them cool completely between batches. Spreading batter onto a hot pan will cause it to melt and pull away from the edges, ruining your even layers.
A small offset spatula is your best friend here. Because we are spreading a very small amount of batter (about 1/2 cup) across a 9 inch surface, you need the precision of a flat blade to get it level. You’ll also want a heavy bottomed saucepan for the frosting.
The 400g of sugar and 354ml of evaporated milk need even heat to prevent burning. A thin pot will give you "hot spots" that might cause the sugar to crystallize prematurely.
step-by-step Guide to Success
- Prep the pans. Grease and flour your 9 inch pans thoroughly. Note: Using parchment paper rounds on the bottom is a life saver for layers this thin.
- Cream the foundation. Beat the 225g softened butter and 400g sugar until the mixture looks pale and fluffy, usually about 3 to 5 minutes.
- Incorporate eggs. Add the 5 eggs one at a time, beating well after each addition. Note: This builds the emulsion that prevents the cake from becoming greasy.
- Whisk dry ingredients. Combine the 375g flour, 2 tsp baking powder, and 0.5 tsp salt in a separate bowl.
- Alternate liquids. Gradually add flour and 240ml whole milk to the butter mixture, starting and ending with flour. Stir in 2 tsp vanilla extract.
- Spread the layers. Use about 1/2 cup of batter per pan. Spread until the batter reaches the edges in a thin, even coat.
- Bake the sponges. Bake at 350°F (175°C) for 8 to 10 minutes until the edges are just barely golden and the center springs back.
- Simmer the fudge. In a saucepan, combine 400g sugar, 100g cocoa, 354ml evaporated milk, and 115g cubed butter. Whisk constantly over medium heat until it boils and thickens, about 10 to 12 minutes.
- Finish the frosting. Remove from heat and stir in 1 tsp vanilla and a pinch of salt. Whisk until the frosting is glossy and slightly cooled.
- Stack and frost. Place one layer on a plate, spread a thin layer of warm frosting, and repeat. Frost the top and sides once all layers are stacked.
Overcoming Common Hurdles When Making Fudge
Even the best smith island cake recipe southern living fans have bad days. The most common issue is the frosting. Because it’s a cooked fudge, it’s sensitive to humidity and temperature. If your frosting is too runny, it will slide right off the cake, taking your layers with it.
If it’s too thick, you’ll tear the delicate sponges trying to spread it.
Why Your Frosting Won't Set
If your frosting stays liquid even after cooling, it likely didn't reach a high enough temperature. The sugar needs to reach a specific concentration to "set" as it cools. You want it to coat the back of a spoon heavily. If this happens, put it back on the heat and simmer for another 3 minutes.
The Leaning Tower Problem
With so many layers, gravity is your enemy. If your layers are slightly domed in the center, the cake will eventually tilt. Always press down gently on each layer as you stack it to "lock" it into the fudge.
| Problem | Root Cause | Solution |
|---|---|---|
| Layers Sticking | Pans not greased enough | Use parchment rounds and cool completely before removing |
| Grainy Frosting | Sugar didn't dissolve | Whisk more vigorously during the early simmering stage |
| Dry Cake | Overbaked layers | Reduce bake time by 1 minute; layers should be pale golden |
Similarly to perfecting a Homemade Boston Cream recipe, the key is managing the consistency of your fillings and toppings. If you find your fudge is getting too stiff while you're still stacking, simply place the pot back over a very low flame for 30 seconds to loosen it up.
Common Mistakes Checklist: ✓ Don't skip sifting the cocoa powder; lumps will never fully dissolve in the milk. ✓ Let the cake layers cool on a wire rack, not in the pan, to prevent them from steaming and becoming soggy.
✓ Apply the frosting while it is still warm and pourable, but not boiling hot. ✓ Use a serrated knife to trim any uneven edges after stacking for a clean, professional look. ✓ Refrigerate the finished cake for at least 2 hours before slicing to allow the fudge to fully stabilize.
Creative Ways to Personalize Your Island Treasure
While the quick smith island cake recipe usually calls for chocolate, the tradition has evolved. Some people love to add a layer of jam between the fudge, while others prefer a completely different flavor profile. It's much like how people adapt a Sourdough Baguette Recipe by adding herbs or seeds the base is a canvas for your creativity.
The Lemon and Cream Variation
If you aren't a chocolate fan, you can replace the fudge with a cooked lemon curd frosting. Use lemon juice instead of the cocoa and increase the butter slightly for a bright, tart version of this coastal classic.
Peanut Butter Fudge Swap
For a decadent twist, stir 1/2 cup of creamy peanut butter into the chocolate fudge right after you take it off the heat. It adds a salty richness that pairs beautifully with the golden yellow cake layers.
Handling Quantities for Larger Groups
Scaling a smith island cake recipe can be tricky because of the number of pans involved. If you want to double the recipe for a massive party, don't try to bake all 16-20 layers at once unless you have a commercial oven with incredible airflow.
Scaling Down (1/2 Batch): If you only want a small 4 layer cake, halve all ingredients. Use smaller 6 inch pans to keep the layers thin. Decrease the frosting simmer time by about 4 minutes as the smaller volume will thicken much faster.
Scaling Up (2x Batch): When doubling, keep the spices and vanilla at 1.5x to avoid overpowering the delicate egg flavor. Work in batches for the baking. You can make the batter all at once, but keep it covered in the fridge so the baking powder doesn't lose its "oomph" while waiting for the first round of pans to clear the oven.
| Servings | Pans Needed | Batter Per Layer | Frosting Batch |
|---|---|---|---|
| 6 people | 4 (8 inch) | 1/2 cup | 0.5x Recipe |
| 12 people | 8 (9 inch) | 1/2 cup | 1.0x Recipe |
| 24 people | 16 (9 inch) | 1/2 cup | 2.0x Recipe |
Debunking Common Layer Cake Misconceptions
One myth I hear constantly is that you need a special "Smith Island" pan. You absolutely don't. Standard 9 inch cake pans work perfectly fine as long as you are diligent about spreading the batter thin. Another misconception is that more baking powder makes for a better cake.
In this recipe, too much lift will actually make the layers too airy and fragile to stack. We want a tight, tender crumb, not a sponge cake.
Also, many people believe the frosting must be a "buttercream." In an authentic homemade smith island cake recipe, it’s almost always a cooked fudge. Buttercream is too soft and will often squish out from between the layers under the weight of the cake.
The cooked fudge acts like a delicious, chocolatey glue that holds everything in place.
Keeping Your Cake Fresh and Reusing Leftovers
This cake is surprisingly hardy thanks to the high sugar content in the fudge, which acts as a natural preservative. You can keep it at room temperature under a cake dome for about 2 days, but for the best texture, I recommend the fridge.
- Storage: Keep in an airtight container in the refrigerator for up to 5 days. The cold actually helps the fudge layers stay distinct and firm.
- Freezing: This cake freezes beautifully! Wrap individual slices in plastic wrap and then foil. They will stay fresh for up to 3 months. Thaw in the fridge overnight before eating.
- Zero Waste: If you have scraps from leveling your layers, don't throw them away. Crumble them up and mix them into vanilla ice cream, or use them as a base for chocolate trifles. The thin, slightly caramelized edges of the cake are the best part!
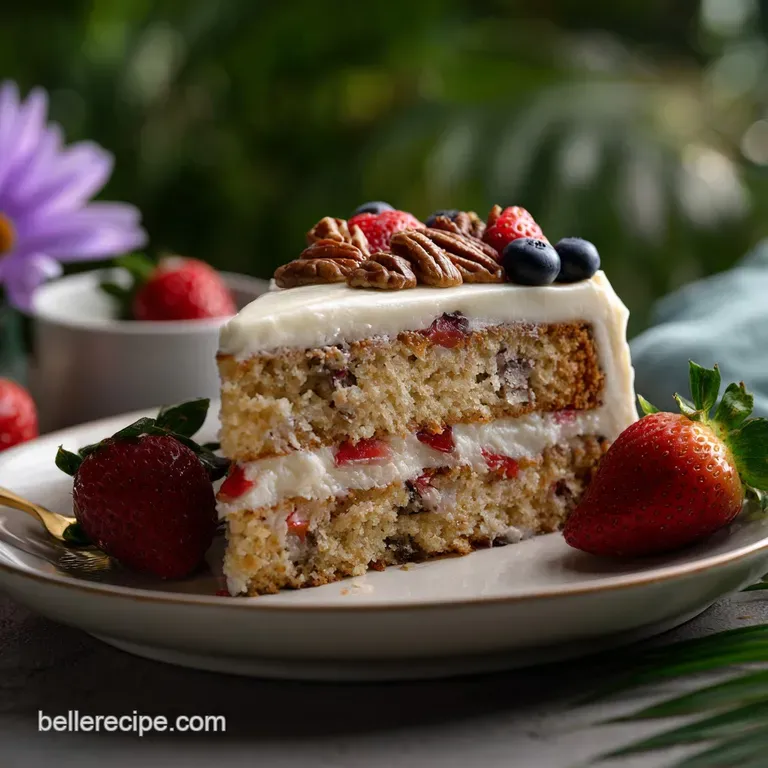
Presentation Ideas for Your Golden Layered Showstopper
When you finally slice into this best smith island cake recipe, the "wow" factor comes from those perfect, thin stripes of chocolate and gold. To get the cleanest slice, use a sharp chef's knife dipped in hot water and wiped dry between every single cut.
This prevents the fudge from dragging through the yellow cake layers, keeping the contrast sharp.
I love serving this on a simple white pedestal to let the dark chocolate frosting really pop. If it's a special occasion, a light dusting of sea salt over the top of the fudge can highlight the cocoa notes.
It’s a comforting, reflective process from start to finish taking basic ingredients like flour, milk, and sugar and transforming them into a legendary piece of Maryland history.
Whether you share it with neighbors or keep it for a quiet Sunday afternoon, this cake is a reminder that the best things in life often come in many, many layers.

Smith Island Cake Recipe FAQs
What makes a Smith Island Cake unique?
The key is its structure: many thin, delicate yellow cake layers separated by a cooked fudge frosting. This creates a distinctive texture and appearance, differing significantly from a typical multi layer cake with buttercream.
Why does Smith Island Cake traditionally have 9 layers?
While 9 layers is classic, the exact number can vary; it's more about achieving many thin layers. The traditional number arose from practical baking methods and the desire for a substantial yet manageable cake height with consistent frosting distribution.
Who makes the original Smith Island Cake?
The original Smith Island Cake is attributed to Mary Ada Marshall. She was a resident of Smith Island, Maryland, and her recipe became the foundation for the cake's fame.
How do you order the Smith Island Cake from Mary Ada Marshall?
Directly ordering from Mary Ada Marshall's original family is no longer possible as she has passed. However, many bakeries now offer authentic Smith Island Cakes based on her legacy and recipe, often found in Maryland or available for shipping.
What is the signature frosting for a Smith Island Cake?
The signature frosting is a cooked chocolate fudge. This cooked fudge sets firmer than a typical buttercream, acting as a delicious binder that holds the many thin layers together.
Are the cake layers supposed to be very thin?
Yes, absolutely. The hallmark of a Smith Island Cake is its multitude of very thin yellow cake layers, which bake quickly and contribute to the cake's signature texture.
Can I use a different filling besides chocolate fudge?
While chocolate fudge is traditional, variations exist. Some modern recipes might use other cooked frostings or even jam layers, similar to how a Classic Linzer Cookie Recipe: My Family's Festive Raspberry Delight uses jam for its distinct flavor.
Smith Island Cake Recipe

Ingredients:
Instructions:
Nutrition Facts:
| Calories | 679 kcal |
|---|---|
| Protein | 10.3 g |
| Fat | 29.6 g |
| Carbs | 99.5 g |
| Fiber | 3.1 g |
| Sugar | 66.7 g |
| Sodium | 167 mg |
