Legendary Boston Cream Cupcakes Moist Vanilla Cake Silky Pastry Cream
- The Grand Introduction to Handheld Nostalgia
- Why This Recipe Perfects the Classic Pie Format
- The Essential Components for Superb Boston Cream Cupcakes
- Sourcing and Stocking Your Baking Pantry
- Step-by-Step Assembly: From Batter to Glaze
- The Three-Part Construction Method
- Troubleshooting and Pro-Tips for Success
- Extending the Enjoyment of Your Baked Goods
- Recipe FAQs
- 📝 Recipe Card
The Grand Introduction to Handheld Nostalgia
There are few desserts that evoke the cozy, classic feeling of American baking quite like the Boston Cream Pie. Born from the legendary kitchens of Boston’s Omni Parker House Hotel, this dessert represents the perfect trifecta: a light, airy sponge, a luscious vanilla custard, and a decadent chocolate crown.
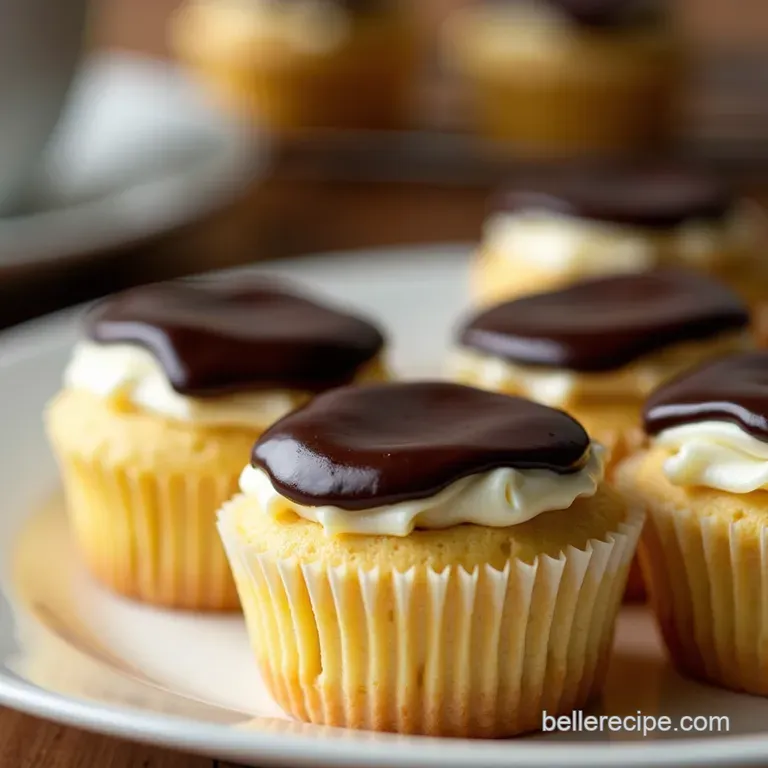
While the full pie demands ceremony, we are revolutionizing this classic into something wonderfully portable: Boston Cream Cupcakes . These miniature marvels allow you to enjoy the creamy, chocolate glazed goodness of the original in a perfectly portioned, no-fuss format.
Whether you are planning a party or simply craving a taste of history, this recipe for Boston Cream Cupcakes with pudding (our luxurious homemade version, of course!) delivers authentic flavor with approachable techniques.
Why This Recipe Perfects the Classic Pie Format
Transforming a layered cake into individual cupcakes requires thoughtful consideration to ensure every component shines without overwhelming the others. Our goal here is not just to mimic the pie, but to enhance the textural experience in a handheld package.
A Modern Take on an American Icon
The beauty of these Boston Cream Cupcakes lies in their balance. The traditional pie can sometimes suffer from a heavy cake layer or a custard that sets too stiffly.
In this adaptation, we focus on a cake recipe that remains incredibly moist using the addition of an extra egg yolk for richness ensuring it stands up beautifully to the filling without becoming dry.
This meticulous approach guarantees that your Homemade Boston Cream Cupcakes are far from an afterthought; they are a true elevation of the original concept.
Achieving Peak Velvety Texture in Every Bite
The heart of any true Boston Cream experience is the filling. We forgo simple pudding mixes in favor of a proper crème pâtissière. This French style pastry cream is cooked on the stovetop, relying on the careful tempering of egg yolks and the thickening power of cornstarch.
This process yields an intensely flavorful, velvety smooth custard that, when chilled, offers that perfect, cool counterpoint to the tender cake. This focus on quality ingredients is what elevates these into the Best Boston Cream Cupcakes you’ll ever make.
Essential Gear for Crafting Flawless Boston Cream Cupcakes
While this Boston Cream Cupcakes recipe easy in principle, a few tools are non-negotiable for that professional finish. A heavy bottomed saucepan is crucial when making the custard, as it distributes heat evenly, drastically reducing the risk of scorching the milk or yolks.
On top of that,, a reliable whisk is your best friend during the tempering stage. Finally, for the ultimate presentation, having a piping bag ready to fill the cupcake cores after coring ensures precise, generous placement of the pastry cream.
The Essential Components for Superb Boston Cream Cupcakes
To achieve the iconic look and taste, we break down the process into three distinct construction phases: the light vanilla sponge, the silky filling, and the glossy topping. This systematic approach helps manage the timing, particularly ensuring the custard has ample time to chill before assembly.
Sourcing and Stocking Your Baking Pantry
Success in baking often hinges on having the right ingredients ready to go. For this recipe, freshness and quality truly make the difference, particularly with the dairy and chocolate components that define the richness of these Chocolate Glazed Cupcakes .
What You Need for the Fluffy Vanilla Sponge Base
The cake itself needs to be light enough to contrast the dense filling. You will require standard dry goods: all-purpose flour, granulated sugar, baking powder, and a touch of salt for balance.
For moisture and tenderness, ensure you have quality unsalted butter softened to room temperature, two room temperature large eggs plus one extra yolk for superb richness, room temperature whole milk, and pure vanilla extract.
Combining room temperature ingredients ensures a smooth emulsion when mixing, which directly translates to a finer crumb structure in your finished Boston Cream Pie Cupcakes .
Mastering the Silky Pastry Cream Filling Ingredients
This is where true flavor develops. You must have whole milk as the base, complemented by granulated sugar and four large egg yolks. Cornstarch is the necessary thickening agent that gives the cream stability once cooled, preventing a runny mess.
Once cooked, incorporating cold cubes of unsalted butter off the heat adds final richness and gloss, while vanilla bean paste or high-quality extract provides that signature warm aroma.
The Dark Chocolate Glaze Component Checklist
For a truly professional finish reminiscent of a mirror glaze, we opt for high-quality dark chocolate (aiming for 60-70% cacao) that has been finely chopped to ensure quick melting. This is combined with heavy cream (at least 35% fat) for the necessary richness.
A tiny hint of light corn syrup, though optional, is a baker’s secret weapon for achieving that unbeatable, non-streaky sheen on the final chocolate layer.
Related Recipes Worth Trying
- The Ultimate NoBake Banana Pudding with Cream Cheese Swirl — Elevate your comfort food game with this Best Banana Pudding with Cream Cheese Recipe Its creamy tangy and dead easy to master Get the simple steps here
- Cream Cheese Swirl Banana Pudding Recipe CheesecakeStyle Twist — Elevate your dessert game with this Cream Cheese Banana Pudding recipe Enjoy a richer thicker filling with a delightful cheesecake tang Get the foolproof...
- Rich Banana Pudding with Cream Cheese A Velvety Custard Dream — Tired of runny pudding This Cream Cheese Banana Pudding Recipe bakes a luxuriously thick tangy custard Its the elevated comfort food classic you need Get...
Step-by-step Assembly: From Batter to Glaze
The process is sequential: first the custard must be made and cooled, then the cake baked, and finally, the decoration executed when everything is at the right temperature. Rushing the chilling time of the pastry cream is the most common mistake when attempting Easy Boston Cream Cupcakes , so plan ahead!
The Three Part Construction Method
We move methodically through the baking and preparation stages, ensuring each element is perfect before moving to the next critical step.
Baking the Perfectly Tender Cake Shells
Begin by preheating your oven to 350° F ( 175° C) and preparing a standard 12-cup muffin tin with paper liners. For the batter, cream the softened butter and sugar together until the mixture is visibly light and fluffy this aeration is vital for lift.
Incorporate the eggs and extra yolk one by one, followed by the vanilla. In a separate bowl, whisk your dry ingredients. Alternate adding the dry mix and the milk to the creamed mixture, starting and ending with the flour mixture. Mix only until just combined; overmixing develops gluten and leads to tough cupcakes.
Fill the liners about two-thirds full and bake for 18 to 20 minutes. They should spring back lightly when touched, and a wooden skewer inserted into the center must come out clean. Cool these shells completely on a wire rack before proceeding.
Crafting the Rich, Non-Curdling Custard Core
The key to a stable, luxurious crème pâtissière starts with whisking the egg yolks, sugar, and cornstarch vigorously in a separate bowl until the mixture turns pale yellow and thick this process is called "blanchir." Meanwhile, gently heat the milk in a saucepan until it is just simmering.
Next, you must temper the yolks: slowly drizzle about half of the hot milk into the yolk mixture while whisking constantly. This gradually raises the yolk temperature without scrambling them. Pour the tempered mixture back into the saucepan with the remaining milk.
Continue whisking over medium heat until the custard boils vigorously and thickens substantially it should coat the back of a spoon heavily and hold a trail when traced. Immediately remove it from the heat, whisk in the cold butter cubes and vanilla, then strain the entire mixture through a fine mesh sieve into a shallow dish.
Cover the surface directly with plastic wrap and chill thoroughly until firm.
Techniques for a Mirror Finish Chocolate Topping
To create the gleaming topping for your Boston Cream Cupcakes recipe easy version, gently heat the heavy cream (and the optional corn syrup) in a small pan until it reaches a light simmer do not let it boil rapidly. Place your finely chopped dark chocolate in a heatproof bowl.
Pour the hot cream over the chocolate and let it sit undisturbed for two full minutes. Then, using a rubber spatula or whisk, begin stirring slowly from the center outwards until the mixture emulsifies into a completely smooth, dark, glossy ganache.
Allow this glaze to cool slightly; it needs to be warm enough to flow easily but cool enough that it won't melt your freshly piped filling.
The Art of Filling and Decorating Your Cupcakes
Once the cake is cool and the custard is firm, the assembly can begin. Using a small paring knife or a melon baller, carefully core out a cylinder shape from the center of each cupcake, going about three quarters of the way down. This creates a perfect well for the filling.
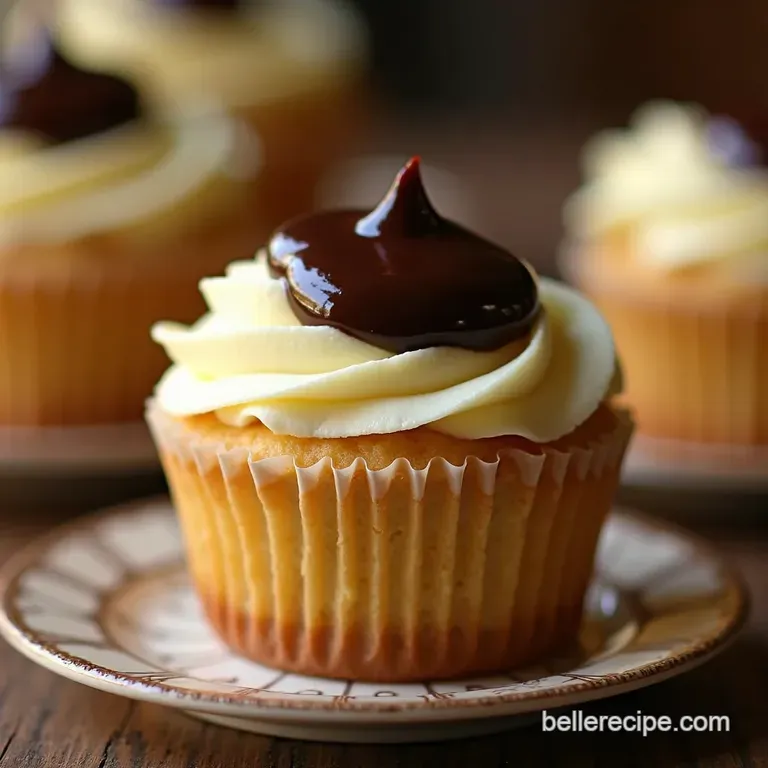
Whisk your chilled pastry cream briefly to loosen it slightly, then load it into a piping bag fitted with a round tip. Pipe the silky cream generously into the cavity of each cake base until slightly mounded.
Finally, dip the top of the filled cupcake directly into the slightly cooled chocolate glaze, lifting immediately and allowing the excess to drip back into the bowl. Place the finished Chocolate Glazed Cupcakes back onto the wire rack to allow the glaze to set for a few minutes before serving.
Troubleshooting and Pro-Tips for Success
Even expert bakers face hurdles, especially with delicate components like pastry cream. Anticipating these issues ensures a smoother baking experience.
- For Lumpy Custard: If your pastry cream develops lumps, immediately strain it through a fine mesh sieve after cooking, before adding the butter. Strain it again after chilling if necessary.
- For Cake Crumblyness: If your cake seems too fragile when removing the core, make sure it is completely cooled warm cake crumbles under pressure. Use a sharp paring knife for clean cuts.
- For Too-Thin Glaze: If the glaze seems too runny after cooling, simply set the bowl over a pan of warm (not hot) water for a moment, stir, and let it cool again; this slight reheating often thickens it slightly.
Extending the Enjoyment of Your Baked Goods
Preserving the integrity of the textures the moisture of the cake, the smoothness of the cream, and the snap of the glaze is paramount for these delicious Boston Cream Cupcakes .
Secrets to Preventing Soggy Cake Layers
The primary enemy of any filled cake is moisture migration. Because we are filling these Boston Cream Cupcakes with a high moisture custard, they are best eaten within 24 hours.
If you must store them longer, the trick is to glaze the tops before filling the centers, which seals the top surface against ambient air.
Creative Variations Beyond Traditional Boston Cream Cupcakes
While the classic combination is unbeatable, you can easily adapt this format. Consider adding a few drops of almond extract to the pastry cream for a subtle depth, or swapping the dark chocolate glaze for a milk chocolate version if you prefer a sweeter profile in your Boston Cream Cupcakes recipe .
For a seasonal twist, sprinkle finely chopped toasted pecans onto the wet chocolate glaze.
Optimal Storage Guidelines for Maximum Freshness
Due to the fresh dairy based filling, these treats must be refrigerated. Store the assembled Boston Cream Cupcakes in an airtight container. For the very best quality, remove them from the refrigerator about 30 minutes before serving to allow the cake to warm slightly and soften, enhancing the overall flavor experience.
Answering Common Baker Queries
- Can I make the pastry cream ahead of time? Absolutely. In fact, you must make it ahead, as it requires a minimum of two hours chilling time for proper setting.
- Can I use instant pudding instead of cooking the custard? While instant pudding offers speed, it lacks the richness and silky texture that makes these Boston Cream Cupcakes special. We strongly advise against substitution if seeking authentic results.
- How much filling fits in each cupcake? Generously! Aim for roughly 1 to 1.5 tablespoons of cream per core, depending on how deeply you carve out the center.
Recipe FAQs
I’m nervous about the pastry cream filling can I use store-bought pudding instead of making the crème pâtissière for these Boston Cream Cupcakes?
While you absolutely could use good quality, chilled vanilla pudding in a pinch, it won't give you that authentic, velvety texture that makes the real deal so spectacular. Homemade pastry cream is worth the effort; just make sure to whisk the egg yolks and cornstarch until they are very pale before adding the hot milk, as this prevents lumps from setting in.
How far in advance can I bake the vanilla cupcakes, and when should I fill them?
The vanilla cupcakes are quite sturdy, so you can bake them up to two days ahead and store them tightly sealed at room temperature. However, for the best result, only fill and glaze them on the day of serving, or at the very latest, the morning of. Filling them too early will start to make the cake soggy.
My chocolate glaze isn't shiny; it looks a bit dull. What did I do wrong?
A dull glaze usually means the chocolate wasn't emulsified properly, or it cooled down too much before dipping. For that mirror like shine you see in professional bakes, ensure you use good quality dark chocolate and add that tiny bit of corn syrup it acts as an invert sugar to keep the glaze glossy and prevent crystallisation.
Make sure the glaze is warm, not hot, when you dip!
Can these Boston Cream Cupcakes be frozen? And if so, how should I store them?
Freezing assembled, filled cupcakes isn't recommended as the custard filling can get a bit watery upon thawing. If you must freeze them, bake the cakes, cool them completely, and freeze them unfrosted in an airtight container for up to a month. Thaw overnight in the fridge before filling and glazing.
The centre of my cupcake keeps sinking when I try to scoop out the middle for filling how do I get a nice neat cavity?
This usually happens if the cake is still even slightly warm, or if you’re pressing down too hard. Wait until the cakes are stone cold, then use a small, sharp paring knife or an apple corer to gently twist out the plug; don't dig!
The removed plug can often be crumbled and sprinkled over the top for extra decoration if you like.
Boston Cream Cupcakes Recipe

