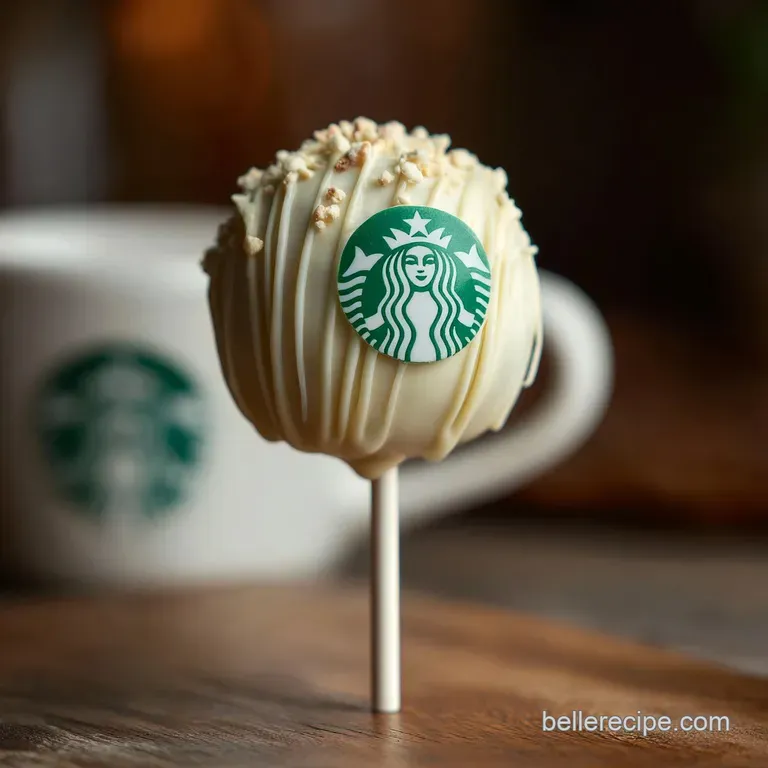
Starbucks Cake Pop Recipe: Velvety & Moist
- Time: Active 45 minutes, Passive 30 minutes, Total 1 hours 15 mins
- Flavor/Texture Hook: A shatter crisp chocolate shell giving way to a velvety, moist cake center.
- Perfect for: Birthday parties, afternoon pick me-ups, or mindful gift sharing with neighbors.
- The Best Homemade Starbucks Cake Pop Recipe
- Timing and Yield for Sharing
- Simple Ingredients for Sweet Treats
- Essential Tools for Successful Pops
- Steps for a Velvety Crumb
- Solving Common Cake Pop Problems
- Budget Swaps and Creative Ideas
- Storage and Zero Waste Tips
- Beautiful Serving and Gifting Ideas
- Starbucks Cake Pop Recipe FAQs
- 📝 Recipe Card
The Best Homemade Starbucks Cake Pop Recipe
Have you ever stood in that long morning line, eyes drifting toward the glass case, only to feel that tiny pang of guilt when you see the price for a single pink treat on a stick? I’ve been there so many times.
One afternoon, after my toddler practically begged for one and I realized I was out of "fun money" for the week, I decided it was time to bring that little bit of joy into my own kitchen. There is something incredibly mindful and grounding about crumbling a cake you baked yourself with your own two hands.
The first time I tried this, I made the mistake of using a store-bought mix that was just too airy. It didn't have that signature "fudge" texture that makes the Starbucks version so iconic. I learned that the secret isn't just in the cake, but in the ratio of frosting to crumb.
We are looking for a texture that feels like a dense truffle, not a dry muffin. It’s about transforming simple, humble pantry staples like flour, butter, and sugar into something that feels like a small luxury.
Trust me, once you smell that vanilla cake cooling on your counter, you'll never want to go back to the plastic wrapped version. We are going to make 22 of these beauties, enough to share with the whole PTA or just keep in a hidden container in the fridge for those "I need a minute" moments.
Let's get our hands a little messy and create something truly comforting together.
Timing and Yield for Sharing
The Emulsion Bond: When we mix frosting into warm cake crumbs, the sugars and fats create a structural emulsion that holds the ball together without it becoming greasy.
Temperature Precision: Chilling the shaped dough stabilizes the butter, ensuring the pops don't slide down the sticks when they hit the warm chocolate coating.
Vapor Barrier: The candy melt coating acts as a seal, locking in the cake's moisture and preventing the crumb from drying out for several days.
| Servings | Ingredient Adjustments | Pan Size | Cook Time |
|---|---|---|---|
| 11 people | Half quantities, 1 egg yolk | 8x8 inch square | 22 minutes |
| 22 people | Full Schema quantities | 9x13 inch rectangle | 30 minutes |
| 44 people | Double all, use 2 eggs | Two 9x13 pans | 30 minutes |
Scaling these up is a wonderful way to prep for a big celebration. Just remember that if you are doubling the batch, you should still work in small batches when it comes to the dipping stage.
Chocolate waits for no one, and it can get grumpy if it sits out too long while you're trying to manage forty four sticks at once.
Simple Ingredients for Sweet Treats
| Ingredient | Science Role | Pro Secret |
|---|---|---|
| All Purpose Flour | Provides structure through gluten | Sift it twice for a lighter, more uniform crumb. |
| Unsalted Butter | Adds fat for a velvety mouthfeel | Use European style butter for a higher fat content and richer flavor. |
| Granulated Sugar | Humectant (holds moisture) | Don't reduce the sugar; it’s vital for the cake's soft texture. |
| Candy Melts | Structural coating | Add a teaspoon of shortening to make the dip more fluid. |
When we talk about the The Homemade Starbucks recipe, we often focus on the flavor, but the ingredients here are all about the architecture of the bite. Using whole milk instead of skim, for example, adds a layer of fat that makes the cake feel much more premium and comforting.
- 1.5 cups (190g) all purpose flour: The backbone of our cake. Why this? Provides enough protein for structure without making the cake tough or bread like.
- 1 cup (200g) granulated sugar: Sweetness and moisture.
- 1.5 tsp baking powder: Our lifting agent.
- 0.5 tsp salt: To balance the sugar.
- 0.5 cup (115g) unsalted butter: Softened to room temperature.
- 1 large egg: Room temperature for better emulsification.
- 0.5 cup (120ml) whole milk: Adds richness.
- 2 tsp pure vanilla extract: For that nostalgic aroma.
- Frosting Components: 4 tbsp (55g) butter, 0.75 cup (90g) powdered sugar, 1 tsp heavy cream, 0.5 tsp vanilla.
- Coating: 16 oz (450g) pink candy melts and 2 tbsp shortening.
For those looking for a budget friendly swap, you can actually use a high-quality margarine in the cake base if butter is too pricey this week, though I’d always stick to real butter for the frosting to keep that creamy taste. If you've been working on a Homemade cherry pie recipe recently, you might even have some leftover almond extract a tiny drop of that in the cake batter adds a sophisticated "bakery" note that is just divine.
Essential Tools for Successful Pops
Baking is as much about the tools as it is the ingredients. You don't need fancy machinery, but a few specific items make the process much more mindful and less stressful. I highly recommend a sturdy stand mixer, but a hand mixer works perfectly well too.
For the cake, you'll need a standard 9x13 inch baking pan. When it comes to the "pop" part, a styrofoam block or even a cardboard box with holes poked in it is essential for letting the pops dry without flat spots.
If you try to lay them down on parchment paper while the chocolate is wet, you'll end up with a "flat head" cake pop, which still tastes great but lacks that professional roundness.
| Original Ingredient | Substitute | Why It Works |
|---|---|---|
| Heavy Cream | Whole Milk | Slightly less rich, but still provides the necessary liquid for the frosting. |
| Candy Melts | White Chocolate + Food Coloring | Note: Requires oil based coloring; water based will seize the chocolate. |
| Shortening | Coconut Oil | Provides the same thinning effect for dipping, with a hint of coconut. |
Using coconut oil as a substitute for shortening is one of my favorite little tricks. It gives the shell a slightly lower melting point, meaning it starts to melt the moment it hits your tongue, which feels incredibly luxurious.
Steps for a Velvety Crumb
Bake the Golden Foundation
Preheat your oven to 175°C (350°F). Cream the 0.5 cup (115g) butter and 1 cup (200g) sugar until light and fluffy. This usually takes about 3 minutes of mindful mixing.
Add the egg, milk, and vanilla, then slowly incorporate the dry ingredients (flour, baking powder, salt). Pour into your greased pan and bake for 30 minutes until a toothpick comes out clean and the edges are barely golden.
The Mindful Crumble Process
Let the cake cool in the pan for exactly 10 minutes. While it's still slightly warm but not hot, use your hands to crumble the cake into a large bowl. You want fine, sandy crumbs no large chunks allowed! This is the most therapeutic part of the whole recipe.
Binding With Creamy Frosting
Prepare the frosting by beating the 4 tbsp (55g) butter, powdered sugar, cream, and vanilla until smooth. Add the frosting to the cake crumbs one tablespoon at a time. Mix with your hands until the dough holds together like damp sand when squeezed.
The Structural Anchor Technique
Roll the mixture into 22 balls, about 25g to 30g each. Melt a tiny bit of the candy melts. Dip the tip of each cake pop stick into the melted chocolate, then push it halfway into a cake ball. This "glue" ensures the ball won't fall off during dipping.
The Signature Pink Coating
Melt the 16 oz (450g) pink candy melts with 2 tbsp shortening in 30 second bursts in the microwave. Dip each chilled pop straight down into the coating until the cake is completely submerged.
Lift it out, gently tap your wrist to remove excess, and top with white nonpareil sprinkles before the shell sets.
| Method | Time | Texture | Best For |
|---|---|---|---|
| Oven (Cake) | 30 minutes | Fluffy, even crumb | Traditional, reliable results |
| Stovetop (Melting) | 10 minutes | Silky, controlled | Avoiding burnt chocolate |
While I love the speed of the microwave for melting, the stovetop double boiler method is much more forgiving. If you've ever accidentally scorched chocolate, you know that smell it's heartbreaking! The gentle steam from the stovetop keeps everything at a consistent, velvety temperature.
Solving Common Cake Pop Problems
Why Your Pops Fall Off
This is the most common heartbreak in cake pop making. Usually, it's because the cake balls were too warm or the frosting to cake ratio was off. If the balls are too heavy with frosting, gravity wins every time.
| Problem | Root Cause | Solution |
|---|---|---|
| Balls falling off stick | Too much frosting or balls are too warm | Chill for 20 minutes; use less frosting in the next batch. |
| Cracking chocolate | Temperature shock | Ensure cake balls aren't "freezer cold" when dipping into hot chocolate. |
| Lumpy coating | Chocolate is too thick | Add a teaspoon more shortening or coconut oil to thin it out. |
The Cracking Shell Disaster
If you see cracks appearing in your beautiful pink shells as they dry, it's likely a temperature issue. When the cold cake ball expands as it warms up, it puts pressure on the rigid chocolate shell.
The fix is to let the chilled balls sit on the counter for 5 minutes before you start dipping them so the "shock" isn't as intense.
- ✓ Chill the balls for at least 15 minutes before the "glue" step.
- ✓ Never stir the chocolate vigorously; it adds air bubbles that mar the finish.
- ✓ Tap your wrist, not the stick, to shake off excess coating.
- ✓ Use a deep, narrow glass for dipping to get full coverage with less chocolate.
- ✓ Always use room temperature eggs and milk for the cake to ensure a smooth batter.
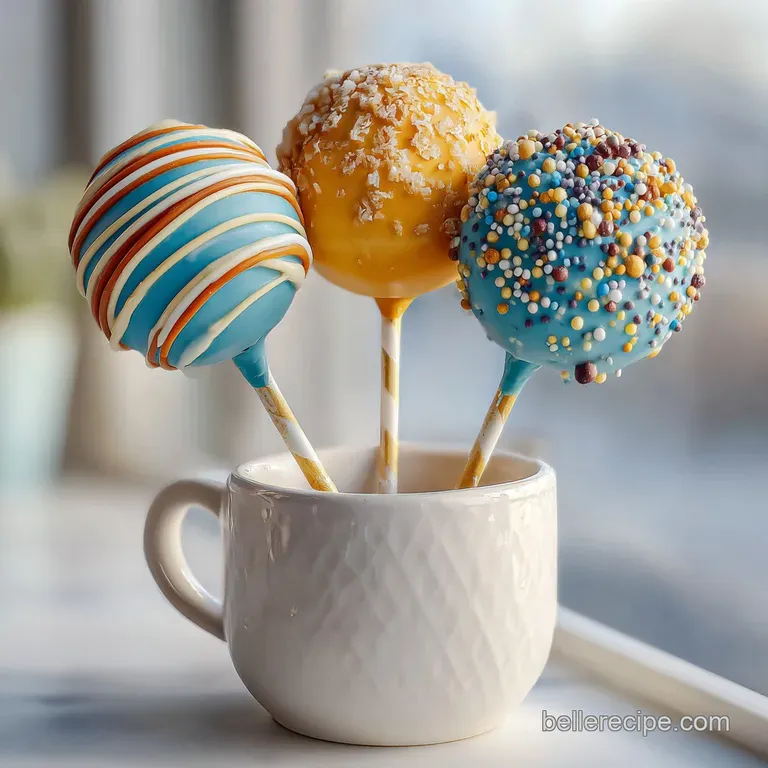
Budget Swaps and Creative Ideas
You don't have to spend a fortune to get that premium look. If candy melts are hard to find or expensive in your area, you can use white chocolate chips mixed with a tiny bit of oil based food coloring.
Just stay away from the liquid coloring you find in the baking aisle it will cause the chocolate to seize into a grainy mess.
If you are craving a Starbucks Chocolate Cake Pop Recipe, simply replace 1/4 cup of the flour with high-quality cocoa powder and use dark chocolate melts for the coating. It's a rich, comforting alternative that feels like a decadent truffle.
- For a Strawberry Version: Add 1 tablespoon of strawberry reduction to the frosting.
- For the "Easy" Shortcut: Use a store-bought pound cake and pre made frosting to save 30 minutes of baking and cooling time.
- For a Birthday Pop: Use the vanilla base as written, but add rainbow sprinkles directly into the cake "dough" before rolling.
When scaling the recipe down for just a few treats, remember that you can beat one egg in a small bowl and then use exactly half of it by weight (about 25g). It keeps the chemistry of the cake perfect even in small batches.
Storage and Zero Waste Tips
These treats are surprisingly hardy. You can keep them in an airtight container in the fridge for up to 7 days. If you're making them for an event, they actually taste better after a day in the fridge as the flavors have time to mingle and get to know each other.
For freezing, I recommend freezing the undipped cake balls on a tray, then transferring them to a freezer bag for up to 2 months. When you're ready for a treat, just thaw them in the fridge, then dip as usual. If you have leftover cake crumbs that didn't make it into a ball, don't toss them!
They make an incredible topping for vanilla ice cream or can be stirred into pancake batter for a "cake batter" breakfast.
Even the leftover pink chocolate can be drizzled over popcorn or pretzels for a sweet and salty snack that ensures nothing goes to waste in your mindful kitchen.
Beautiful Serving and Gifting Ideas
Presentation is where the "wow" factor really happens. For a truly professional look, I like to wrap each individual pop in a small cellophane bag tied with a piece of baker's twine. It feels like a little gift, even if you're just handing it to a friend across the fence.
If you're serving these at home, a tall white pitcher filled with sugar or dried beans makes an excellent stand. It keeps the pops upright and creates a beautiful vertical display on your dessert table.
Pair these with a cold glass of milk or a hot cup of coffee the bitterness of the coffee cuts through the sweetness of the vanilla coating in a way that is just perfection.
Making these at home isn't just about saving a few dollars; it's about the intention you put into every step. From the first stir of the flour to the final sprinkle of nonpareils, you are creating a moment of sweetness that far outshines anything you could find in a drive thru.
Enjoy the process, share the results, and revel in the cozy, vanilla scented home you've created.

Starbucks Cake Pop Recipe FAQs
What are the primary ingredients needed for scratch made Starbucks style cake pops?
Cake mix, frosting, and candy melts. You require standard cake ingredients (flour, sugar, butter, egg) for the dense interior, mixed with frosting to bind the crumbs, and specialized pink candy melts for the signature hard shell coating.
What is the secret to making cake pops that achieve that signature dense, fudge like interior?
A high ratio of frosting to cake crumb is crucial. This creates a stable emulsion, transforming the baked cake into a truffle like density rather than leaving it airy. If you master this binding technique here, you’ll find the same structural knowledge applies when working with doughs in our Cinnamon Rolls Recipe.
What brand of candy melts does Starbucks typically use for their coating?
Starbucks likely uses a commercial grade confectionery coating. For home replicating, look for high-quality almond bark or Ghirardelli white melting wafers, as they yield a smoother, more professional snap than standard grocery store brand candy melts.
How does Starbucks get their cake pops so perfectly round and smooth without flat bottoms?
They use specialized dipping and setting equipment. At home, the best way to avoid flat bottoms is by chilling the formed balls thoroughly, using a melted chocolate "anchor" on the stick, and setting them vertically in a block of styrofoam while the shell hardens.
How do I prevent the chocolate coating from cracking once applied to the cold cake ball?
Tempering the temperature differential prevents cracking. Let the chilled cake balls sit at room temperature for about five minutes before dipping them into the warm coating. This lessens the shock that causes the cold interior to expand and fracture the shell.
Is it necessary to use a binder like frosting, or can I just dip crumbled cake directly?
No, you absolutely must use a binder like frosting or ganache. Dipping plain crumbs results in a dry, crumbly pop that will shatter upon biting. The frosting melts slightly into the crumbs, forming a cohesive mass that holds its shape when coated, similar to how fat helps bind ingredients in our The Homemade Strawberry recipe.
What is the best way to thin out overly thick candy melts for easy dipping?
Add a neutral, high fat solid like vegetable shortening or coconut oil. Stir in a teaspoon at a time over low heat or in short microwave bursts until the consistency flows easily off a spoon. This reduces viscosity without seizing the chocolate.
Starbucks Cake Pop Recipe

Ingredients:
Instructions:
Nutrition Facts:
| Calories | 265 calories |
|---|---|
| Protein | 1.6g |
| Fat | 14.2g |
| Carbs | 33.5g |
| Fiber | 0.4g |
| Sugar | 23.8g |
| Sodium | 108mg |
