Sweet & Simple: the Best Damn Corn on the Cob (Every Time!)
Recipe Introduction
Ever wondered how to get that perfect, juicy bite cooking corn on the cob ? honestly, it's simpler than you think.
This isn't some fancy gordon ramsay technique. this is about capturing the pure essence of summer. think picnics, sunshine, and sweet, buttery goodness.
From Field to Table: Corn on the Cob Simplified
This recipe takes you back to basics. forget complicated methods. we're celebrating the natural sweetness of fresh corn. corn on the cob is a summer staple.
It has roots stretching back centuries. this cook corn recipe is dead easy and fast.
Why You'll Love This Corn
One of the best things? corn on the cob is packed with fiber! seriously, it’s great for you. serve it at your next bbq.
It's always a crowd pleaser. what makes this so special is its simplicity and sheer flavor. the option to use air fryer corn is a game changer.
Now, let's gather our ingredients. We'll need 4 ears of fresh corn, and some butter. You can also use salt, pepper, and fresh herbs if you're feeling fancy.
Alright, let's dive into what you need to make the best buttery corn ever. seriously, this cooking corn on the cob is so easy.
Even my mate dave, who burns toast, can manage it!
Ingredients & Equipment: The Bare Essentials
So, you wanna cook corn ? Here's the lowdown.
Main Ingredients
4 ears of fresh corn, still in their husks, if possible. that's about 4 ears for my non-metric friends and pretty much the same 4 for the metric crew.
Look for bright green husks. plump kernels are a must. honestly, the fresher, the better!
Optional: 4 tablespoons (56g) of unsalted butter, softened. If you want that extra flavour, don't skip on this step!
Seasoning Notes
Time to talk flavour.
- Salt and pepper are the classic duo. A must.
- Fresh herbs? Go for it. Chives, parsley, or cilantro. Yum.
- Quick swap? Garlic powder for fresh garlic. Works a treat.
Equipment Needed
Keep it simple, yeah?
- A big pot for boiling or a food air fryer . Trust me; Air Fryer Corn is amazing.
- Tongs. Don't burn your fingers, mate!
- Knife (for trimming ends, optional).
Seriously, that's all you need. Cooks Air Fryer ? Then you're set.
Don't fret if you don't have fancy gear. A decent pot will do the job. And if you fancy some Air Fryer Recipes Snacks , why not have a look at some Best Air Fryer Recipes while you cook the corn ?
Easy vegetable side dishes don't get much easier than this. it's one of those air fryer foods that is quick and tasty.
Remember, perfect cooking corn on the cob is all about fresh ingredients and a little bit of love.
Now, a funny story. I once tried cooking corn on the cob with frozen corn. Total disaster! Mushy mess. Learn from my mistakes. Fresh is king, people!
Okay, let's get this corn shucking party started! i'm thinking simple, delicious, and totally fool proof. we're talking about cooking corn on the cob in a way that even i, queen of almost burning toast once, can manage.
Ready for the easiest, sweetest side dish ever? it's one of the easy vegetable side dishes !
Sweet & Simple: The Best Damn Corn on the Cob (Every Time!)
Honestly, there's nothing quite like fresh corn in the summer. this recipe skips the fuss and focuses on making the most of that sweet, summery flavor.
Whether you boil it, grill it or you cook corn in the microwave, you'll get perfect, juicy kernels every time.
It's also one of the best air fryer recipes you can easily make!
Prep Steps: Getting Ready to Rumble (the Corn Rumble!)
First things first, you'll need 4 ears of fresh corn. look for bright green husks and plump kernels. oh my gosh, does that sound like i know what i’m doing? anyway, you can shuck them (peel back the husks and remove the silk) or leave them in the husks.
I often leave the husks on, keeps the corn moist! you might want to trim the ends if they're looking a bit scraggly.
Step-by-step: Let's Get Cooking!
Here are three ways to cook that golden goodness.
- Boiling: Bring a large pot of water to a rolling boil. Add the corn and cook for 5- 7 minutes , until tender crisp.
- Grilling: Soak unshucked corn in water for 30 minutes. Grill on medium high heat, turning occasionally, for 10- 15 minutes .
- Microwaving: Microwave unshucked corn on high for 3- 5 minutes per ear. Let it cool slightly before shucking. Honestly, this is my fave!
Pro Tips: From Amateur to Corn Connoisseur
Here's the lowdown. Don't overcook it! Overcooked corn gets mushy. Also, the microwave trick makes silk removal a breeze . You know? And for extra flavour and it's what i like, add Buttery Corn !
Cooking corn on the cob can be such a rewarding experience, and with these expert tips, I'm sure you'll enjoy the process too!
Alright, so you’ve made it this far! congrats. now let's chat about how to make this the go-to corn recipe.
We're talkin' everything you need to know beyond the actual cooking corn on the cob . think of it as your corn-on-the-cob survival guide!
Recipe Notes
How to Serve That Buttery Corn
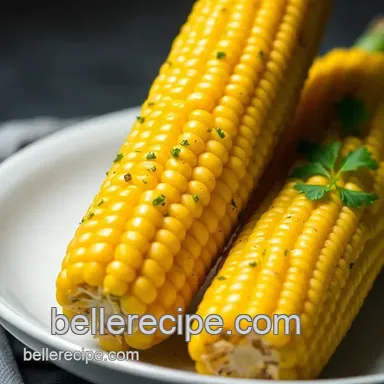
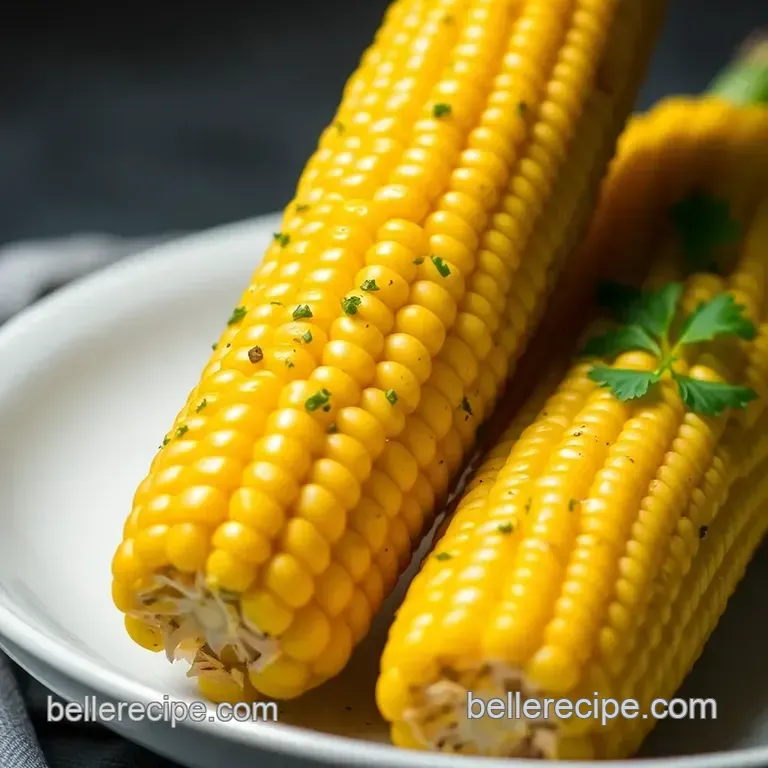
Plating is key, you know? no one wants sad-looking corn. first, i love setting it out on a platter. i get the looks.
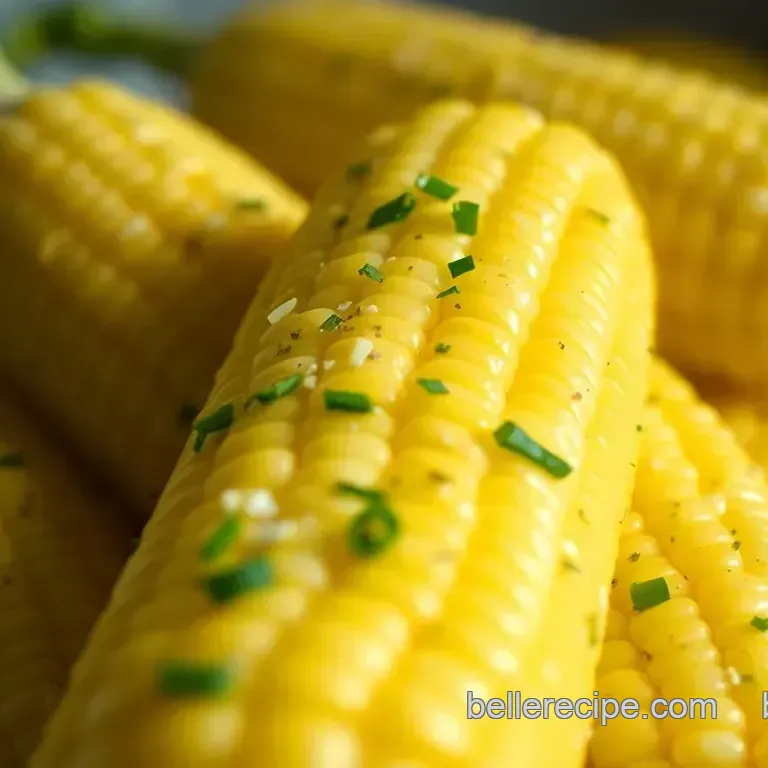
For presentation, try sprinkling some fresh, chopped chives or parsley on top. it adds a pop of colour and a burst of flavour.
For sides, coleslaw is a must for that summer barbecue vibe. potato salad also does the trick. honestly, though? a big slice of watermelon is the perfect chaser to that sweet corn.
Pair it with a crisp lager for the adults, or some proper lemonade for the kids.
Cook Corn : Storage Superpowers
Okay, so you’ve got leftovers. happens to the best of us. pop that cooked corn into an airtight container. it'll be good in the fridge for about 3-4 days.
Freezing corn on the cob isn't ideal; it can get a bit mushy. but, if you must , cut the kernels off the cob first.
Freeze those kernels in a freezer bag for later use in soups or salads. reheating is easy. a quick zap in the microwave, or a few minutes on the grill does it.
Just add a fresh pat of butter and you're good to go.
Shake Things Up: Variations on the Corn Theme
Want to get fancy? try some dietary adaptations. going vegan? swap the butter for a drizzle of olive oil or some plant based butter.
For a fun twist, make mexican street corn (elote). slather the cooked corn with mayo, sprinkle with cotija cheese, chili powder, and a squeeze of lime.
Delish! for seasonal swaps, consider adding roasted peppers or grilled onions alongside the corn in the late summer.
And hey, don’t forget about air frying corn on the cob ! if you're into air fryer foods , then you gotta cook corn this way.
The air fryer gets it nice and crispy! search for air fryer recipes snacks , so many options available.
Nutrition Basics : Knowledge is Power
Alright, let's talk numbers. one ear of corn has around 150 calories. not bad! it's also a good source of fiber, which is great for your gut.
Corn also gives you some essential vitamins and minerals. fiber and antioxidants in the corn can contribute to overall health.
Who knew cooking corn on the cob could be so good and good for you?
This also works great if you cooks air fryer , you can have easy vegetable side dishes in no time.
The food air fryer gives you a healthy option to eat you side dish.
Concluding Thoughts
Honestly , making the best air fryer recipes and cooking corn on the cob isn’t rocket science, is it? it’s all about fresh ingredients, simple techniques, and a little bit of love.
So go on, give it a try! you've got this!
Frequently Asked Questions
What's the best way for cooking corn on the cob? Boiling, grilling, or microwaving?
Honestly, it depends on your preference, mate! Boiling is quick and easy, giving you that classic, juicy corn flavor. Grilling adds a smoky char, perfect for barbecues, just remember to soak it if grilling in the husk to prevent burning. Microwaving is the speediest option when you are after a quick and easy fix.
How long should I boil corn on the cob so it doesn't get mushy like a soggy biscuit?
Nobody wants mushy corn! Aim for 5-7 minutes in boiling water once you've added the corn. You want the kernels to be tender crisp. Think al dente pasta, but for corn. It's like brewing tea too long, and it's ruined!
Can I freeze leftover cooked corn on the cob?
Absolutely! First, let the cooked corn cool completely. Then, cut the kernels off the cob or wrap the entire cob tightly in plastic wrap and then foil. Frozen corn will keep for 2-3 months; use it in soups, salads, or stir fries. It's a great way to extend that summer feeling!
Is eating corn on the cob actually good for you? What are the nutritional benefits?
You bet! Corn is a good source of fiber, which aids digestion, and it contains vitamins and minerals like vitamin C and potassium. While it does have natural sugars, it's a whole food and a better choice than processed snacks. Just maybe go easy on the butter everything in moderation, right?
What are some creative ways to season my corn on the cob besides just butter and salt?
Oh, the possibilities are endless! Try Mexican street corn (Elote) with mayo, cotija cheese, chili powder, and lime. Garlic herb butter adds a savory kick. Or, for a bit of heat, sprinkle with smoked paprika or cayenne pepper. Get creative it's your corn, your rules!
How do I know when cooking corn on the cob on the grill, especially if I leave the husks on?
Grilling in the husk is great because it steams the corn! You'll know it's ready when the husks are charred and starting to pull away from the corn. You can carefully peel back a bit of the husk to check if the kernels are tender and juicy. The cooking time is generally between 10-15 minutes turning occasionally.
Sweet Simple The Best Damn Corn On The Cob Every