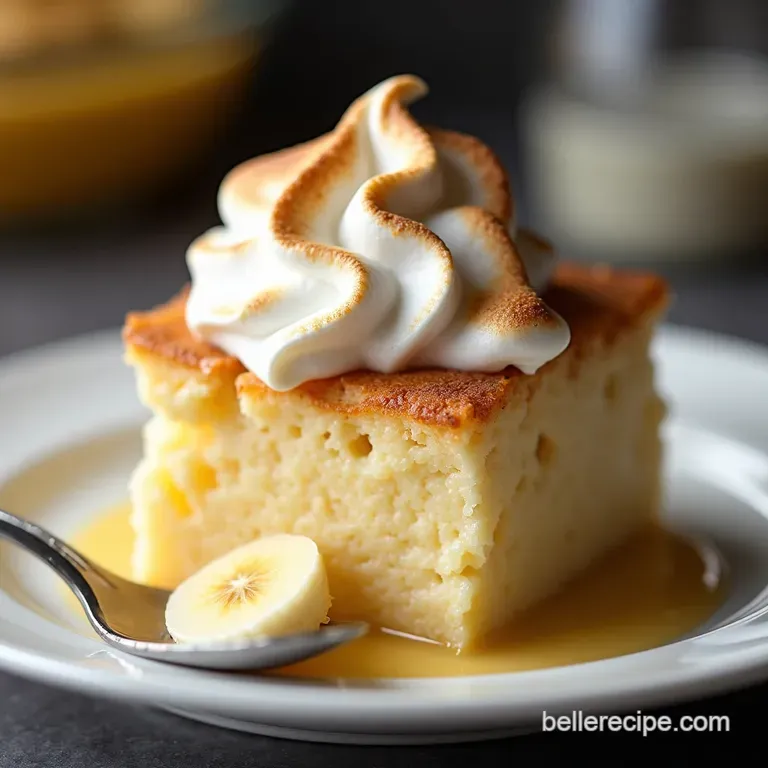
The Proper Pudding Classic Southern Banana Pudding with Toasted Meringue Topping
- Unveiling the Soul of Southern Sweetness: Why This Recipe Reigns Supreme
- The True Benchmark: Elevating Your Banana Pudding with Nilla Wafers Recipe
- Curating Your Components: The Essential Shopping List
- The Perfect Palette: Selecting Ripe Bananas for Optimal Flavor
- The Art of Custard Creation: Slow Simmering for Silkiness
- Assembly Line Perfection: Layering Your Banana Pudding with Nilla Wafers
- The Grand Finale: Whipping and Tanning the Meringue Crown
- Storage Secrets and Serving Suggestions for Peak Freshness
- Variations on a Classic: Twists for the Adventurous Baker
- Recipe FAQs
- 📝 Recipe Card
Unveiling the Soul of Southern Sweetness: Why This Recipe Reigns Supreme
There are dishes, and then there are institutions . Banana Pudding with Nilla Wafers falls firmly into the latter category, holding a revered place on every Southern dessert table.
It transcends a simple sweet ending; it is comfort, nostalgia, and culinary heritage captured in layers. While shortcuts abound in the modern kitchen, this specific recipe the kind that demands a bit of patience to develop the custard is the only true way to experience this classic.
We aren't aiming for quick assembly; we are aiming for the textural symphony that defines the Best Banana Pudding with Nilla Wafers experience: creamy, slightly soft wafers, sweet banana notes, and a cloud of toasted topping.
This journey into making a Homemade Banana Pudding with Nilla Wafers from scratch promises a result so superior, you’ll never look back at instant mixes again.
The True Benchmark: Elevating Your Banana Pudding with Nilla Wafers Recipe
To truly master this dessert, we must respect its structure. Many attempts result in a watery mess or a pudding that sets like rubber. Our goal here is a silky, rich pastry cream that perfectly complements the soft sweetness of the fruit and the slight vanilla snap of the cookies.
This article will guide you through achieving that ideal balance, focusing on the technical steps that transform simple ingredients into something truly extraordinary.
More Than Just a Dessert: A Heritage Recipe Explained
The magic of the true Banana Pudding recipe vanilla wafers lies in the transformation of the cookie. When layered correctly, the Nilla Wafers absorb moisture from the custard, softening into a delicate, almost cake like texture, yet retaining just enough structure to provide essential substance against the creamy filling.
This soaking process is non-negotiable for authenticity.
Achieving the Perfect Custard-to-Cookie Ratio
For a standard 9x13 inch dish, we use approximately 4 to 5 large bananas and an entire standard box of Nilla Wafers. This ensures that nearly every spoonful contains the core elements. The custard, made rich with egg yolks and butter, must be substantial enough to coat the back of a spoon heavily without being stiff.
We are aiming for a consistency that flows slightly, ready to seep into those wonderful vanilla cookies.
Setting the Stage: What Makes This Version Unforgettable
What truly sets this recipe apart is the crowning glory: a billowy, glossy Italian meringue topping, gently kissed with a torch. This method produces a topping that is stable, marshmallow like, and significantly superior to a standard baked meringue, ensuring your Layered Banana Pudding Nilla Wafers presentation remains impeccable.
Curating Your Components: The Essential Shopping List
Creating the Creamy Banana Pudding Nilla Wafers requires precision in ingredient selection, especially concerning the fresh components. You will need whole milk, a half cup of granulated sugar, a quarter cup of all-purpose flour, four large egg yolks (with whites reserved), two tablespoons of cubed unsalted butter, one and a half teaspoons of pure vanilla extract, and a pinch of fine sea salt for the custard base.
For assembly, gather 4 to 5 large, firm, ripe bananas and one standard 11-ounce box of Nilla Wafers. Finally, the meringue requires the four reserved egg whites, three quarters cup of granulated sugar, a quarter cup of water, and a quarter teaspoon of cream of tartar.
The Perfect Palette: Selecting Ripe Bananas for Optimal Flavor
The quality of your bananas dictates the flavor ceiling of your pudding. Do not reach for rock hard green bananas; they lack sweetness. Conversely, bananas so spotty they are nearly black will introduce an unpleasantly mushy texture and overly fermented flavor.
Seek bananas that are bright yellow and firm to the touch this offers the ideal balance of sweetness and structural integrity for slicing.
Gathering the Staples: From Dairy to Vanilla Extract Depth
When dealing with a custard based dessert, the quality of your dairy and flavoring matters immensely. Use whole milk for richness; anything less will yield a thinner final texture. When it comes to vanilla, opt for pure vanilla extract rather than imitation.
That intense aromatic depth is what binds the simple flavors of banana and wafer together in this Banana Pudding with Nilla Wafers from scratch .
Mastering the Meringue: Essential Tools for the Topping
While a hand mixer can manage the meringue, a stand mixer is highly recommended when making the Italian meringue. This technique involves slowly drizzling hot sugar syrup into whipping egg whites.
Success relies on maintaining constant, high speed whipping while slowly incorporating the syrup, a task best handled by a powerful machine to ensure the structure sets beautifully and safely.
Nilla Wafers Integrity: How Many Wafers Do You Truly Need?
To ensure you achieve that delightful, soft layer throughout the dish, plan on using nearly the entire box. They will be layered generously between the custard and bananas, ensuring every segment has that signature vanilla wafer element characteristic of a perfect No bake Banana Pudding with Nilla Wafers structure (even though our custard is cooked, the assembly mimics the classic layered feel).
Related Recipes Worth Trying
- Effortless Baked Brie with Honey Toasted Nuts Recipe — Make this easy baked brie with honey recipea stunning appetizer wrapped in flaky pastry and drizzled with thymeinfused honey Perfect for entertaining
- Sturdy Walking Banana Pudding Cups with Toasted Meringue — Tired of soggy traditional pudding These individual walking banana pudding cups feature a buttery shortbread base and rich custard Easy to serve
- Rich Banana Pudding with Cream Cheese A Velvety Custard Dream — Tired of runny pudding This Cream Cheese Banana Pudding Recipe bakes a luxuriously thick tangy custard Its the elevated comfort food classic you need Get...
The Art of Custard Creation: Slow Simmering for Silkiness
The heart of any phenomenal Creamy Banana Pudding Nilla Wafers is the pastry cream. Begin by whisking the sugar, flour, and salt thoroughly in a medium, heavy bottomed saucepan. This dry mix step prevents lumps when liquid is added. Gradually whisk in the cold milk until completely smooth.
Next, the crucial step: temper the yolks. Lightly whisk your four egg yolks in a separate bowl, then slowly ladle about half a cup of the milk mixture into the yolks while whisking constantly. Pour this tempered mixture back into the saucepan.
Cook this mixture over medium heat, whisking continuously and ensuring you scrape the bottom edges, until it comes to a gentle simmer and thickens dramatically it must coat the back of a spoon heavily. Remove from the heat immediately, stir in the butter until melted, and then finally, the vanilla extract.
Cover the custard surface directly with plastic wrap to halt skin formation while it cools slightly.
Assembly Line Perfection: Layering Your Banana Pudding with Nilla Wafers
Once the custard has cooled for about 20 minutes (it should still be warm but not piping hot), you can begin layering in your 9x13 inch dish or trifle bowl. Slice your 4 to 5 ripe bananas into manageable rounds. Begin by laying down a generous layer of Nilla Wafers across the bottom.
Follow this with a layer of sliced bananas, and then spoon over approximately one-third of the cooled custard, ensuring it fills the gaps. Repeat this process wafers, bananas, custard until you reach the top, finishing with a final, smooth layer of custard.
Now, cover loosely and move this masterpiece to the refrigerator. This chilling phase is vital; it allows the wafers to begin their softening transformation and the custard to firm up. Do not rush this a minimum of four hours is necessary for structural integrity.
The Grand Finale: Whipping and Tanning the Meringue Crown
With your pudding perfectly chilled and set, it's time to create the show stopping Italian meringue. This begins by heating three quarters cup of sugar with a quarter cup of water in a small saucepan until it reaches exactly 240° F ( 115° C) on a candy thermometer.
While this syrup heats, place your four reserved egg whites and the cream of tartar into a stand mixer and begin whipping until soft peaks form.
Tempering Techniques: Preventing Scrambled Egg Mishaps
The key to stable meringue is careful incorporation of the hot syrup. With the mixer running on medium speed, slowly drizzle the 240° F syrup down the side of the bowl, ensuring it misses the whisk attachments entirely.
Once all the syrup is incorporated, increase the speed to high and continue beating until the meringue is stiff, brilliantly glossy, and the outside of the bowl is cool to the touch. This ensures the heat has fully cooked the egg whites.
The Critical Chill Time: Allowing Flavors to Meld and Set
As discussed, the minimum chilling time is four hours, though overnight is even better. During this time, the sugars in the wafers draw moisture from the custard, creating a seamless, melt-in-your mouth texture throughout the Layered Banana Pudding Nilla Wafers .
Do not attempt to top the pudding before it is fully cold and set, or the warm meringue will cause immediate weeping and collapse.
Broiler Brilliance: Achieving That Golden Brown Peak
Once the cold pudding is layered and set, gently dollop or pipe the meringue across the entire surface, making dramatic peaks. You have two options for browning: either use a kitchen torch to carefully caramelize the sugar on the peaks until golden brown, or briefly place the dish under a preheated broiler.
If broiling, watch extremely carefully; these puddings go from perfectly toasted to burnt in mere seconds.
Storage Secrets and Serving Suggestions for Peak Freshness
This Banana Pudding with Nilla Wafers and whipped cream (or meringue) is best served cold. While it is technically ready once the meringue is browned, the flavors deepen overnight. Keep any leftovers tightly covered in the refrigerator.
The Next Day Difference: How Long This Pudding Lasts
While enjoyable immediately, the texture truly matures on Day 2, as the wafers become even softer. However, due to the fresh bananas, try to consume this dessert within 3 days for optimal quality.
From Creamy to Crunchy: Optional Textural Upgrades
If you prefer some crunch remaining, reserve a small handful of Nilla Wafers. Crush these lightly and sprinkle them over the top of the browned meringue just before serving. This adds a lovely textural juxtaposition to the soft layers below.
Nutritional Notes on This Comfort Classic
As a deeply traditional dessert made with whole milk, egg yolks, and sugar, this Banana Pudding recipe vanilla wafers is decidedly a treat, not a light snack. Enjoy it mindfully!
Troubleshooting Common Pudding Pitfalls
If your custard seems thin, it likely didn't boil long enough to fully activate the starch. If your meringue deflates, the bowl likely had residual grease, or you added the hot syrup too fast without adequate whipping speed. Patience is the primary ingredient in avoiding these pitfalls.
Variations on a Classic: Twists for the Adventurous Baker
While the classic presentation is divine, experimentation is encouraged!
Tempering Techniques: Preventing Scrambled Egg Mishaps
If you find the egg tempering daunting, you can try a slightly different custard method: cook the milk and flour mixture until very thick, then vigorously whisk in the pre-beaten egg yolks right at the end, cooking only for another minute or two until you reach the desired thickness, avoiding the initial tempering
Stage entirely.
Variations:
- Spice Kick: Add half a teaspoon of ground cinnamon and a tiny pinch of nutmeg to the dry ingredients for a warmer, autumnal undertone.
- Boozy Pudding: For an adult twist, lightly drizzle the Nilla Wafers with a splash of dark rum or quality bourbon just before layering to infuse them with deep aromatic complexity.
- Salted Caramel Swirl: Before layering, gently swirl a few tablespoons of high-quality salted caramel sauce into the slightly cooled vanilla custard for pockets of salty sweet indulgence.
Substitutions:
If you lack a kitchen torch, use the broiler method but remember: remove the pudding the instant the peaks turn golden, as over browning is irreversible. For those avoiding meringue, a simple topping of 2 cups of heavy whipping cream whipped stiffly with two tablespoons of powdered sugar makes a wonderful, no-bake substitution.
Recipe FAQs
Why are my Banana Pudding with Nilla Wafers layers turning soupy after chilling?
This usually happens if the custard didn't cook long enough or if the bananas were too ripe and watery. Ensure your pastry cream simmers until very thick, and try to use bananas that are yellow but still firm, as overly mushy ones release liquid faster in the fridge.
Also, make sure you chill it for the full 4 hours for proper setting!
Can I make this ahead of time, and how long will it last?
It's actually best made ahead, but aim to assemble the base layers one day in advance; the wafers need time to soften into that glorious, cake like texture. If you are using the meringue topping, it is best to add that no more than 2 hours before serving, as it can start to weep or deflate overnight.
My custard is lumpy! Is there a way to salvage it without starting over?
Don't fret, it happens to the best of us when tempering! If the lumps are small, carefully strain the entire batch of custard through a fine mesh sieve into a clean bowl before adding the butter and vanilla. This mechanical trick usually smooths out any small cooked egg bits beautifully.
I don't like meringue; what's a good substitute for the topping on my Banana Pudding with Nilla Wafers?
If meringue feels like a faff, the classic alternative is simple, sweetened whipped cream, which offers a lighter contrast. Whip 2 cups of heavy cream with a touch of powdered sugar and vanilla until stiff peaks form, then spread it over the chilled pudding. For extra flair, sprinkle a few crushed wafers on top!
How important is the chilling time, and can I freeze leftovers?
Chilling is non-negotiable; it allows the wafers to soak up moisture and the custard to firm up properly think of it as the essential "setting" stage. However, I’d strongly advise against freezing this one; the texture of the bananas and the custard will become grainy and watery once thawed, which just isn't cricket, old bean.
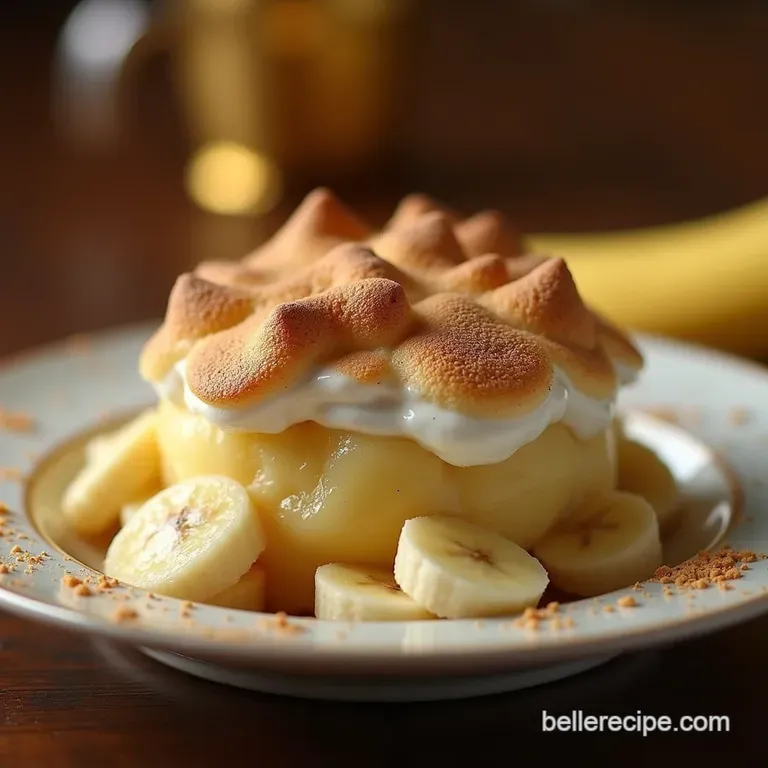
Classic Meringue Banana Pudding

