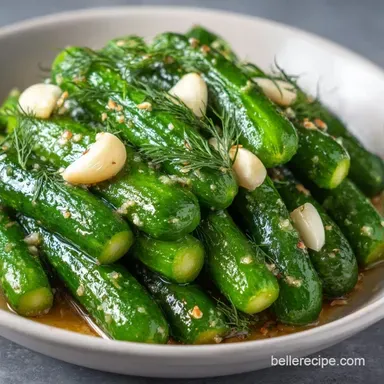
Classic Garlic Dill Spears: Sharp and Crispy
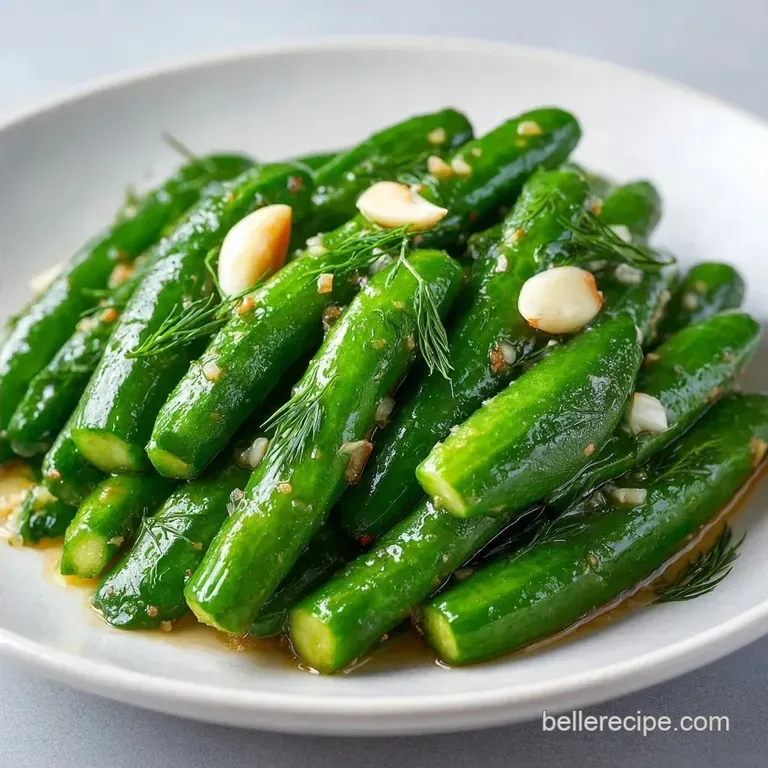
- Time:15 minutes active + 24 hours chilling
- Flavor/Texture Hook: Sharp, vinegary tang with a loud, satisfying shatter
- Perfect for: Burger platters, deli style sandwiches, or a low calorie salty snack
- Why These Spears Stay Crunchy
- Component Analysis
- The Pantry and Produce List
- Tools for the Job
- Step by Step Pickle Process
- Fixing Common Pickle Problems
- Troubleshooting Common Issues
- Adding Your Own Twist
- Storage and Waste Reduction
- Serving These Beautiful Spears
- Critical Sodium Level
- Recipe FAQs
- 📝 Recipe Card
The smell of simmering white vinegar and smashed garlic always reminds me of my grandfather's kitchen in the summer. There's something about that sharp, pungent aroma hitting the back of your throat that just signals "pickle time." I remember the first time I tried making these; I skipped trimming the ends and ended up with a batch of soft, sad cucumbers that felt more like cooked vegetables than pickles.
That's why I'm sharing this specific method. You don't need a canning kit or a scary pressure cooker to get that deli style crunch. These Classic Garlic Dill Spears are all about the "quick pickle" method, meaning they live in the fridge and stay fresh for weeks.
It's the fastest way to get a high impact condiment on the table without spending a whole afternoon sterilizing jars.
When you pull a spear out of the jar after a day of steeping, the color has shifted to a muted olive green, and the smell is a bright mix of dill and acidity. It's a small win in the kitchen that feels like a huge victory when you're eating them alongside a juicy burger.
Why These Spears Stay Crunchy
Instead of using heat to preserve the food, we use a combination of acid and cold. This keeps the cellular structure of the cucumber intact.
Enzyme Block: Trimming the blossom end removes an enzyme that naturally softens the vegetable. This one small cut prevents the spears from getting mushy.
Osmotic Pressure: The salt in the brine draws water out of the cucumber while pushing flavor in. This creates that dense, snappy texture we love.
Acid Penetration: The vinegar lowers the pH level quickly, which inhibits spoilage bacteria. Since we aren't canning these, the cold temperature of the fridge does the heavy lifting for preservation.
Aromatic Infusion: Smashed garlic releases allicin more effectively than sliced garlic. This allows the pungent, spicy notes to permeate the brine and the cucumbers.
| Freshly Pickled | store-bought Shortcut | Impact | Savings |
|---|---|---|---|
| Vibrant Dill Flavor | Dried/Muted Notes | Much brighter taste | $2-3 per jar |
| Adjustable Salt | High Sodium/Preservatives | Healthier control | Low |
| Maximum Crunch | Often Soft/Rubbery | Superior texture | high quality |
Component Analysis
Understanding what each part does helps you tweak the recipe without ruining the batch.
| Ingredient | Science Role | Pro Secret |
|---|---|---|
| Persian Cucumber | High density, few seeds | Keep them cold before slicing for extra snap |
| White Vinegar | Acidifier/Preservative | Use 5% acidity for consistent results |
| Sea Salt | Texture modifier | Avoid iodized salt to keep the brine clear |
| Fresh Dill | Primary aromatic | Use the stems too; they hold a lot of flavor |
The Pantry and Produce List
For these Classic Garlic Dill Spears, quality is everything. Since there are so few ingredients, one bad cucumber can throw off the whole jar.
- 1 lb (450g) Persian or Kirby cucumbers Why this? These have thicker skins and fewer seeds than English cucumbers
- 6 cloves (18g) garlic, smashed Why this? Smashed cloves release more oils than minced ones
- 1/2 cup (15g) fresh dill, chopped Why this? Fresh dill provides a grassy, bright note dried dill lacks
- 1 cup (240ml) white distilled vinegar Why this? Clean, sharp acidity that doesn't mask the garlic
- 1 cup (240ml) filtered water Why this? Removes chlorine tastes that can affect the brine
- 1 tbsp (18g) sea salt Why this? Pure salt without additives prevents cloudiness
- 1 tsp (4g) granulated sugar Why this? Balances the harshness of the vinegar
- 1 tsp (2g) black peppercorns Why this? Adds a subtle, woody heat
- 1 tsp (3g) yellow mustard seeds Why this? Provides a classic "deli" tang
- 1/2 tsp (1g) red pepper flakes Why this? A tiny bit of back end warmth
Substitution Options
| Original Ingredient | Substitute | Why It Works |
|---|---|---|
| White Distilled Vinegar | Apple Cider Vinegar | Similar acidity. Note: Adds a fruitier, sweeter tone and turns brine amber |
| Persian Cucumbers | Kirby Cucumbers | Virtually identical structure. Note: Kirby is the gold standard for pickling |
| Fresh Dill | Dried Dill Weed | Concentrated flavor. Note: Use 1 tbsp dried instead of 1/2 cup fresh |
If you're looking for a different kind of crunch, you might like my Easy Homemade Quick Pickled Radishes Recipe, which uses a similar brine logic but with a peppery kick.
Tools for the Job
You don't need a professional setup here. A few basic items from your kitchen will do.
- Two pint size glass jars (Mason jars work best)
- Small saucepan for the brine
- Sharp chef's knife and cutting board
- Measuring cups and spoons
- Tongs for packing the spears
Chef's Note: Always use glass jars. Plastic can absorb the smell of garlic and vinegar, and it might react with the acidity over time, which can give your Classic Garlic Dill Spears a weird plastic aftertaste.
Step by step Pickle Process
Let's crack on. This process is fast, but the waiting part is the hardest.
- Wash the cucumbers thoroughly. Trim approximately 1/8 inch off the blossom end and the stem end. Note: The blossom end contains enzymes that make pickles soft.
- Slice each cucumber lengthwise into quarters. Cut them into uniform spears so they brine at the same rate.
- Pack the spears tightly and vertically into two pint size jars. Push them in firmly but don't force them to the point of breaking.
- Divide the smashed garlic cloves, chopped fresh dill, peppercorns, mustard seeds, and red pepper flakes evenly between the two jars. Push the aromatics into the gaps between the spears.
- In a small saucepan, combine white distilled vinegar, filtered water, sea salt, and granulated sugar.
- Bring the mixture to a simmer over medium heat, stirring until salt and sugar are completely dissolved. You'll smell a sharp, vinegary steam.
- Remove from heat and let cool for 5 minutes. Note: Pouring boiling brine can slightly "cook" the cucumbers, reducing the snap.
- Pour the warm brine over the cucumbers until they are completely submerged.
- Tap the jars gently on the counter to release any trapped air bubbles.
- Seal tightly and refrigerate for at least 24 hours. The flavor peaks after 48 hours when the garlic fully penetrates the core.
Fixing Common Pickle Problems
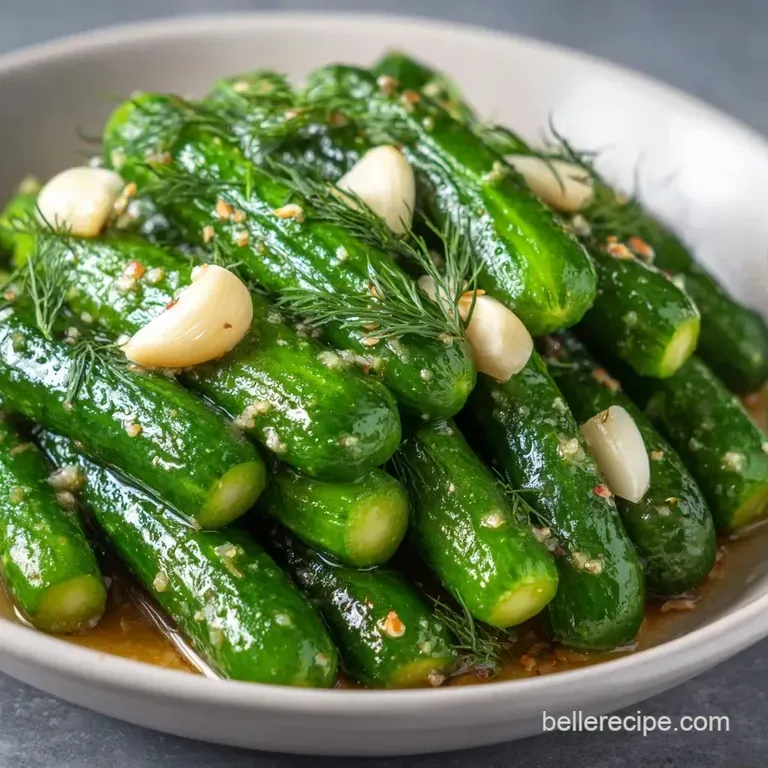
Even the best of us hit a snag. If your Classic Garlic Dill Spears aren't hitting the mark, it's usually down to one of three things.
Troubleshooting Common Issues
| Issue | Solution |
|---|---|
| Why Your Pickles Are Soft | The most common culprit is the blossom end. If you don't trim it, the pectin breaks down and the spear loses its structure. |
| Why the Brine Is Cloudy | Cloudy brine usually happens if you used iodized salt instead of sea salt or kosher salt. The iodine and anti caking agents can create a milky appearance. It's safe to eat, but not as pretty. |
| Why They Lack Garlic Punch | If the flavor is too mild, you probably didn't smash the garlic. |
Common Mistakes Checklist
- ✓ Trimmed both ends of every cucumber.
- ✓ Used a 1:1 ratio of vinegar to water.
- ✓ Smashed garlic rather than finely mincing.
- ✓ Packed spears vertically and tightly.
- ✓ Let the brine cool for 5 minutes before pouring.
Adding Your Own Twist
While the original is a winner, you can easily shift the profile of these Classic Garlic Dill Spears.
The Spicy Route If you want more heat, don't just add more red pepper flakes. Toss in a sliced habanero or two coins of fresh jalapeño into each jar. The fresh pepper adds a "green" heat that complements the dill.
The Deli Style Depth For a more complex, "New York" flavor, add a pinch of celery seed or a small piece of a bay leaf to the jar. This adds an earthy undertone that balances the sharp vinegar. You can also find similar deep flavor profiles in my Brine in 30 Min recipe guide.
The sugar-free Version The 1 tsp of sugar is barely noticeable, but if you're avoiding it entirely, just leave it out. The vinegar will be a bit more aggressive, but the garlic and dill will still shine.
Decision Shortcut If you want More Heat, add sliced jalapeños. If you want More Depth, add celery seed. If you want Maximum Tang, increase vinegar by 2 tbsp and decrease water.
Storage and Waste Reduction
These aren't canned, so they must stay in the fridge. When stored in airtight glass jars, they'll stay crunchy and vibrant for about 3 to 4 weeks.
Fridge Life: 4 weeks. Keep them chilled at all times to prevent the growth of mold. Freezing: Do not freeze. Freezing destroys the cell walls of the cucumber, turning them into a watery mush once thawed.
Zero Waste Tips Don't throw away the leftover brine! It's essentially a seasoned vinegar. You can use it to: 1. Marinate chicken breasts for 2 hours before grilling (the acid tenderizes the meat). 2. Use it as a base for a potato salad dressing. 3.
Deglaze a pan after searing vegetables to add a punch of acidity.
If you have cucumber peels or ends left over, toss them into a compost bin or freeze them to make a vegetable scrap broth.
Serving These Beautiful Spears
Presentation makes a difference, even for a snack. I like to serve my Classic Garlic Dill Spears on a wooden board alongside some sharp cheddar cheese and sliced salami.
The Platter Look For a party, don't just dump them in a bowl. Arrange the spears in a radiating pattern on a plate and garnish with a few sprigs of fresh, raw dill. The contrast between the pickled green and the bright fresh green looks professional.
The Sandwich Pairing When putting these on a sandwich, pat the spears dry with a paper towel first. This prevents the brine from soaking into your bread and making it soggy.
The Cold Snap Always serve these straight from the fridge. The cold temperature enhances the "shatter" of the cucumber and makes the acidity feel refreshing rather than overwhelming. If you've made a big batch, you can offer them as a palate cleanser between heavy courses of a meal.
Critical Sodium Level
1170 mg 1,170 mg of sodium per serving (51% 51% of daily value)
The American Heart Association recommends a daily sodium limit of 2,300mg, with an ideal limit of 1,500mg for most adults to reduce cardiovascular risk.
Tips to Reduce Sodium in Your Pickles
-
Reduce Sea Salt-30%
Cut the sea salt amount by half or use a measuring spoon to precisely limit the salt, as this is the primary sodium source.
-
Use Salt Substitutes-25%
Replace a portion of the sea salt with a potassium-based salt substitute to maintain the salty profile with significantly less sodium.
-
Boost the Acidity-15%
Slightly increase the white distilled vinegar or add a splash of apple cider vinegar to enhance the tanginess, which helps compensate for less salt.
-
Amplify Aromatics
Increase the amount of fresh dill, garlic, and red pepper flakes to create a more complex flavor profile without adding any sodium.
Recipe FAQs
How to make simple dill pickles?
Wash, trim, and slice cucumbers into uniform spears. Pack them into jars with garlic and dill, then cover with a simmered brine of vinegar, water, salt, and sugar.
Why are my homemade pickles soft?
You likely forgot to trim the blossom end. This part of the cucumber contains enzymes that break down pectin, causing the spear to lose its structure.
How to make homemade dill pickle juice?
Simmer white distilled vinegar, filtered water, sea salt, and granulated sugar in a small saucepan. Stir until dissolved and let cool for 5 minutes before using.
Is it true that I can freeze these pickles to keep them longer?
No, this is a common misconception. Freezing destroys the cucumber's cell walls, turning the spears into a watery mush upon thawing.
Which is the best and simplest homemade pickle?
Refrigerator dill spears are the most straightforward. They skip the canning process entirely and only require 24 hours of chilling to reach peak flavor.
What are some surprisingly delicious ways to enjoy pickles?
Pair them with a rich, savory meal. Their acidity cuts through the heaviness of a homemade Reuben sandwich perfectly.
Why is my pickle brine cloudy?
You likely used iodized salt instead of sea salt. Iodine and anti-caking agents can create a milky appearance, though it does not affect the safety of the pickles.
Classic Garlic Dill Spears in 20 Minutes