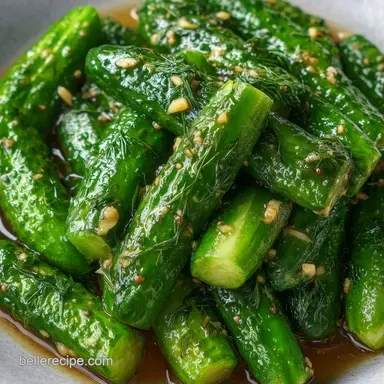
Fresh Kirby Dill Pickles: Shatter Crisp and Tangy
- Time:10 minutes active + 24 hours chilling
- Flavor/Texture Hook: Shatter crisp and tangy
- Perfect for: Deli sandwiches and midday snacking
- Fresh Kirby Dill Pickles for the Fridge
- The Truth About the Crunch
- Quick Recipe Specs
- The Main Ingredients
- Tools for the Job
- Making the Pickles
- Fixing Common Brine Issues
- Easy Flavor Tweaks
- Scaling the Batch
- Debunking Pickle Lore
- Storage and Shelf Life
- What to Serve Them With
- CRITICAL: Very High in Sodium
- Recipe FAQs
- 📝 Recipe Card
Fresh Kirby Dill Pickles for the Fridge
The smell of warm vinegar and fresh dill always reminds me of my grandmother's kitchen in July. I can still see her slicing those tiny, bumpy cucumbers on a worn wooden board while the humidity hung heavy in the air.
There was something about the ritual of packing jars that felt like a way of capturing the whole summer in a glass bottle.
You'll find that most store-bought options are too soft or over salted. These Kirby Dill Pickles provide that sharp, satisfying snap that makes a sandwich feel complete. They aren't fancy, but they're exactly what you want when you're craving something salty and bright.
We're going for a contrast here, pairing the punchy acid of distilled vinegar with the earthy warmth of smashed garlic. It's a straightforward process, but getting the timing right ensures you don't end up with mushy slices. Let's get into it.
The Truth About the Crunch
The trick to a firm pickle is managing how the water leaves the cucumber. When you use a hot brine, it pushes the flavors in fast while maintaining the cell structure of the vegetable. If you've tried other shatter crisp pickles, you know that the cold brine method takes longer to penetrate the skin.
- Salt Draw
- Salt pulls excess moisture out of the cucumber, which prevents the brine from getting diluted.
- Acid Balance
- The vinegar creates an environment where only the good bacteria thrive, keeping the produce firm.
- Heat Seal
- Pouring the brine while hot helps the garlic and dill flavors infuse into the center of the slice.
| Method | Prep Time | Texture | Best For |
|---|---|---|---|
| Hot Brine | 15 minutes | Firm/Snappy | Fast flavor penetration |
| Cold Brine | 10 minutes | Softer/Mild | Delicate cucumber varieties |
| Fermented | 2 hours | Complex/Tangy | Traditional probiotic taste |
Quick Recipe Specs
The timing here is non negotiable. You can't rush the 24 hour wait, or you'll miss that deep, savory profile.
- Prep time: 10 minutes
- Cook time: 5 minutes
- Total time: 24 hours 15 mins
- Yield: 2 Pint Jars
The Main Ingredients
Choosing the right cucumber is the most important part of this process. I always use Kirbys because they have a thicker skin and smaller seeds, which means they don't collapse under the acidity.
| Ingredient | What It Does | Best Swap |
|---|---|---|
| Kirby Cucumber | Provides the snap | Persian cucumbers (slice thicker) |
| White Vinegar | Adds the tang | Apple cider vinegar (milder taste) |
| Kosher Salt | Firms the texture | Sea salt (avoid table salt) |
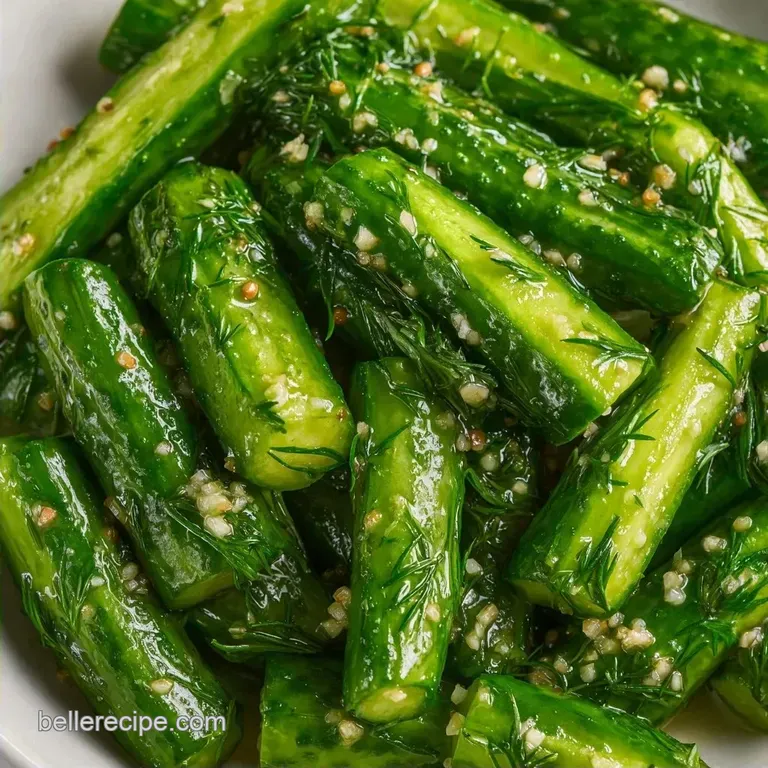
| Fresh Dill | Gives the signature aroma | Dried dill (use 1 tsp per sprig) |
The Produce
Stick to the Kirbys. They're designed for pickling. If you use English cucumbers, they'll likely turn soft within a few days because their water content is too high.
The Brine Base
We use a 1:1 ratio of water to vinegar. This keeps the Kirby Dill Pickles from being too aggressive on the palate while still providing that classic zing.
The Flavor Aromatics
The garlic should be smashed, not minced. Smashed cloves release the oils more slowly, giving you a steady garlic flavor rather than one overwhelming punch.
Tools for the Job
You don't need a professional kitchen for this. A few basic items will do the trick.
- Two pint sized mason jars with tight lids.
- A small saucepan for the brine.
- A sharp chef's knife for slicing.
- Measuring cups and spoons.
Chef's Note: If you have a mandoline, use it for the rounds. It ensures every slice is exactly 1/4 inch, which means they all pickle at the same rate.
Making the Pickles
Right then, let's get these packed. Follow these steps to ensure you get a consistent result every time.
- Wash the Kirby cucumbers thoroughly under cold water and slice into spears or 1/4 inch rounds.
- Divide the smashed garlic cloves and fresh dill sprigs evenly between two clean mason jars, tucking them into the bottom and sides.
- Combine the filtered water, white vinegar, kosher salt, and sugar in a small saucepan over medium heat.
- Stir constantly until the salt and sugar are completely dissolved and the liquid reaches a simmer. Note: Don't let it boil over.
- Stir in the mustard seeds and peppercorns, then remove from heat.
- Pack the sliced cucumbers tightly into the jars, leaving about 1/2 inch of headspace at the top.
- Pour the hot brine over the cucumbers until they are completely submerged.
- Tap the jars gently on the counter to release air bubbles.
- Seal tightly with lids, allow to cool to room temperature, and refrigerate for 24 hours for optimal flavor penetration.
Fixing Common Brine Issues
Even experienced cooks run into a few hiccups with Kirby Dill Pickles. Usually, it comes down to the temperature or the salt quality.
Why Your Pickles Are Mushy
This usually happens if the cucumbers were too warm when the brine hit them, or if you used a variety with too much water. Using chilled cucumbers before slicing helps keep the cells tight.
Stopping Cloudy Brine
Cloudiness often comes from using tap water with high mineral content. Switching to filtered water usually clears this right up.
Managing Excess Sodium
If the brine tastes too salty, you can add a splash of filtered water to the jar, but be careful not to dilute the vinegar too much.
| Problem | Root Cause | Solution |
|---|---|---|
| Soft texture | Wrong cucumber type | Use only Kirby or pickling varieties |
| Dull flavor | Not enough chilling time | Wait the full 24 hours before tasting |
| Floating slices | Air bubbles trapped | Tap jars on the counter firmly |
Easy Flavor Tweaks
Once you've got the base down, you can start playing with the aromatics. If you want a bit more heat, I recommend trying a spicy jalapeño version by adding sliced peppers to the jar.
- The Spicy Garlic Twist: Double the garlic and add 1 tsp of red pepper flakes for a bolder kick.
- The Old-Fashioned Sweet Dill: Increase the sugar to 2 tbsp for a profile closer to bread and butter pickles.
- Low Sodium Swap: Reduce salt to 1 tbsp, but note that the pickles may lose some of their crunch.
Scaling the Batch
If you're making these for a party, you can easily scale the recipe.
Scaling Down For a single jar, halve everything. Use 0.75 lbs of cucumbers and a 1/2 cup ratio of water and vinegar.
Scaling Up When doubling or tripling the Kirby Dill Pickles, don't double the salt and red pepper flakes. Increase those to 1.5x only, as the flavors concentrate more in larger batches. Work in smaller pots if you don't have a large stockpot to avoid overflow during the simmer.
| Batch Size | Cucumber Weight | Brine Volume | Total Jars |
|---|---|---|---|
| Single | 0.75 lbs | 1 cup total | 1 Pint |
| Standard | 1.5 lbs | 2 cups total | 2 Pints |
| Large | 3 lbs | 4 cups total | 4 Pints |
Debunking Pickle Lore
There are a lot of myths about pickling that make it sound harder than it is.
The Canning Myth: You don't need a water bath canner for these. Since they're refrigerator pickles, the acid and the cold temperature do all the preserving.
The Sugar Myth: Some think sugar makes them "sweet." In this recipe, 1 tbsp of sugar just rounds out the sharp edges of the vinegar. It doesn't make them taste like candy.
Storage and Shelf Life
Store your Kirby Dill Pickles in the fridge. They'll stay crisp and tangy for about 4 to 6 weeks. Keep them tightly sealed to prevent the brine from absorbing other fridge odors.
For zero waste, don't toss the leftover brine. It's essentially a seasoned vinaigrette. Use it as a base for a potato salad or pour a tablespoon over steamed kale for an instant flavor boost. You can also use the leftover brine to marinate chicken breasts before grilling for a zesty, salty crust.
What to Serve Them With
These are a staple for any deli style spread. I love pairing them with a thick slice of rye bread and some smoked turkey. They also cut through the richness of a burger with melted cheddar and sautéed onions.
If you're feeling mindful about your snacks, try them alongside some sharp white cheddar and a handful of almonds for a balanced, salty plate.
CRITICAL: Very High in Sodium
2322 mg 2,322 mg of sodium per serving (101% 101% of daily value)
The American Heart Association recommends a daily limit of 2,300 mg of sodium, and an ideal limit of 1,500 mg for most adults to reduce the risk of cardiovascular disease.
Tips to Reduce Sodium in Your Pickles
-
Reduce Kosher Salt-25%
Cut the kosher salt amount by half or use 1 tablespoon instead of 2 to drastically lower the sodium concentration in the brine.
-
Use a Salt Substitute-20%
Replace a portion of the salt with a potassium based salt alternative to maintain the savory profile with significantly less sodium.
-
Increase Acidity-15%
Add a tablespoon of lemon juice or increase the white distilled vinegar slightly to enhance the 'tang' and mimic the punch of salt.
-
Amplify Aromatics-10%
Increase the smashed garlic to 6 cloves and add more red pepper flakes to build a complex flavor that reduces the need for salt.
-
Boost Fresh Herbs
Add extra fresh dill or incorporate fresh parsley to provide a bright, herbaceous flavor without adding any sodium.
Recipe FAQs
Can you pickle Kirby cucumbers?
Yes, they are the ideal choice. Their thick skins and firm texture prevent them from becoming mushy during the brining process.
How to make these homemade dill pickles?
Slice Kirby cucumbers into spears or rounds. Pack them into jars with garlic and dill, then pour over a simmered brine of vinegar, water, salt, and sugar before refrigerating for 24 hours.
How long can you keep refrigerator dill pickles?
Keep them for 4 to 6 weeks. Store them in a tightly sealed jar in the fridge to maintain crispness and prevent the brine from absorbing other odors.
Can you use dill seed in refrigerator pickles?
Yes, but the flavor profile changes. Fresh sprigs provide a brighter, more herbaceous taste, while seeds are more pungent. If you enjoy these quick pickling techniques, see how they work in our fridge pickles.
Is it true that any salt works for clear brine?
No, this is a common misconception. Table salt often contains additives or anti caking agents that cloud the liquid; use kosher salt for a crystal clear brine.
How to make homemade dill pickle juice?
Simmer filtered water, white vinegar, kosher salt, and sugar in a saucepan until dissolved. Stir in mustard seeds and peppercorns, then remove from heat to create the brine.
Why are my pickles soft?
They likely lacked enough salt or were not cooled properly. Ensure you use the full 2 tbsp of kosher salt and refrigerate the jars immediately after they reach room temperature.
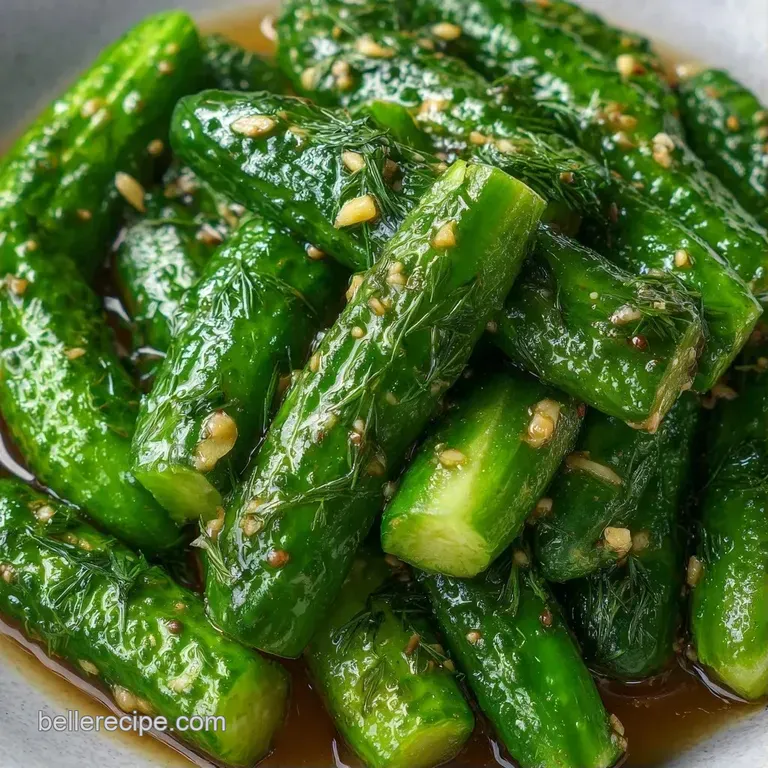
Fresh Kirby Dill Pickles