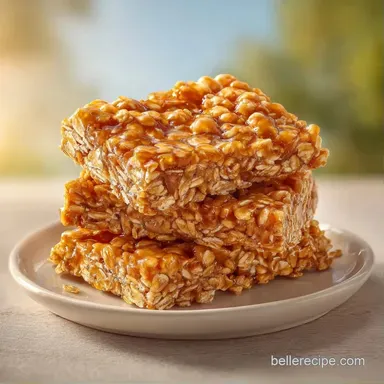
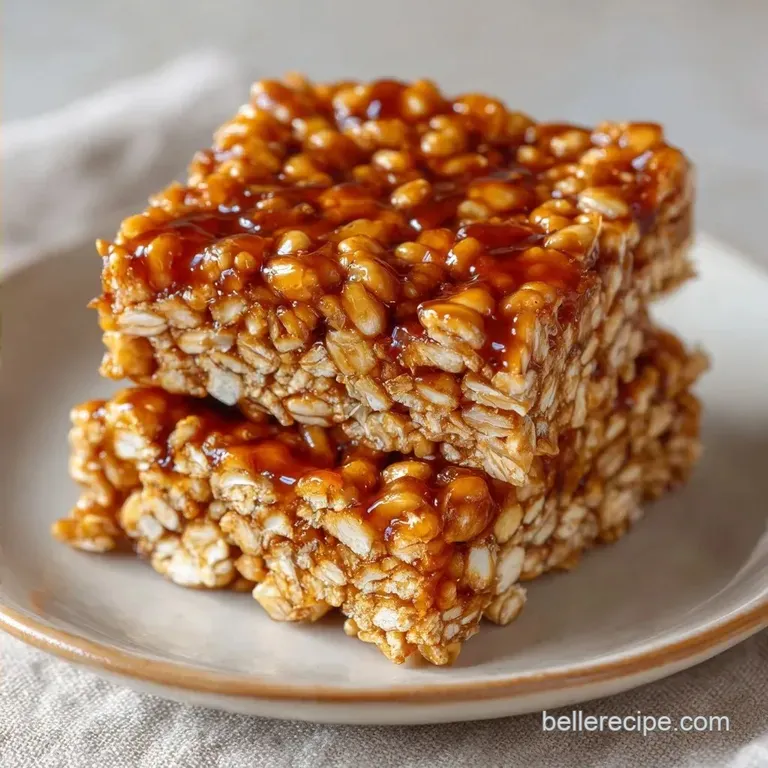
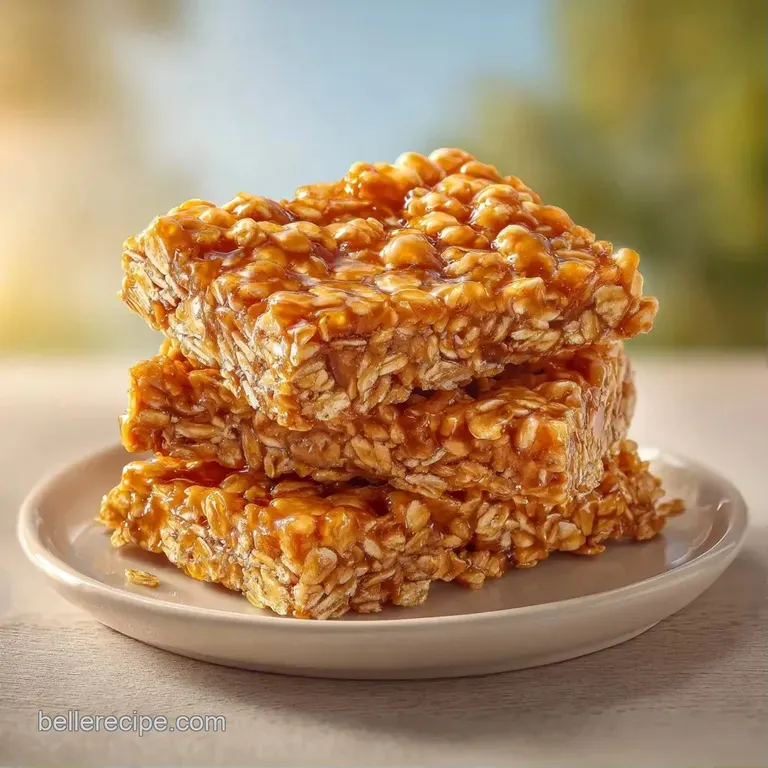
Healthy Homemade Granola Bars: Chewy and Golden
- Time: 10 min active + 30 min baking
- Flavor/Texture Hook: Chewy oats with a tart cranberry pop
- Perfect for: School lunches or morning commutes
- Making Healthy Homemade Granola Bars
- Why These Bars Stay Together
- Ingredient Deep Dive
- Gathering Your Essentials
- Essential Tools for Baking
- Step by Step Baking Guide
- Solving Common Texture Issues
- Troubleshooting Common Issues
- Flavor Variations and Swaps
- Adjusting the Batch Size
- Granola Bar Misconceptions
- Storage and Waste Tips
- Things to Serve With Them
- Recipe FAQs
- 📝 Recipe Card
Making Healthy Homemade Granola Bars
Ever wonder why some bars feel like eating a piece of cardboard while others have that satisfying, chewy pull? I used to buy the pre packaged ones, but they always tasted like they came from a factory line. I wanted something that felt like it belonged in a sunny kitchen, smelling of cinnamon and toasted grain.
The goal here is a balance of textures. You get the crunch from the sunflower seeds and flax, which contrasts with the softness of the dried cranberries. It is a comforting mix that doesn't leave you feeling like you just ate a candy bar.
Making Healthy Homemade Granola Bars is mostly about the "press." If you're too gentle with the spatula, you'll end up with a bowl of granola instead of a bar. Trust me, you have to really push them into the pan to get that cohesive structure.
Why These Bars Stay Together
- Honey Heat: Heating honey with butter creates a syrup that coats every oat, acting as a glue once it cools.
- The Compression: Pressing the mixture firmly removes air pockets, which stops the bars from crumbling when you slice them.
- Oat Blend: Mixing rolled oats with quick oats fills the gaps, creating a denser, more stable base.
| Method | Time | Texture | Best For |
|---|---|---|---|
| Baked | 40 mins | Toasted & Chewy | Long term storage |
| No Bake | 15 mins | Soft & Sticky | Immediate snacking |
| Toasted | 50 mins | Extra Crunchy | Topping bowls |
Ingredient Deep Dive
| Ingredient | What It Does | Best Swap |
|---|---|---|
| Rolled Oats | Provides bulk and chew | gluten-free certified oats |
| Honey | Binds ingredients and sweetens | Maple syrup (vegan) |
| Sunflower Seeds | Adds nutty crunch | Pumpkin seeds |
| Flax Seeds | Adds Omega-3s and grip | Chia seeds |
According to USDA FoodData, flax seeds provide a good dose of alpha linolenic acid, which helps with the nutritional profile of these bars.
Gathering Your Essentials
For the dry base, you need 2.5 cups (225g) of old-fashioned rolled oats and 0.5 cup (60g) of quick cooking oats. These two together ensure the bars aren't too loose. Add 0.25 tsp (1.5g) of fine sea salt and 0.5 tsp (2g) of ground cinnamon for warmth.
The mix ins include 0.5 cup (65g) of raw sunflower seeds and 0.5 cup (75g) of dried cranberries. For an extra nutritional boost, add 0.25 cup (30g) of flax seeds.
The binder consists of 0.33 cup (110g) of pure honey, 0.33 cup (75g) of unsalted butter, and 1 tsp (5ml) of pure vanilla extract. The butter adds a rich, salty note that cuts through the sweetness of the honey.
Essential Tools for Baking
You will need a 9x9 inch baking pan. Using a larger pan will make the bars too thin and likely to overcook. Line this with parchment paper, leaving an overhang on the sides so you can lift the whole block out later.
A small saucepan is necessary for melting the butter and honey. Avoid the microwave here, as honey can bubble over and burn quickly. A sturdy spatula or a flat bottomed measuring cup is the most important tool for pressing the mixture down.
Step by step Baking Guide
- Preheat your oven to 325°F (160°C).
- Combine rolled oats, quick oats, sea salt, and cinnamon in a large bowl.
- Stir in the sunflower seeds and dried cranberries until they are evenly spread.
- Melt honey and butter in a small saucepan over medium heat. Note: Stir constantly to prevent the honey from scorching.
- Remove from heat as soon as the mixture bubbles slightly and stir in the vanilla extract.
- Pour the warm syrup over the oats. Fold with a spatula until every single oat looks glossy and coated.
- Transfer the mix to your parchment lined 9x9 inch pan.
- Press the mixture down with a flat bottomed cup using significant force. Note: This is the most important step to prevent crumbling.
- Bake for 25-30 minutes until the edges turn light golden brown.
- Let the pan cool completely in the pan before slicing into 16 squares.
Solving Common Texture Issues
If your bars are falling apart, it usually comes down to the pressing stage or the honey temperature. If the honey didn't reach a bubble, it might not have thickened enough to bind the oats. Also, if you slice them while they are still warm, the sugars haven't set, and the bars will split.
Troubleshooting Common Issues
| Issue | Solution |
|---|---|
| Why Your Bars Crumble | This is usually due to insufficient pressure during the pan pressing stage. You want the mixture to feel like a solid brick before it goes into the oven. |
| Why Edges Burn | If the edges are too dark but the middle is raw, your oven might be running hot. Try moving the pan to the center rack or lowering the temp by 10 degrees. |
| Why They Feel Greasy | Too much butter or poor mixing can leave oil pockets. Ensure the honey and butter are fully emulsified before pouring. |
Flavor Variations and Swaps
You can easily pivot this into a nut free granola bar recipe by sticking with the sunflower seeds. If you want something more decadent, try adding a handful of mini dark chocolate chips. Just wait to stir them in until the oat mixture has cooled for a few minutes, or they will melt into the dough.
For those looking for sugar-free granola bars, you can replace the honey with a brown rice syrup or a sugar-free maple alternative. Keep in mind that these often have different binding properties, so you might need to press the bars even harder.
If you prefer a different style of bake, you might like my Homemade Granola Bars recipe for a variation in texture.
Decision Shortcut: Want more chew? Use 100% rolled oats. Want more crunch? Toast the sunflower seeds in a pan for 3 minutes first. Want a protein boost? Add 2 tablespoons of collagen peptides to the honey mixture.
Adjusting the Batch Size
When making a half batch, use a loaf pan instead of a 9x9 square pan. This keeps the thickness consistent. Reduce the baking time by about 20%, and start checking for golden edges at 20 minutes.
For double batches, work in two separate pans. Do not try to bake a thicker slab in one pan, as the middle will remain mushy while the edges burn. If you must use a larger pan, lower the temperature to 300°F and extend the time by 10 minutes to ensure an even bake.
Granola Bar Misconceptions
Some people think that "no bake" is always the healthier route. In reality, baked Healthy Homemade Granola Bars often require less added syrup because the heat helps the oats bond and toasts the natural sugars in the grains.
Another myth is that you need expensive binders like glucose syrup for stability. Simple honey and butter do the job just as well, providing a more natural flavor and a better chew.
Storage and Waste Tips
Store these bars in an airtight container at room temperature for up to 5 days. For longer storage, keep them in the fridge for 2 weeks or the freezer for 3 months. If they get too hard in the fridge, a 10 second zap in the microwave brings back the chew.
To avoid waste, if you have leftover oat mixture that didn't make it into the pan, toast it in a skillet for 2 minutes. Use this as a topping for yogurt or a smoothie bowl. If you have leftover honey butter syrup, it makes a great glaze for roasted carrots.
Things to Serve With Them
These bars are great on their own, but they pair well with a cold glass of almond milk or a piece of fresh fruit. For a more comforting breakfast, serve them alongside a bowl of Slow Cooker Applesauce for a mix of warm and chewy textures.
If you're packing them for kids, pair a bar with some apple slices and a cube of cheddar cheese. The saltiness of the cheese balances the honey sweetness of the Healthy Homemade Granola Bars.
Recipe FAQs
What binds homemade granola bars together?
A mixture of honey and butter. When heated over medium heat, these ingredients create a sticky syrup that coats the oats and seeds to act as a natural glue.
What are the ingredients in these granola bars?
A blend of oats, seeds, and dried fruit. This recipe uses rolled and quick oats, sunflower seeds, flax seeds, dried cranberries, honey, butter, cinnamon, sea salt, and vanilla extract.
How to prevent granola bars from crumbling?
Press the mixture into the pan with significant force. Use a spatula or flat bottomed cup to pack the mixture down firmly before baking so the bars stay intact after slicing.
Is it true that granola bars must be baked at 400°F to get crispy?
No, this is a common misconception. Baking at 325°F (160°C) for 25 30 minutes ensures the edges are golden while the center remains soft and chewy.
How to store homemade granola bars to keep them fresh?
Place them in an airtight container. Store at room temperature for 5 days, in the fridge for 2 weeks, or the freezer for 3 months.
What is a great homemade granola bar recipe?
Combine oats, seeds, and dried fruit with a honey butter glaze. Press the mix firmly into a pan and bake at 325°F; if you enjoy these sweet treats, you'll love our frozen yogurt.
Is it easier to make or buy granola bars?
Making them is healthier. You avoid artificial preservatives and control the sugar levels, which outweighs the 40 minutes of preparation and baking time.
Healthy Homemade Granola Bars