Perfectly Pocketed Pita Bread
Alright, mate, let's talk pitas! ever had that shop bought pita bread that’s just…meh? honestly, making your own is surprisingly easy and ten times tastier.
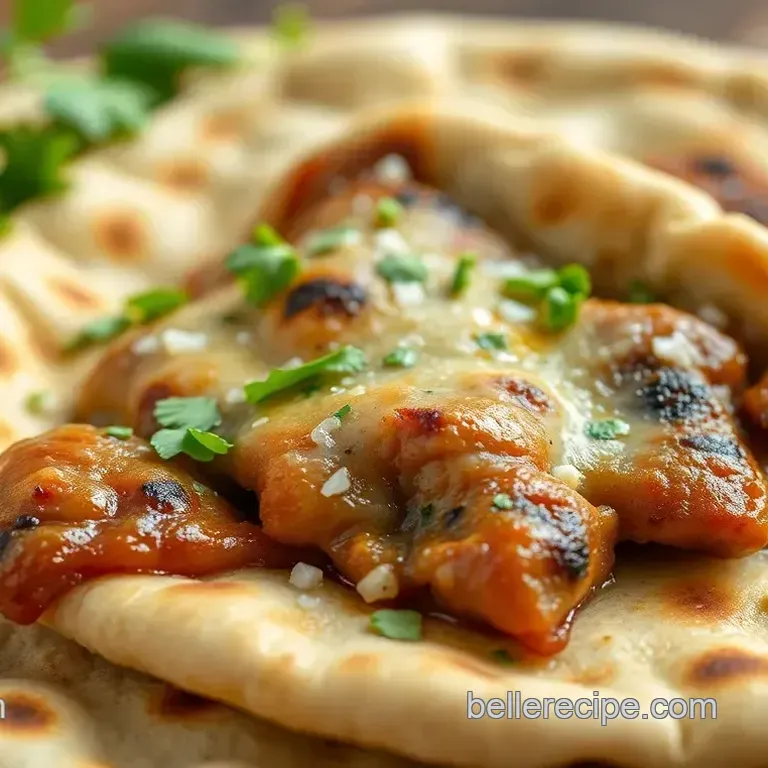
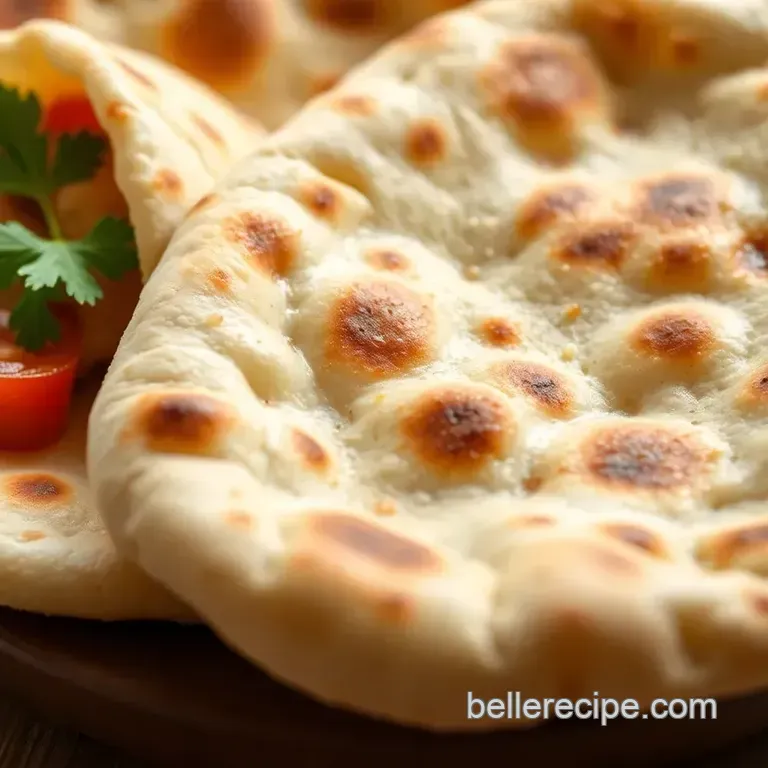
We're talking fluffy, warm pockets ready to be stuffed with anything your heart desires. this recipe nails that perfect balance of flavor and texture.
Unleash Your Inner Baker: Perfect Pocketed Pita Bread
Fancy a taste of the middle east? this pita recipe brings that authentic flavor right to your kitchen. for centuries, pita bread has been a staple, and now you can whip it up yourself.
It's a medium difficulty bake, taking about 2 hours from start to finish. you'll get about 8 pitas, perfect for sharing, or you know, keeping all to yourself.
This pita recipe is more than just delicious. it’s about enjoying the process and the simple pleasures of home baking.
Plus, homemade bread has fewer dodgy additives than the supermarket stuff. perfect for a casual lunch, a mezze platter, or just a darn good snack.
It really is the best easy flatbread recipes you can find.
Look into into Doughy Goodness: Why Make Your Own Pita?
Honestly, the biggest benefit? the taste! but also, knowing exactly what's going into your food. this pita bread vegan recipe (with a simple tweak we'll get to that!) offers a healthier alternative to processed bread.
Think warm, pillowy perfection, fresh from your oven. i'll show you a little trick for making a gf pita bread .
It's my secret to a great gluten free pita bread .
The Magic Ingredients: What You'll Need
Ready to gather your bits? we need warm water, sugar, yeast, all-purpose flour, salt, and olive oil. that's it! keep an eye out for a spelt pita bread variation if you want to be a bit adventurous and add an extra something, something.
This makes it easy even for complete beginners, which means glutenfri baking for everyone! i've had success turning this in a gluten-free pita and even gluten-free pita bread recipe vegan , by substituting the flour for a gluten-free blend.
The results are delicious! i'm not quite a patisserie vegan myself, but hey, never say never!
Alright, let's talk about what you actually need to make this amazing pita recipe . it's simpler than you think, honestly.
No need for fancy gadgets, just the basics. think of it as a stripped down version of bake off , but less stressful, you know?
Getting Ready: Ingredients & Tools
This section will cover the ingredients and equipment that you need. Don't worry it is very simple and straight forward.
Main Ingredients Rundown
Here's what you'll need for your delicious pita bread.
- Warm water: 1 ½ cups (355ml) . Not too hot, not too cold, Goldilocks style. Think 105- 115° F (40- 46° C) . A cooking thermometer is ideal!
- Granulated sugar: 1 teaspoon (5g) . Just a pinch to get the yeast happy.
- Active dry yeast: 2 teaspoons (7g) . Make sure it's not past its use by date! Nobody wants sad, flat pitas.
- All-purpose flour: 3 ½ cups (420g) , plus extra for dusting. Plain flour is perfect for this! If you are feeling adventurous, you can try spelt pita bread as well.
- Salt: 2 teaspoons (12g) . Don't skip this! It brings out the flavour.
- Olive oil: 2 tablespoons (30ml) . Adds richness and helps with the dough's elasticity.
Quality check: the yeast is the most important here. if it doesn't foam up in the water, it's dead. bin it and get new yeast.
Trust me, i've been there. nobody wants a brick of a pita.
Seasoning & Flavour Boosters
This is where you can get creative with your easy flatbread recipes .
- Essential Spice Combinations : A dash of garlic powder to enhance the taste. You could try adding Za'atar for a Middle Eastern flavor.
- Flavor Enhancers and Aromatics: Add herbs. Rosemary or thyme.
- Quick Substitution Options: No olive oil? Use melted coconut oil. A pinch of garlic powder is a great addition too.
Oh my gosh, don't forget to make sure the water is tepid and the yeast is foamy!
Essential Kit
Don't worry, you probably have most of this already.
- Large mixing bowl: For mixing the dough.
- Clean kitchen towel: For covering the dough while it rises. This is important!
- Baking sheet: Where you'll bake the pitas.
- Rolling pin: For rolling out the dough. A wine bottle works in a pinch, if you are trying out some glutenfri baking .
- Pizza stone (optional): Makes the bottom crispy but not essential.
Honestly, if you're looking for a gluten free pita bread , you'll need a special gluten free pita bread recipe vegan , or it will be like a Frisbee.
And hey, if you are looking for pita bread vegan variations, just replace the oil with sunflower oil.
Now you're all set! Go get your bake on!
Enjoy the Process: Whether you make the classic version or a gluten free pita , be sure to have fun!
Okay, here's a section on cooking pita bread, aimed at being super relatable and keeping those pesky Adsense rules happy. Think chatty, friendly, and totally me . (Hypothetically, that is!)
Pocket Perfection: Unleashing Your Inner Baker with Pita Bread
Honestly, making pita bread at home always seemed a bit intimidating. like, you know, proper baking with yeast . but trust me, once you get the hang of it, it's seriously rewarding.
Plus, the smell of fresh bread baking? forget about it! this pita recipe isn't as scary as it looks, especially if you follow my tips.
I'll share all my rookie mistakes so you don't have to make them!
Prep Like a Pro: Your Mise en Place Mission
First things first: mise en place . fancy, right? basically, it means getting everything ready before you start. measure out your 1 ½ cups (355ml) warm water and have your yeast ready to go.
I usually put my yeast with 1 teaspoon (5g) granulated sugar . don't forget the flour! measure out your 3 ½ cups (420g) all-purpose flour .
A top tip is to pre-heat your oven! this is such an important step, because once you get going, the last thing you want to do is wait for the oven.
Set it to 475° f ( 246° c) .
The Pita Making Process, step-by-step
Here's how to get those perfect pockets happening:
Wake up the yeast! mix warm water (105- 115° f/40- 46° c) , sugar, and 2 teaspoons (7g) active dry yeast and wait 5- 10 minutes till it's foamy.
If it doesn't foam, bin it! this means the yeast is dead.
Combine flour and 2 teaspoons (12g) salt . Add wet ingredients to dry along with 2 tablespoons (30ml) olive oil .
Knead the dough for 8- 10 minutes (by hand) or 5- 7 minutes (mixer) until smooth and elastic. It should be slightly sticky.
Let it rise! Cover and let proof for 1-1. 5 hours , until doubled.
Divide into 8 pieces and roll each into a 6-8 inch circle, about 1/4 inch thick.
Let them rest, covered, for 30 minutes. This is key . Don't skip it, yeah?
Bake for 5- 7 minutes until puffed and lightly golden. Watch them carefully !
Pocket Perfection Pro-Tips
- Hot oven is vital. Seriously. The hotter, the better for the pockets!
- Don't over knead. That makes tough pitas. Nobody wants tough pitas.
Honestly, i've tried making a gluten-free pita bread recipe vegan a few times. it's a bit trickier, but using a good gluten-free flour blend helps.
Finding easy flatbread recipes online can also give you inspiration for variations. you can even look at a spelt pita bread if you want something a bit different!
You know, sometimes I think about opening my own little patisserie vegan , just filled with tasty treats. But for now, I'll stick to sharing my baking adventures here!
Alright, let's dive into the nitty gritty with some Recipe Notes . It's like adding those final touches to a masterpiece, innit?
Recipe Notes
Here's where we sort out all the extras. Think of it as tidying up after a right good cooking session. I always make a mess!
Serving Suggestions Get Your Grub On!
Okay, so you've made this brilliant pita recipe . What next? Presentation is key, yeah?
Why not try piling them high on a wooden board? Get some colourful dips like hummus and baba ghanoush around them. Makes it look proper fancy, doesn't it?
Pair them with a nice greek salad or a simple lentil soup. you know, something light. a crisp glass of white wine or even a refreshing iced tea would top it off nicely.
Honestly, it's all about the vibes.
Storage Tips Keep it Fresh!
Right, so you've got some leftover pita bread vegan . What's the best way to keep it from going stale?
Once they are cooled, pop them in a zip-lock bag. Get as much air out as possible. They'll keep in the fridge for up to 3 days.
Want to keep them longer? freeze them! wrap each one individually in cling film. then, whack them all in a freezer bag.
They'll be good for up to 2 months. reheat them in a warm oven. or even better, on a dry frying pan.
Watch out! i once burnt them to a crisp!
Variations Let's Get Creative!
Fancy a bit of a twist? Why not try making a gluten free Pita ? I tried a gluten free Pita Bread Recipe Vegan once and oh my gosh, it was a game changer!
You can try a gf pita bread . or even use spelt pita bread for a slightly nutty flavour. if you are into patisserie vegan , you can add some sugar in it.
In the summer, add some chopped fresh herbs to the dough. rosemary or thyme work a treat! or for a winter warmer, chuck in some spices like cumin or coriander.
Seasonal ingredients make all the difference! looking for easy flatbread recipes ? this could easily be adapted.
Nutrition Basics Healthy Grub!
These pitas are pretty good for you! They're a good source of carbs. They give you energy for the day.
They're also low in fat. and if you go with wholemeal flour, you get extra fibre. keeps you regular, if you know what i mean! remember, though, moderation is key.
Even the healthiest things are best in balance. maybe something related to glutenfri baking .
So there you have it! with these tips, you're all set to make the best darn pitas ever. remember, cooking should be fun! don't be afraid to experiment.
Get creative. enjoy every bite!
Frequently Asked Questions
Why aren't my pitas puffing up? This pita recipe promised pockets, what gives?
Ah, the age-old pita puffing problem! Several things could be at play. First, ensure your oven is screaming hot (around 475°F/246°C) and preheated for at least 30 minutes. Secondly, the second rise is crucial; don't skip it! This lets the dough relax. Also, make sure your yeast is fresh and active.
A soggy bottom is only good for cakes, not pitas!
Can I use whole wheat flour in this pita recipe?
Absolutely! For a nuttier flavor and extra fibre, substitute up to half of the all-purpose flour with whole wheat flour. Just keep in mind that whole wheat flour can absorb more liquid, so you might need to add a tablespoon or two of extra water to achieve a smooth, pliable dough.
Think of it as adding a bit of wholesome goodness, a bit like swapping your white bread for granary!
How do I store leftover pita bread, and how long does it last?
To keep your pitas fresh, store them in an airtight bag or container at room temperature for up to 2-3 days. For longer storage, you can freeze them for up to 2-3 months. Just wrap them individually in plastic wrap and then place them in a freezer bag.
To reheat, simply warm them in a toaster oven, microwave (for a few seconds), or wrap in foil and heat in the oven. Nobody likes stale bread, not even the pigeons!
What if I don't have a stand mixer? Can I still make this pita recipe?
Fear not! You can absolutely make this pita recipe without a stand mixer. Simply knead the dough by hand on a lightly floured surface for 8-10 minutes, or until it becomes smooth and elastic. It's a good arm workout, and you'll feel like a proper artisan baker. Just think of it as channeling your inner Paul Hollywood!
Is there a gluten-free version of this pita recipe?
Yes, you can make gluten-free pita bread using a good quality gluten-free flour blend designed for bread making. Follow the package instructions for any adjustments to liquid or rising time. Be aware that gluten-free pitas may not puff up as dramatically as traditional pitas, but they will still be delicious.
Just be prepared for a slightly denser result. Sometimes a gluten-free bake feels a bit like watching paint dry, patience is key!
Can I add herbs or spices to this pita recipe for extra flavor?
Go for it! Adding herbs and spices is a fantastic way to customize your pitas. Consider adding 1-2 cloves of minced garlic and 1-2 tablespoons of finely chopped fresh herbs (such as rosemary, thyme, or oregano) to the dough during kneading. You could also experiment with spices like cumin, coriander, or paprika.
It’s like giving your pitas a culinary makeover. Perhaps even a dash of chilli for a fiery kick, if you're feeling brave!
Perfectly Pocketed Pita Bread