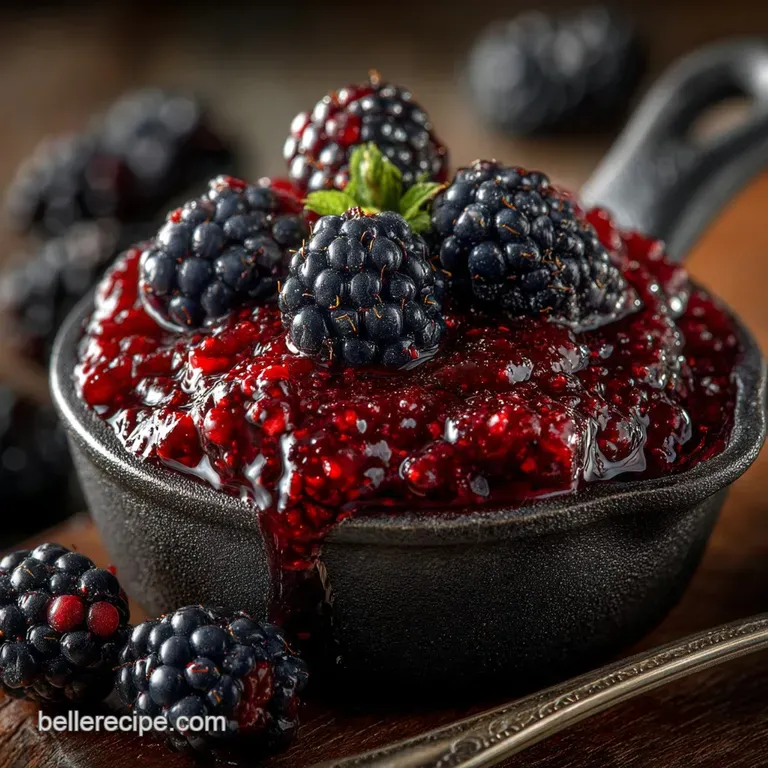
The Black Velvet Luscious Black Raspberry Jam Traditional Small Batch
Beyond Red: Why Black Raspberries Define the Perfect Jam
While red raspberries offer a bright, sweet kiss of summer, their darker, wilder cousin holds a secret: an intensity of flavor that elevates homemade preserves to an entirely new dimension.
Black raspberries (Rubus occidentalis) are inherently more complex, possessing a depth often described as wine like and slightly earthy, perfectly balanced by a pleasing tartness. This inherent complexity makes the resulting black raspberry jam not just a spread, but a luxurious, rich condiment truly the "black velvet" of the canning world.
Decoding the Black Raspberry Flavor Profile
The intensity of the black raspberry comes from its higher concentration of anthocyanins, giving it that striking, deep purple hue. When preserved, this fruit yields a flavor profile far bolder than typical summer berry jams.
We seek to capture that intense, almost heady tartness, which provides the necessary counterpoint to the sweetness of the sugar, resulting in a finish that lingers pleasantly on the palate. This distinction is precisely why embarking on a black raspberry jam recipe is such a rewarding endeavor.
The Magic of Small Batch Jam Making
Quality jam relies heavily on the speed of evaporation. When working with large volumes, the mixture takes longer to reach the crucial gelling temperature, resulting in extended cook times and a duller, sometimes caramelised flavor.
Our process calls for a modest yield approximately 6 to 7 half pint jars using 6 cups (900 grams) of fruit. This small batch approach ensures a faster process (about 35 to 45 minutes of cook time), locking in the vibrant, fresh essence of the fruit and producing a brighter, clearer finished product that showcases the fruit's true character.
Embracing the Low-Sugar, Traditional Method
The traditional approach, which we employ here, emphasizes the natural gelling power present in the fruit itself, supplemented by added acid rather than commercial powders. This particular black raspberry jam recipe without pectin relies on the perfect ratio of sugar, acid (lemon juice), and temperature to achieve a firm set.
While some cooks prefer the reliability and speed of products like black raspberry jam sure jell , mastering the traditional method provides a purer, cleaner flavor.
The sugar content, specifically the 4 cups (900 grams) used, acts both as a preservative and as the necessary partner to pectin activation.
Essential Equipment and Ingredients for Black Raspberry Jam
Successful jam making starts long before the pot hits the stove, requiring specific tools and careful ingredient preparation to ensure safety, clarity, and the perfect set.
Selecting and Preparing Your Black Raspberries
The foundation of a brilliant jam is impeccable fruit. Start with 6 cups (900g) of fresh black raspberries, ensuring they are gently washed and thoroughly dried. Avoid over washing, as this can dilute the flavor and moisture content.
If fresh berries are unavailable, you can certainly make black raspberry jam from frozen berries . Simply ensure they are fully thawed before combining them with the sugar, and drain off any excessive liquid to avoid significantly lengthening the cooking time.
For those interested in an ultra smooth finish, pressing the fruit pulp through a fine mesh sieve before cooking will achieve a true black raspberry jam seedless texture.
The Role of Lemon Juice in Achieving the Ideal Set
In traditional jam making, acid is non-negotiable. We integrate 4 tablespoons (60 ml) of freshly squeezed lemon juice into our recipe. The primary function of this acid is not flavor (though it provides a welcome zing), but rather chemistry.
It lowers the pH of the fruit mixture, which is absolutely essential for activating the natural pectin present in the raspberries. Without this acid boost, the jam simply will not gel properly, regardless of how long you boil it.
Must Have Tools for Safe Jam Canning
Jam making involves rapidly boiling liquids and handling scorching hot glass, making safety and accuracy paramount. Crucially, you need a very large, heavy bottomed stainless steel pot (ideally 8-quart capacity) to accommodate the vigorous rolling boil without boiling over.
A reliable Jam or Candy Thermometer is mandatory; judging the set by eye is risky, but hitting the target temperature of 105°C (221°F) guarantees success. Finally, for safe preservation and long term storage, a jar funnel, jar tongs/lifter, and the necessary equipment for a water bath canner are essential for sealing the 6 to 7 half pint jars.
Related Recipes Worth Trying
- Authentic Smoky Chicken Sausage Jambalaya Recipe — Nail that classic Louisiana flavour with this simple smoky Jambalaya recipe Perfect rice texture guaranteed in one potits comfort food central
- Easy Whipped Raspberry Honey Butter Recipe for Brunch — Skip the shopbought stuff Whip up this glorious homemade Raspberry Honey Butter in minutes Its perfect spread on scones or crumpets Get the foolproof recipe
- The Gardeners Delight Rich Savoury Tomato Jam Recipe — Forget sweet preserves Learn how to make this deeply savoury Tomato Jam perfect for cheese boards or topping burgers A proper taste of summer
Mastering the Cook: step-by-step Black Raspberry Jam Instructions
Achieving the perfect "set" is the hallmark of expertly made preserves. The cooking process requires patience and precision, moving from gentle heat to a rapid boil.
Dissolving the Sugar and Bringing the Mixture to a Rolling Boil
Before any boiling takes place, we must ensure the 4 cups (900g) of granulated sugar are fully dissolved. Start by combining the prepared black raspberries and sugar in the heavy pot. Allowing this mixture to stand (macerate) for an hour or two helps draw the liquid out of the berries and speeds up the entire process.
Place the pot over medium heat and stir constantly until the mixture turns clear and the gritty sound of sugar scraping the bottom of the pot ceases. Once clear, add the lemon juice, increase the heat to high, and bring the mixture to a rapid, rolling boil one that continues bubbling even when stirred vigorously.
Achieving a Clear Finish: Skimming the Foam
As the mixture reaches the aggressive boil required for gelling, foam or "scum" will naturally rise to the surface. For the clearest, most beautiful finish, add the optional 1 teaspoon of unsalted butter at this stage; the fat helps to break the surface tension of the foam.
Once the jam has reached its setting point and is removed from the heat, use a metal spoon or ladle to carefully skim off and discard this foam. This is a critical step that ensures the final result is a vibrant, jewel toned jam rather than a cloudy preserve.
Testing for the Set: The Chilled Plate Method
The ultimate moment of truth arrives when the jam reaches 105°C (221°F) on the thermometer. Immediately remove the pot from the heat and execute the "wrinkle test." Spoon a small dollop of the hot jam onto the small ceramic plate you prepared earlier in the freezer.
Return the plate to the freezer for 30 seconds. If, when pushed with your finger, the jam surface wrinkles and holds its shape, the set is perfect. If it remains runny, return the pot to the heat for another 2– 3 minutes of hard boiling before testing again.
This temperature based, visual test is far more accurate than time alone for perfecting this classic black raspberry jam recipe .
Safely Filling and Sealing Sterilized Jars
With the perfect set achieved and the foam skimmed, it’s time to jar your creation. Sterilize your jars by baking them at 250°F (120°C) for 15 minutes.
Using the jar funnel and tongs, ladle the hot jam into the equally hot, sterilized jars, leaving exactly 1/2 inch (1.25 cm) of headspace. Wipe the rims meticulously clean to ensure a proper seal.
Place the lids and rings on finger tight, then process the filled jars in a boiling water bath canner for 10 minutes. This final processing step is essential for creating the vacuum seal needed for long term storage and stability.
Troubleshooting and Storage Secrets for Your Black Velvet Jam
Even experienced canners encounter the occasional issue. Knowing how to troubleshoot and store your preserves correctly guarantees satisfaction year round.
What to Do If Your Jam Doesn't Set Properly
If, after cooling overnight, your jam remains disappointingly runny, don't despair. The most common fix is to gently empty the batch back into the pot, bring it back to a hard boil, and attempt the chilled plate test again. If a second attempt at boiling fails, the original fruit likely had low natural pectin.
In this scenario, you can easily turn this into a successful black raspberry jam recipe with pectin by following the instructions for powdered pectin (such as Sure Jell ) on the package, adjusting the sugar if necessary.
Re-boil quickly with the added pectin until the set is achieved, then re-jar and re-process immediately.
Long Term Storage and Shelf Life Guidelines
Proper water bath processing ensures your jars are shelf stable and can be stored in a cool, dark cupboard for up to one year. Always verify the seal after the jars have cooled if the centre of the lid is depressed and does not "pop" when pressed, the jar is properly sealed.
Any jar that did not seal must be immediately refrigerated and consumed within three weeks. Labeling your jars with the date is crucial for effective inventory management and ensuring optimal freshness.
Elevating Your Jam: Flavor Swaps and Spice Variations
While the pure black raspberry flavor is magnificent on its own, small additions can elevate the experience. Consider infusing the batch with a few complementary spices, such as a whole cinnamon stick or 3 star anise pods, added during the main boil and removed before jarring.
For an adult twist, stir in 1/4 cup (60 ml) of Framboise or Kirsch right after removing the pot from the heat. This delicate addition brings a deep, complex warmth that pairs beautifully with the intensity of the black raspberries.
Beyond Toast: Creative Ways to Use Black Raspberry Jam
While perfectly at home on warm buttermilk scones with clotted cream, the robust flavor of homemade black raspberry jam is versatile enough for savory applications. Use it as a luxurious glaze for roasted meats like duck or ham, where the deep tartness cuts through the richness of the fat.
Alternatively, incorporate it into desserts by swirling it through a cheesecake filling, spreading it between layers of a sponge cake, or using it as the vibrant centerpiece of a classic Bakewell Tart.
Recipe FAQs
Blimey, my black raspberry jam looks runny! How do I fix the set?
It sounds like you might not have quite hit the magic 105°C (221°F) mark. Achieving the perfect set relies entirely on reaching this temperature to ensure the sugar concentration is correct.
If the jam is still runny, return it to the hob and boil for a few more minutes, retesting with the wrinkle test on the frozen plate until you get that satisfying wrinkle when pushed.
I need a load for the family! Can I double the recipe batch size?
That’s a common temptation, but resist the urge! Jam relies on rapid evaporation to maintain the fresh fruit flavour. Doubling the ingredients dramatically increases the cooking time, which often results in a darker, caramelised taste rather than the desired bright black raspberry flavour.
It’s much better to run two smaller batches back-to-back a proper faff, but worth it for the quality!
How long will this delicious black raspberry jam keep in the cupboard?
If you followed the full sterilisation and water bath processing steps properly, your jam should keep beautifully for 12 to 18 months in a cool, dark cupboard. If you skipped the water bath, it should still be fine for 3 to 6 months, but always refrigerate after opening.
Once opened, aim to finish the jar within four weeks (which, let’s be honest, won’t be hard!).
Can I cut down on the sugar, or is it crucial for the structure?
You can certainly try a slightly reduced sugar version, but sugar in jam is much more than just sweetness it's crucial for achieving the set and acting as a preservative. If you reduce the sugar significantly (more than 1/4 cup), you must use a specialised low-sugar pectin product, or you’ll end up with syrup instead of a proper setting jam.
I can’t get hold of black raspberries! Can I use red raspberries instead?
Absolutely, you can swap them out, but expect a slightly different flavour profile. Red raspberries are generally much sweeter and lack the deep, earthy, wine like notes of the black variety.
Since red raspberries are a little lower in natural pectin, ensure you are generous with the lemon juice to aid the setting process.
Why do I get all that horrible foam (or 'scum') when the jam is boiling?
The foam is caused by trapped air bubbles and impurities rising to the surface during the rapid boil. The good news is that adding that small teaspoon of butter helps break the surface tension and reduces it dramatically.
What little is left must be meticulously skimmed off just before jarring for a crystal clear, professional finish it’s just a bit of a clean-up job!
Black Raspberry Jam The Black Velvet

